
Dentistry is all about accuracy, and 3D printing is a game-changer. This technology gives us the power to create our own tools, like surgical guides, right in the dental office. This blog post dives into why you should 3D print surgical guides.
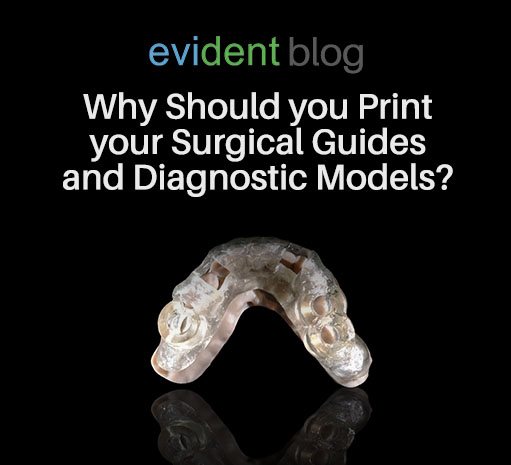
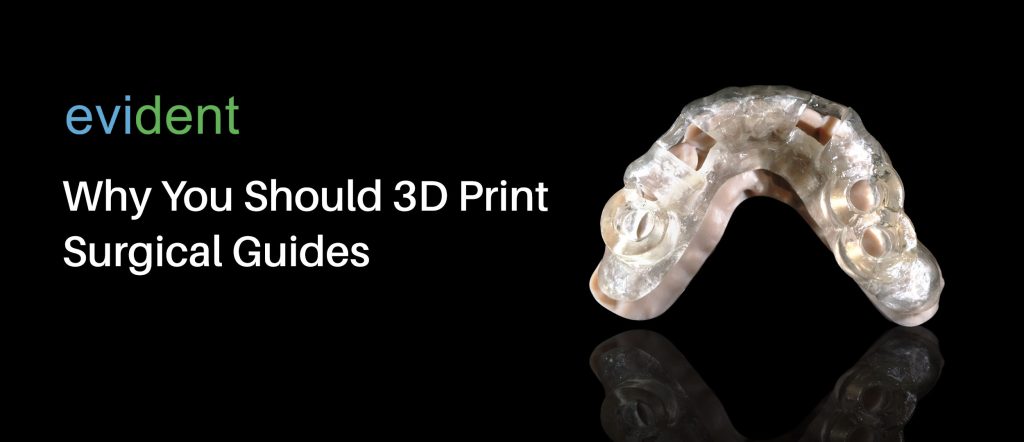
Surgical guides are essential tools for surgical dental restoration. They are made before placing dental implants in the patient’s mouth. Doing so allows the dentist to precisely fix the implants, allowing for the best-fitting fixed dental restoration.
The success and long-term stability of the implants are largely dependent on their placement in the jawbone. An improperly placed implant can result in complications such as implant failure, bone loss, nerve damage, or damage to the patient’s surrounding teeth and tissues.
It’s not enough that dentists have clinical precision and dexterity with the scalpel. The best archer with the most advanced bow will still miss a target that’s unclear and foggy.
With that said, surgical guides are critical for any implant surgery. The more precise and accurate they are, the closer to perfection the patient conversion will be. Here’s why you should 3D print surgical guides and diagnostic models:
Precision and Accuracy
Dental 3D printers and mills have microscopic precision when it comes to creating models. Commonly used dental 3D printers, such as Formlabs Form printers, can dispense resin as thin as 20 microns. That’s less than 1/3rd the thickness of human hair!
When paired with an intraoral scanner, dental 3D printers can create physical models that barely deviate a hair’s width from the patient’s actual teeth. Whereas, when using traditional dentist’s wax, the wax-up can deviate up to half a millimeter. This goes for surgical guides as well.
Using 3D printers allows for more exact diagnostic models and surgical guides.
Faster Process
With 3D printing, dentists can create cases (e.g., surgical guides, diagnostic models) in a matter of hours as opposed to hand-made methods that can take days. Depending on the specs of the 3D printer, the print time could be even faster — up to four full-arch diagnostic models in an hour.
This allows dentists to get to surgery immediately, as opposed to having patients wait longer for their surgery day. It’s also less anxiety-inducing for the patient by having the surgery wait time much shorter.
A faster fabrication process also means dentists are freed up more for other tasks, such as attending to other patients. From a dental practice standpoint, this optimizes clinician workflow. From a business standpoint, this means more revenue.
Cost-Effective
3D printing only uses the resin that the volume of the physical model requires. This means less material waste compared to traditional methods. It also means that dentists will be burning through materials much slower with a 3D printer, compared to inevitably getting dental wax and acrylic all over their hands and faces using traditional methods.
3D printing also minimizes the need for manual labor. Yes, there’s a learning curve to 3D printing, but in the long run, it automates the tedious task of creating patient wax-ups and surgical guides. Fewer hands on deck are needed, which means lower labor costs.
These benefits result in better patient satisfaction and a more efficient business operation for dental clinics. It also prevents instances of “slightly-off” surgical guides that cause improperly placed dental implants.
So, what would you need to acquire 3D-printed surgical guides?
Step#1: Scan
Capturing a digital impression of the patient’s mouth and jaw, rather than a traditional one, will ensure the most accurate diagnostic model and surgical guide. There are a few things dentists need to scan for surgical guides.
- Intraoral Scanner. An intraoral scanner will allow dentists to get a detailed, accurate impression of the patient’s mouth. This scan is stored digitally on the clinician’s device (e.g., laptop, desktop). In addition to precision and accuracy, intraoral scanners also pick up models in as little as 30 seconds.
- CBCT Scanner. (Cone Beam Computed Tomography) scans use cone-shaped X-ray beams to capture highly detailed 3D images of a patient’s teeth, bones, and surrounding tissues; as opposed to traditional X-ray machines’ 2D imaging.
Both these scanners will be necessary to digitally create a complete and accurate diagnostic model. This information can then be used to create a virtual model of the patient’s mouth, which can be used to precisely plan the placement of dental implants.
Step#2: Design
Using CAD/CAM software, the dentist or dental technician can design a surgical guide that fits over the patient’s teeth and gums and provides a guide for the placement of the dental implants. This software is also used to design the diagnostic model.
Dental 3D printers and mills will only work with digital model files. Before dentists can even begin printing, they need to acquire a final, edited ready-to-print model. There are various ways to do that:
- Edit and design the case yourself. For a fully in-house workflow, dentists can edit their patient’s surgical guides and diagnostic models themselves. Doing so also speeds up the design-fabrication process. However, if a dentist wants to edit and design the model themselves, they’ll need 1) CAD/CAM software, such as 3Shape and exocad, 2) capable hardware, and 3) time investment in learning the design process.
- Send an IOS and CBCT scan to a digital design company. If the aforementioned requirements seem overwhelming, dentists can send the digital scan, CBCT, and Rx to a digital design company. This exchange takes place over the internet, allowing for a much faster exchange. Digital scans and CBCTs are also more accurate and detailed than their traditional counterparts, resulting in a more precise final design.
It’s important that you work with labs and design facilities you trust to deliver on time. Here at Evident, we can design ready-to-print diagnostic models and surgical guides within 24 hours. Simply send the following to Evident: 1) CBCT scans, 2) Intraoral scans, and 3) Rx.
We’ll return to you a diagnostic model and a perfectly fitting surgical guide on the same day you sent the files.
Step#3: Print
Once the final, edited model file is made, it’s time to print it. There are also various ways to go about this. You may either print the diagnostic model and surgical guide in-house or outsource it to a third party.
- Get a 3D printer and print it yourself. Printing in-house minimizes the need for shipping since dentists would be fabricating the physical item within their operating space. It also allows dentists to immediately fabricate the case after receiving the final digital model. However, there are upfront costs associated with getting a dental 3D printer, plus there’s some necessary learning involved. As a result, some dentists may opt to outsource their printing/milling needs.
- Get a dental lab to print the case for you. Smaller clinics with fewer operating expenses may opt to have labs print their digital models for them. This can be more beneficial for cash flow than investing outright in dental fabrication equipment. Upon receiving the final design file, dentists can immediately send the file to their preferred dental lab for fabrication. They just must wait for the physical case to arrive.
There are also end-to-end solutions out there that will do everything for dentists, from design to fabrication. With end-to-end dental solutions, dentists can send the required scans and wait for the final model to be brought to their clinic. The end-to-end provider will do the designing and fabricating, which is practically 98% of the work.
All dentists have to do is worry about surgery.
Evident has partnered with various dental labs that allow us to offer a comprehensive, end-to-end solution for dentists. Clinicians have the option to have their cases fabricated immediately once the design has been finalized.
3D Printing Surgical Guides In-House
If you’re looking to improve precision and accuracy in your dental implant placement procedures, incorporating 3D printing into your workflow is a must.
With 3D printing, you can create surgical guides and diagnostic models that are clear, precise, and tailored to the specific needs of your patients, resulting in better outcomes and an improved quality of life.
In addition to the clinical benefits, 3D printing and milling also offer significant cost savings by reducing material waste and labor costs while increasing business capacity. Whether you choose to invest in in-house printing capabilities or outsource to a reliable partner, like Evident, who can provide end-to-end solutions, the benefits of incorporating 3D printing into your practice are clear.
Don’t wait to take advantage of this cutting-edge technology. Send your scans to Evident today and let us help you take your dental implant procedures to the next level.


