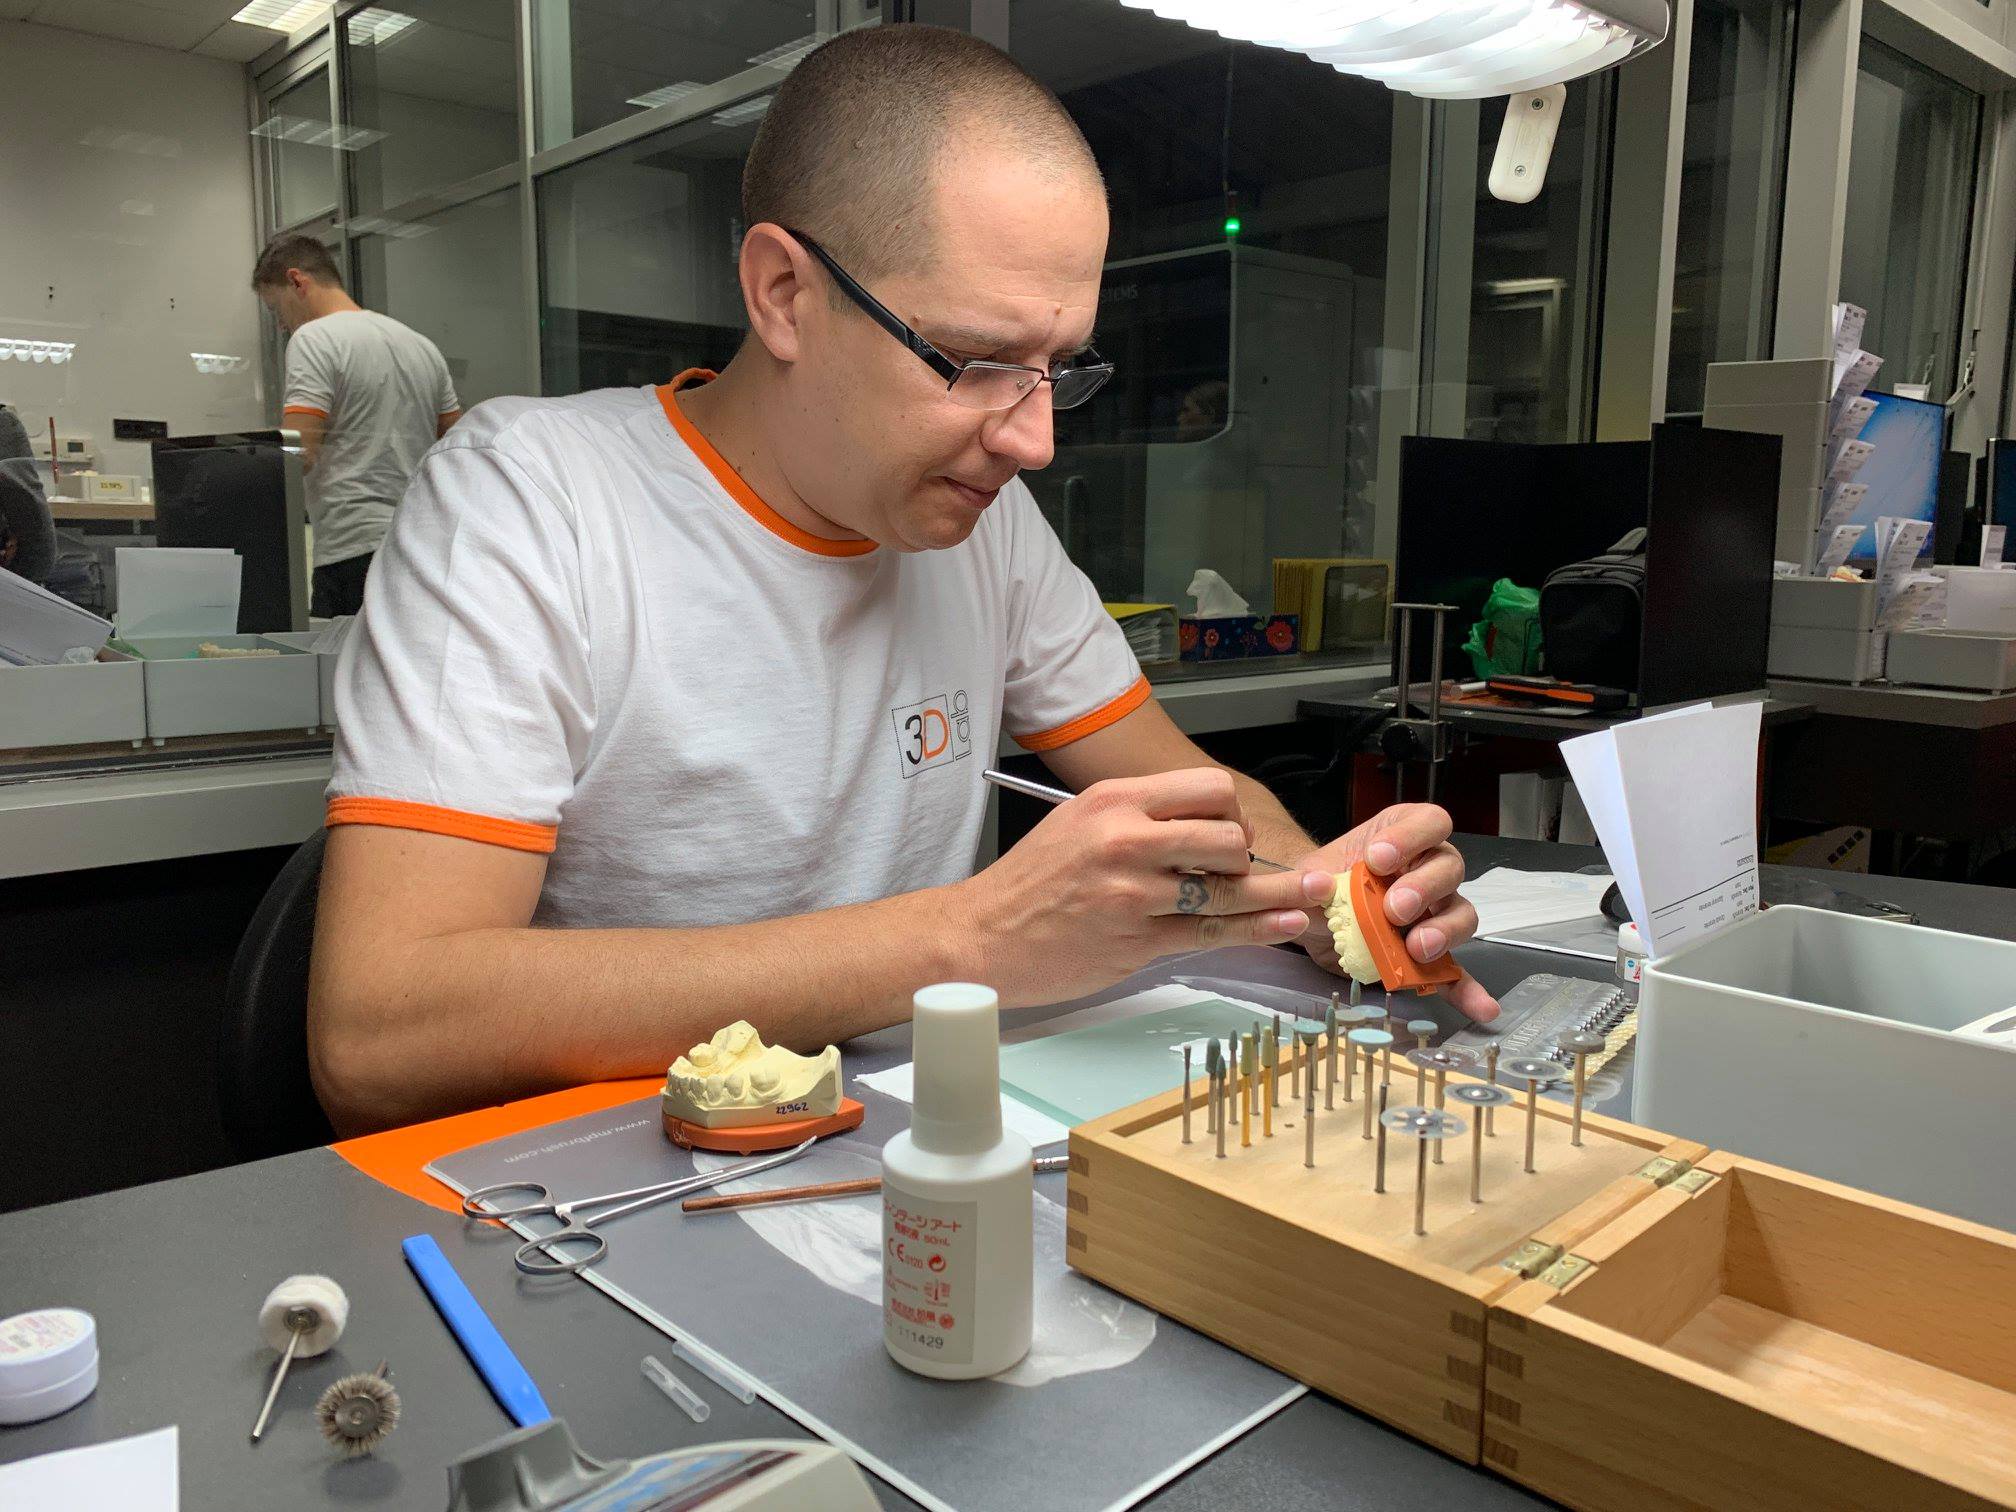
Vjekoslav Budimir, owner of 3DLab in Croatia, boasts an 80% case acceptance rate and a 0.8% re-do rate for his cases.
To achieve these impressive numbers, Vjekoslav obtains the 100% cooperation of his dentists. He trains them and gets them to work with a particular workflow — one that verifies and clears all issues before proceeding to final.

He discusses this in a webinar interview with Evident.
Patients are also happy with this workflow because they can see first-hand how their smile will look. Also, this workflow will only require two visits from the patient, from the initial visit to cementation.
Let’s walk through this workflow that Vjekoslav gets his dentists on.
Step#1 Take Initial Scans and Photos of Patient’s Teeth
Once the patient comes in and presents their concern (e.g., misaligned teeth, missing teeth, requesting veneers, etc.), the dentist takes photos of the patient’s teeth.
These photos typically show a full face and a full smile.
This gives dental techs a complete idea of the patient’s dento-facial anatomy. Dental techs can design a more appealing smile when the complete dentofacial features can be seen.
Vjekoslav suggests that the dentist take four photos — two photos of the patient facing directly into the camera, one photo with the patient facing at a 45-degree angle, and one photo with the patient facing at a 90 degree angle.
The dentist must also scan the patient’s teeth.
Scans of the upper arch, lower arch, and occlusion must be taken for a complete digital profile of the patient’s teeth.
Since Vjekoslav uses 3Shape, the software automatically determines the optimal occlusion for the patient. This digital process eliminates the need for a face bow or an articulator to determine the optimal occlusion. 3Shape already does this digitally in just five seconds.
Step#2 Design the Digital Diagnostic Wax-Up
The lab uses the photos and scans to design the patient’s new smile.
With the photos, the lab references the patient’s face and smile. Labs can visualize and design a beautiful and proportional new smile with these photos.
Then, using the scans, labs assess the patient’s current arches. This reference allows labs to fully understand the patient’s anatomy.
Labs can then use CAD/CAM software to 3D design the patient’s new smile.
If your lab doesn’t have the CAD/CAM capacity to design smiles, you can outsource the digital design process to us at Evident.
Simply send us the photos and scans the dentist has submitted, and we’ll design a complete, ready-to-print diagnostic model.
We can design a case in as little as 30 minutes.
Step#3 Print the Digital Diagnostic Model
Once labs have the digital diagnostic model, they can send it to the dentist.
They may either send it to the dentist as a physical printed model or as a digital model for the dentists to print themselves.
The second option is more efficient since it saves both the lab and dentist time and shipping costs.
After the digital model is printed and “brought to life,” dentists can create a mockup in the patient’s mouth.
Step#4 Mock-Up Pre-Preparation
This stage drastically improves patient approval of the case.
The mock-up stage gives patients a glimpse into what their smile will look like after the procedure.
Unlike a digital smile mock-up, it allows the patient to experience their future smile right there in their mouth.
The following steps transfer the appearance of the physical diagnostic model into the patient’s mouth.
First,
the dentist creates a silicone putty to serve as a tray. The dentist takes a detailed impression of the printed diagnostic model to capture its anatomy and appearance. This is for both arches.
After the impression is taken, the dentist cuts parts of the silicone putty so that it can easily be pressed against the patient’s arches. This is also done for both arches.
Next,
the new silicone trays are filled with temp material, usually acrylic. This temp material takes on the shape of the impression, giving it the diagnostic model’s shape.
Once the trays are pressed against the patient’s arches, excess temp material is cleaned up. This is done for each arch.
Finally, the trays are removed, revealing the patient’s new smile. Dentists may also characterize the mock-up with stain and glaze for a more realistic look.
So that once patients take their first look in the mirror with their mocked-up smile, they’ll have the most accurate visualization of how they’ll look after the treatment.
This mock-up process takes just two minutes. But it’s very effective in getting the patient to accept the case and cooperate with dental procedures, whether it’s an orthodontic treatment, implants, or a restoration.
Step#5 Scan the Mock-Up and Prepped Teeth
Once the patient is happy with what they see, dentists may proceed with the next stages.
The next step is sending the 1) mock-up scans and the 2) prepped mouth scans to the lab.
While the patient has the temporary mockup in their mouth, dentists may take a scan. This will capture the patient’s new teeth as they’re in the mouth.
It essentially scans what the final output will look like.
After that scan is taken, dentists can prep the patient’s teeth. At this point, patients are less worried about the burr since they know they’ll look great at the end of it all.
Dentists take another scan after the patient’s teeth are prepped.
Once dentists have these two scans, they’re sent back to the lab for processing.
Step#6 Design Adjustment on the Prepped Scan
Labs start designing a prototype from the two scans sent to them.
They stack the mock-up scan and preparation scan together. This creates a restoration that fits well over the prepped teeth and looks just like the patient’s desired mock-up.
Then some tweaks and adjustments are made. Like, maybe the margins need to be adjusted or the occlusion needs to be edited.
Step#7 Printing the Prototype
The restoration is then printed using temporary material. These materials are cheap and don’t last as long as zirconia. Good temporary resins include PMMA and composite resin.
They’re meant for short-term use, enough for the patient to get a feel for what the permanent restoration would be like.
Again, it’s recommended that dentists have their own 3D printer so that the labs won’t have to ship out the prototype to the dentist.
Step#8 Prototype Try-In
The patient tries on the printed prototype. Dentists should check for issues at this stage, such as fit, occlusion, aesthetic concerns, or patient discomfort.
If the prototype is approved, labs start working on the final case.
But if any edits need to be made, dentists can make changes directly to the prototype until they get the result they want. Then, they take a quick scan and send it to the lab to use as a reference.
This process repeats until both the patient and dentist is happy with it.
Step#9 Creating the Final Restoration
Once the prototype is finalized, labs can start milling zirconia to produce the final restoration.
The option to print using composite resins is also there. Composite resins are continuously evolving to be stronger and more durable with each passing year. Evident supplies dental resin for 3D printers that’s three times stronger than PMMA.
The labs then post-process the case and apply the necessary characterizations. Then they have it shipped to the clinic.
Step#10 Cementing and Finalization
The final restoration is then cemented onto the patient.
Workflow to Increasing Acceptance Rate
Vjekoslav supports and incentivizes his dentists to get into this kind of workflow. For one, he rents out IOS scanners to dentists who don’t have them.
But he also penalizes dentists if their inability to follow the workflow results in a re-do. If a re-do has to be done because a dentist didn’t send enough photos, he requires the dentist to cover the cost of the re-fabrication.
But all-in-all, if dentists and labs are in-sync with this workflow, there will be less remakes, saving time and money.