Every dentist wants to close an all-on-x case, but let’s be honest, it can be a complex procedure with a steep learning curve.
Even seasoned dentists can fall prey to common pitfalls that compromise patient outcomes and create headaches in the workflow. At Evident, we’ve analyzed hundreds of All-on-X cases and identified three common pitfalls that even the best dentists fall for.
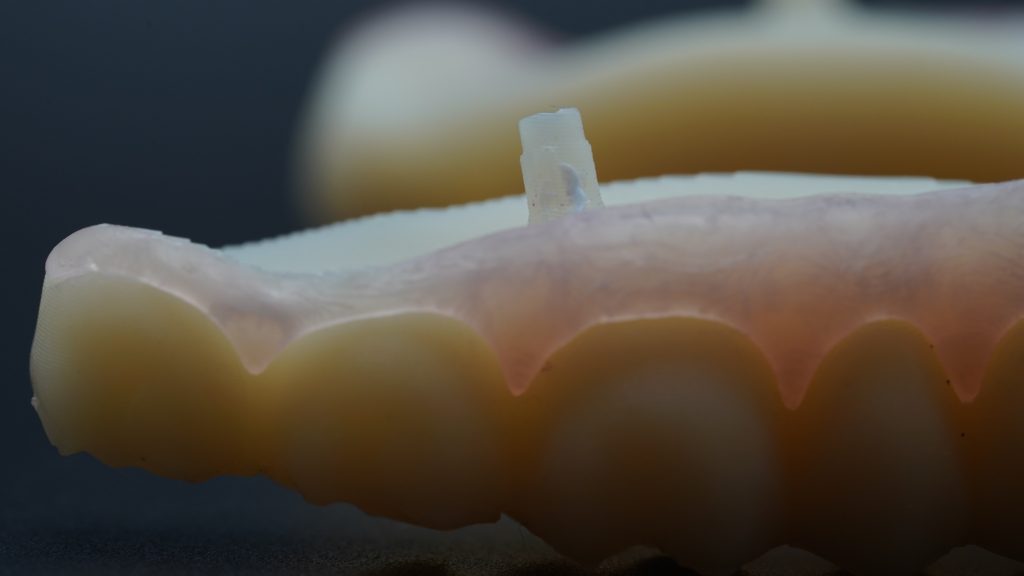
Mistake 1: The Ridge Lap: Balancing Aesthetics with Hygiene
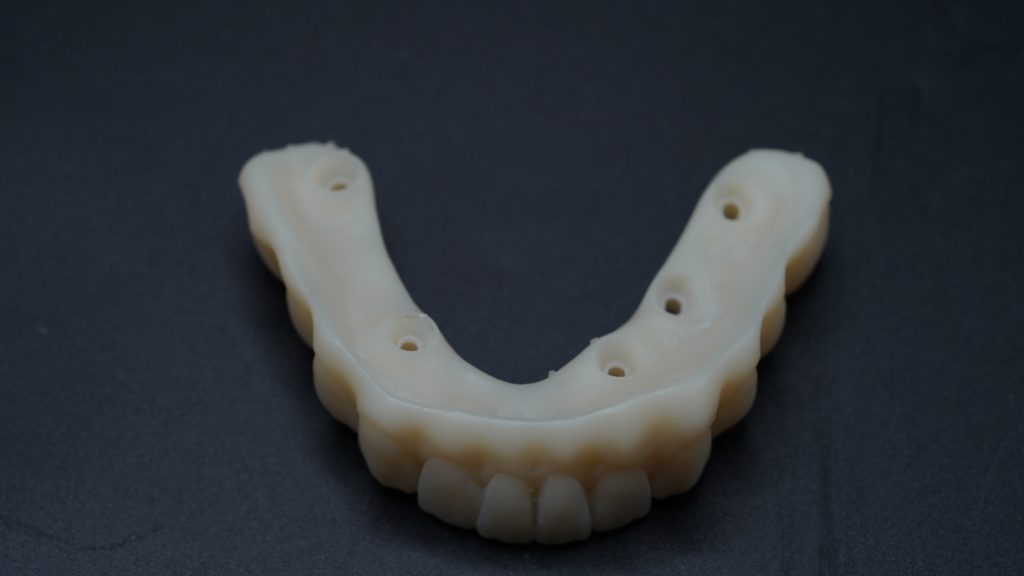
Every doc strives for optimal aesthetics, but sometimes, that pursuit can compromise hygiene. Ridge lap designs, while visually appealing, can create food traps and complicate home care. This can lead to:
- Peri-implantitis and bone loss, jeopardizing the long-term stability of the implants.
- Patient discomfort and frustration with cleaning.
- Increased chair time for hygiene maintenance and potential complications.
The Evident Solution:
We advocate for ovate pontic base designs.
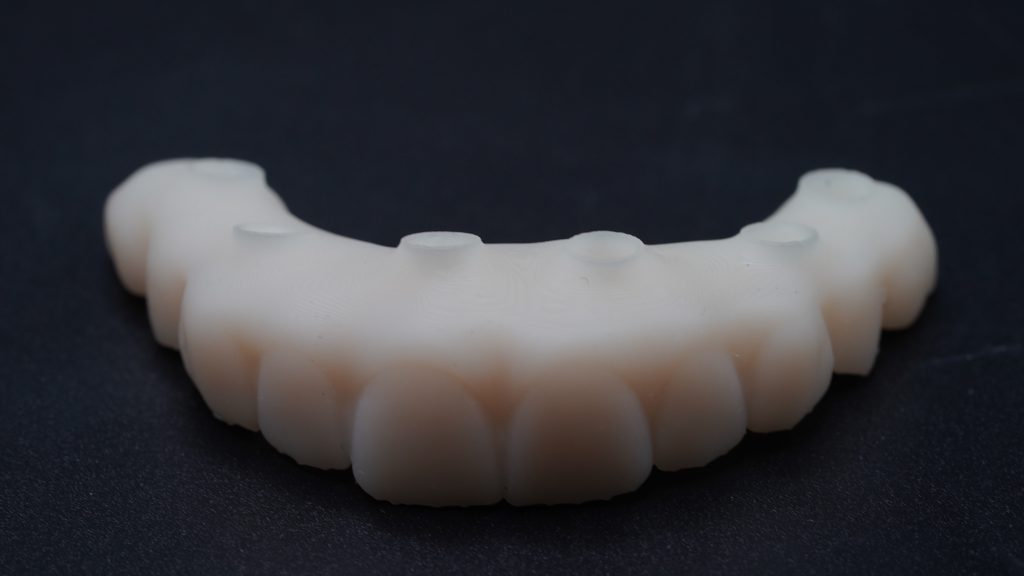
This allows for enhanced easier cleaning, better tissue health and, ultimately, patient comfort. Our expert team provides real-time feedback during the design process, ensuring your restorations are both beautiful and easy to maintain.
Mistake 2: Improper Emergence Profile: Mastering Biological Width
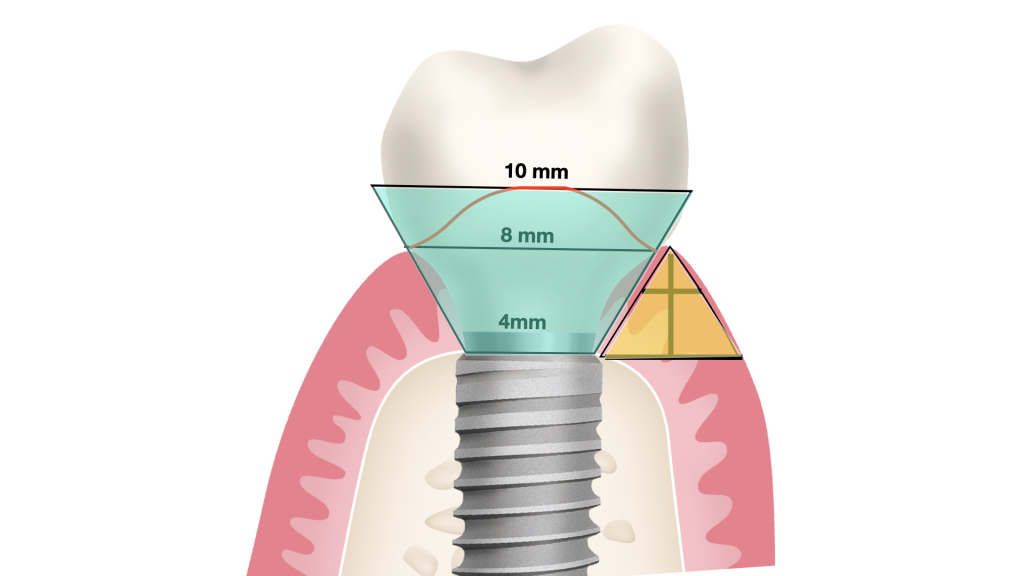
Achieving a natural emergence profile is crucial for both aesthetics and the long-term health of the peri-implant tissues.
An improper emergence profile can apply excess pressure to the tissue, resulting in:
- Compromised blood flow
- Patient discomfort, inflammation, and bone-loss
- Implant failure
The Evident Solution:
Understanding the biological width is crucial.
We recommend that you design your abutment bottom to be as narrow as possible, with the minimum tissue pressure of 1 millimetre
Your Evident design team will work with you in real-time to ensure your emergence profile is ideal, and your restorations promote healthy tissue integration and achieve optimal aesthetics.
Mistake 3: Excessive Cantilever: Finding the Sweet Spot
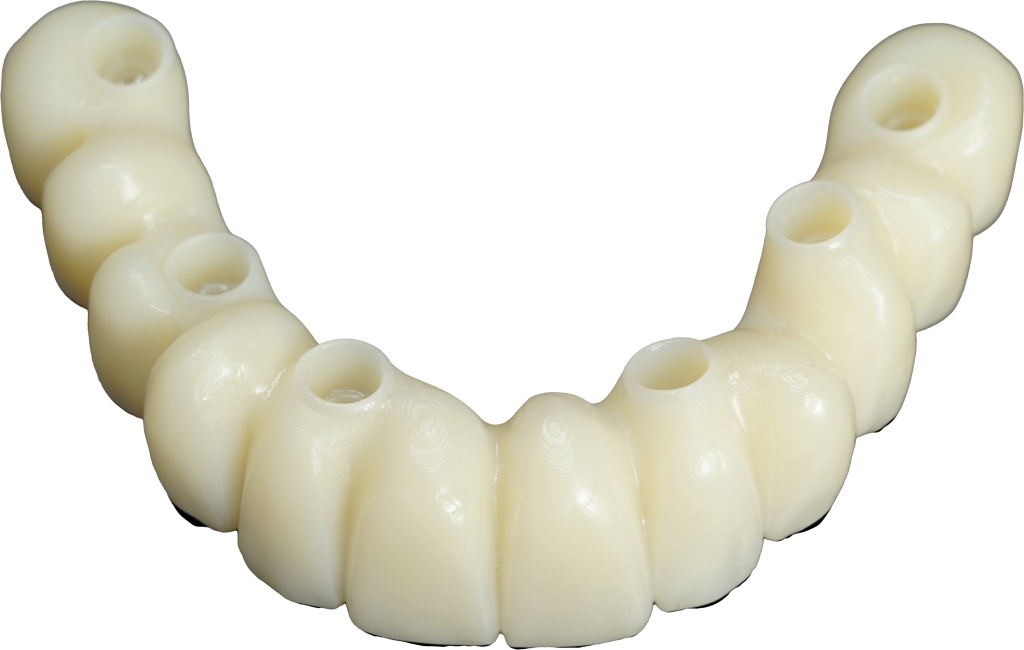
We’ve seen dozens of dentists overestimate the strength of a bridge, resulting in even zirconia finals breaking due to excessive cantilever.
Because implant patients lack the ligaments and sensory feedback of natural teeth, they can’t feel how hard they chew and are prone to bite down with excessive force.
Combined with the lack of an abutment to distribute bite force, cantilevers are a common failure point in all-on-x cases.
The Evident Solution:

We recommend avoiding cantilevering the bridge if at all possible
But, as every case is different, and sometimes circumstance might necessitate it, we would recommend cantilevering the bridge up to the AP Spread to minimize weak points and the potential for implant failure.
Even with extensive All-on-X experience, it’s crucial to continually refine your techniques and stay ahead of potential pitfalls.
Evident’s real-time communication and expert design support empower you to elevate your All-on-X game, avoid common mistakes, and deliver exceptional patient care.