All-on-X, or any fixed implant restoration, is a complex procedure that requires careful planning and surgical precision.
Any micro deviation in measurement can result in complications with the case. Even if a sturdy, cutting-edge material like zirconia is used, if the fit of the acrylic isn’t perfect and passive, it may develop hairline fractures and cause patient discomfort.
That’s only one of the many risks involved with doing fixed restorations.
Another hurdle to fixed restorations is that they’re difficult to train staff on.
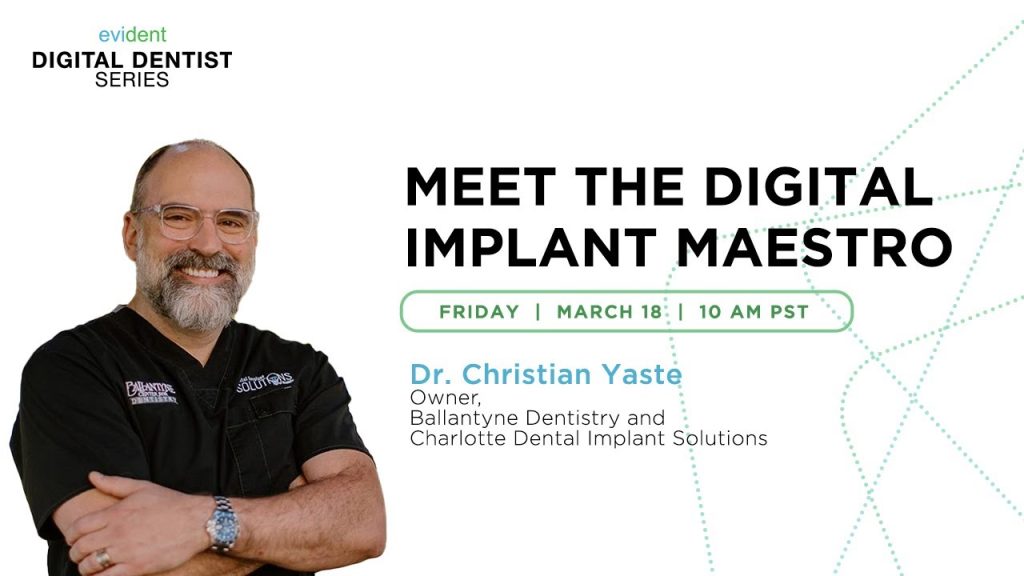
Evident conducted a webinar interview with Dr. Christian Yaste, owner of the Ballantyne Center for Dentistry.
He discussed how dentists can get started with digital all-on-x and effectively overcome common issues such as fit accuracy and staff training.
What is Digital All-on-X?
Digital all-on-x utilizes a digital workflow to create the fixed restoration for the patient.
The benefit of the digital workflow is that it allows for instantaneous coordination between labs and dentists. In addition, digital all-on-x is more cost-efficient in the long run due to the absence of impression-taking materials. Furthermore, digital all-on-x is much easier to train staff on, which maximizes their billed hours.
This also means that it’s easier to train staff on the digital all-on-x workflow.
There are just a few things needed in-house before getting started with digital all-on-x:
Some Things Needed:
IOS Scanner
An IOS scanner captures patients’ oral environment and stores them on a computer, as opposed to physical models that take up shelf space.
In addition, these scanners are equipped with dental software that can aid in all-on-x fabrication. One useful piece of software would be a dental hub. This hub allows dentists to send scans to their lab of choice.
CBCT
Cone Beam Computed Tomography, or CBCT, captures a three-dimensional x-ray of a patient’s oral and maxillofacial structures.
CBCT scanning helps dentists determine a patient’s oral anatomy, assessing the alveolar bone and position of vital areas. Dentists and labs can strategize where to place implants using a CBCT scan.
Dental Photography
Dental photography allows dentists to capture a patient’s dentofacial features.
Photo references of a patient’s dental and facial anatomy allow labs to create a harmonious smile that will blend with the patient’s face.
This is especially important for permanent restorations like all-on-x.
Some labs create 2D mock-ups of a patient’s post-treatment smile.
Dentists may then use these photos as communication tools to engage with the patient, increasing their case acceptance rate.
A Lab Partner
Lastly, dentists need to partner with a lab to create the perfect-fitting all-on-x.
When dentists partner with a lab, that lab can integrate into the dentist’s workflow. It would be as if the clinic were working directly with in-house staff.
This workflow usually involves the dentist sending the IOS scans, CBCT, and patient’s full-face, full-smile photos to the lab.
With this data, the lab helps the dentist with both the surgical planning and the all-on-x fabrication.
So, all the dentist would have to worry about is the surgery.
Do note that this workflow might be different. It all depends on what the dentist and lab agree on.
3D Printer
A dental 3D printer will be optional for this workflow. However, having one will allow dentists to provide their patients with a temporary prosthetic that they can immediately wear after surgery.
The addition of a 3D printer can reduce the number of patient visits required.
That’s because instead of waiting for the lab to ship out a temporary prosthetic, the dentist can immediately design and print the temporary provisional themselves using a 3D model file.
It’s essentially like teleporting a physical item from the lab to the clinic.
Once the dentist has the IOS scans, CBCT, patient photos, and a lab partner, they can coordinate with the lab to digitally plan the surgical process.
Digital Planning
A critical part of the digital all-on-x workflow involves planning the surgery.
This eliminates guesswork and provides a less-invasive surgical procedure for the patient. It allows for flapless surgery, resulting in a much quicker recovery.
Planning the Surgery
Labs take the IOS scans, CBCT, and patient photos to determine the best implant angulation and positioning in the jawbone.
Dentists may also collaborate with labs to plan the implant position if they wish.
Dr. Christian does the virtual surgery over the phone or Zoom call. It allows him to directly communicate with the lab and carefully plan the implant placements with them.
Once the lab finalizes the implant placement, they proceed to create surgical guides.
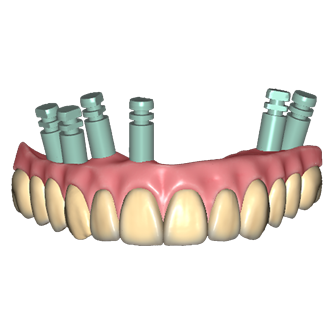
Surgical Guides
The lab may then create a surgical guide, helping the dentist perform a smooth, seamless, and minimally invasive insertion of the dental implants.
Surgical guides are devices that guide the dentist’s drill into the jawbone. These guides are 3D printed after the dentist and the lab finalize the implant position.
Dentists who use surgical guides have much faster chair times and improved efficiency.
Surgical guides may either 1) be digitally designed by the lab and sent to a clinic to be printed or 2) be physically sent to the clinic.
Temporaries
Since the lab has the IOS scans and implant position data, they may also provide the dentist with a temporary provisional that the patient can immediately wear after surgery.
So, in addition to designing the surgical guides, labs may also design the temps that will fit nicely over the implants.
The temps are designed before surgery so the patient can go home with teeth in their mouth.
Temporaries may either 1) be digitally designed and sent to a clinic to be printed or 2) be physically sent to the clinic.
After Surgery
Since the lab already has the necessary scans and photos, it may also create the final all-on-x restoration that will fit over the implants.
Capturing the Healed Tissue
Dr. Christian provides his patients with a temporary prosthetic to place over the implants. In addition, he also has a replica of the temp printed.
So essentially, he has two temporary, removable provisionals that are exactly the same.
He has his patient wear one of those during the healing stage.
Once the patient has healed, Dr. Christian places PVS on the replica’s intaglio surface. He then presses the replica against the implants, allowing the PVS to capture an impression of the healed tissue together with the implants.
This traditional impression is then scanned and sent to the lab.
Creating the Prototype
The lab uses this impression to create the intaglio surface of the new prototype, which will fit over the patient’s mouth.
This gives the patient a well-fitting all-on-x restoration.
The dentist then assesses the fit and function of the prototype before instructing the lab to create the final, fixed prosthesis.
Creating the Final Restoration
Once the dentist and the patient are happy with the prototype, the lab creates the final restoration based on the prototype.
This final restoration is made of a higher-end material, such as a zirconia and titanium combination.
Conclusion
Dr. Christian has shortened what is otherwise a seven- or eight-visit process into one that takes four at most. That’s because the analog process of verifying a passive fit is made easier and more accurate with a digital all-on-x workflow.
Once dentists have the necessary tools, they’ll need a capable lab to help them do the heavy lifting.
No matter how cutting-edge dentists’ equipment is, their output will only be as good as the lab they work with.
Here at Evident, we integrate directly into a clinic’s or lab’s workflow. We can design and plan everything, from the implant placements and the surgical guides to the provisional temporaries and the final fixed restoration.
We can also work with any system. So, regardless of what IOS scanner or printer our dentists are using, we have the tools capable of working with them.
Give us a call now.