
In the digital age of dentistry, intraoral scanning has become a game-changer, replacing messy traditional impressions with quick, efficient digital models. However, the success of any digital workflow hinges on the accuracy of these scans. Let’s break down the key steps to ensure your intraoral scans consistently meet the highest standards.
1. Scanner Preparation
A successful scan starts with a well-prepared scanner. Think of it as tuning a musical instrument before a performance; every detail matters.
- Hygiene First: Before each scan, thoroughly disinfect your scanner tips and ensure the mirror is spotless. Even the slightest smudge or scratch can introduce distortions into your scan data, compromising its accuracy.
- Calibration: Although most modern scanners have built-in reminders, it’s wise to make scanner calibration a regular part of your routine. This ensures your scanner is consistently performing at its peak.
2. Preparing the Patient
Just as a photographer guides a model into the perfect pose, preparing your patient is essential for capturing a flawless intraoral scan.
- Breathing Technique: Instruct your patient to breathe through their nose during the scan. This simple technique helps prevent fogging on the scanner mirror, a common issue that can obstruct your view.
- Moisture Control: Saliva and blood are the arch-nemeses of intraoral scanning. Take the time to ensure the scanned area is as dry as possible. Use tools like cotton rolls, air syringes, or anti-salivary agents to create an optimal scanning environment.
3. The Art of Capturing Accurate Scan Data
Now comes the main event: capturing the scan itself. This is where your expertise truly shines.
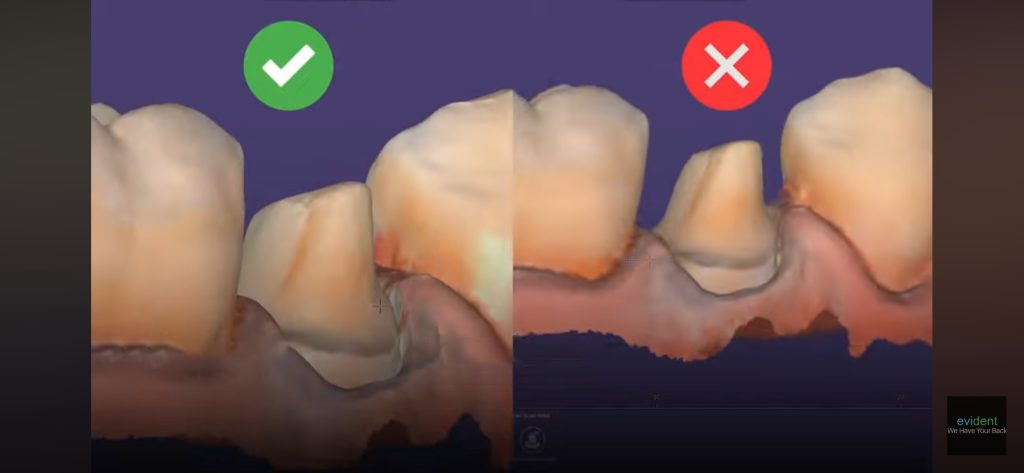
- Check for Missing Data: After each scan, carefully review the data for any holes or missing areas. Pay particular attention to the interproximal regions, as these can be tricky to capture accurately.
- Focus on the Margins: The margins are often a critical area of concern. Ensure they are visible and free from obstructions like blood or soft tissue. Ideally, aim for margins that are approximately half a millimetre subgingival.
- Bite Scans: While rescanning the entire arch is unnecessary for bite scans, capturing 4-6 teeth on each side of the bite provides valuable reference points for articulation.
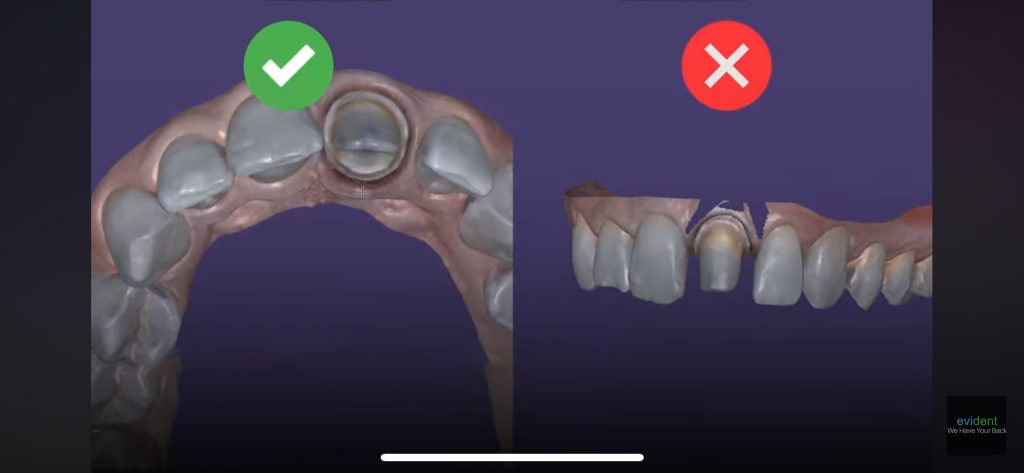
- Scan Bodies for Implants: When scanning implants, begin with a tissue scan to establish the gingival landscape. Then, focus on the scan body, ensuring its entire surface is captured in detail.
4. Post-Scan Review
Even the most experienced clinicians can benefit from a final work review. In this case, your goal is to catch imperfections before they become problematic.
- Turn Off Color Mode: Review your final scan with the scanner’s colour mode turned off. This “raw” view allows you to spot errors in the margins, reflections, or other artifacts that could affect the final restoration more easily.
Following these steps and practicing consistently transform intraoral scanning from a potential hurdle into a powerful tool in your digital dentistry arsenal. Accuracy is critical; mastering this skill will benefit your practice and your patients.