Traditionally, the Kois Dentofacial Analysis procedure would have the patient bite on a face bow to take a bite registration. The dentist would then analyze the bite, which requires some tinkering with an articulator.
But now, dentists can simply upload a few photos of their patient’s face, plus some intraoral (IOS) scans, and get a complete facial assessment.
Dr. Susan Prater Kudlats, a social media influencer and dentist at Kernan Family Dental, shows how she’s able to analyze a patient’s dentofacial characteristics, occlusion, and smile aesthetics in just a few steps.
In this guide, dentists will learn how they can quickly analyze a patient’s dentofacial features for restorative or orthodontic treatments.
Equipment Needed
There are a few things that dentists need for this new Kois DFA workflow:
- Kois facial reference glasses. Instead of a face bow, the patient wears Kois glasses over their eyes. They have various reference points and markings that aid in assessing facial proportions and alignment. They provide a consistent reference for evaluating features such as the midline of the face, lip position, smile arc, and tooth display.
- Smartphone. Any camera would suffice, but smartphones are more prevalent these days than standalone cameras. A smartphone, whether it’s an iPhone or an Android, can take high-resolution, detailed photos of the patient wearing the Kois glasses.
- Intraoral (IOS) scanner. An IOS scanner captures a digital impression of the patient’s mouth. It’s much faster than traditional impressions and allows dentists to work better with labs. That last benefit will be critical to this new smile design workflow.
Procedure
Step#1 Take Photos
Dentists simply have to capture three required photos.
The patient has to wear Kois facial reference glasses during the photo-taking process. Make sure that the glasses are level, as indicated by the bubble.
Then, place a small cotton roll at either the left or right molars so the patient can bite lightly.
Also, take the photos against a white backdrop. A white wall would do.
And make sure that the patient is well-lit so that their facial features are properly-seen.
If everything looks good, the dentist can now start taking these photos:
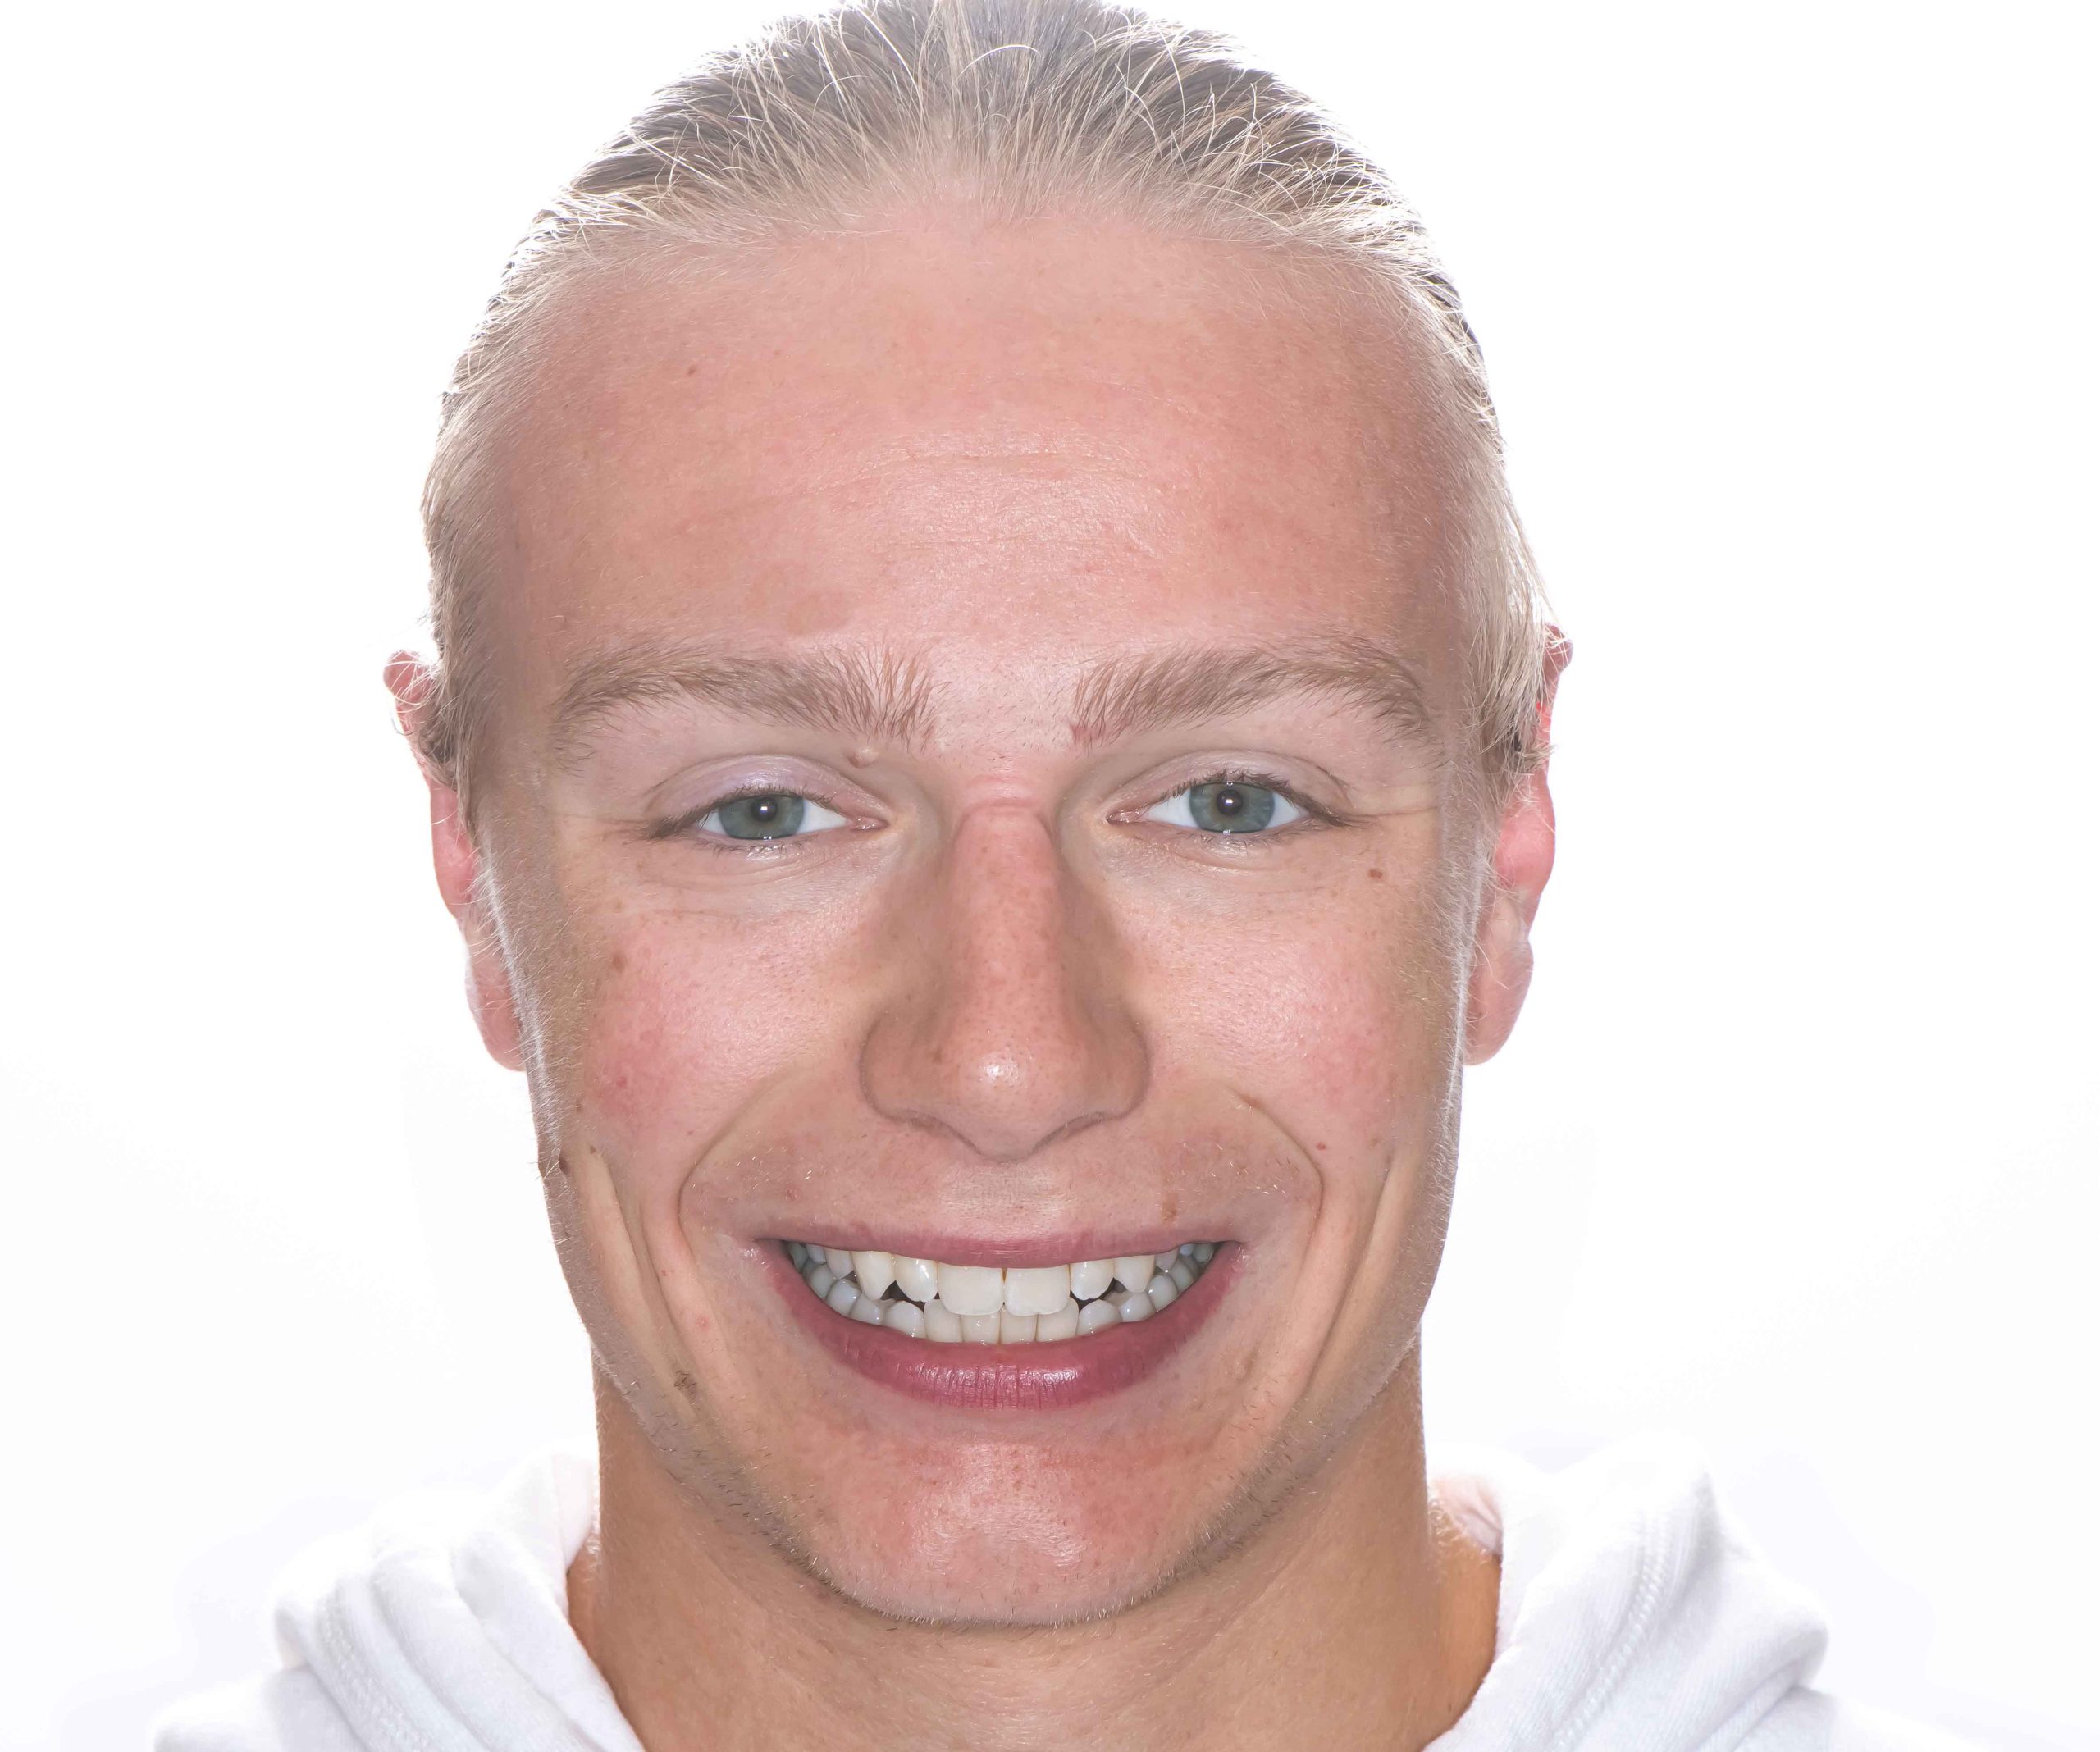
- The patient wearing a cheek retractor.
- The patient with an exaggerated smile. Pro tip: Get the patient to laugh for the most genuine reference.
- The patient with lips in repose. Pro tip: Have them say “Emma.” Take the photo at “–ma.”
These could be taken with a smartphone, a DSLR camera, or anything that will get a clear, recognizable image of the patient.
Step#2 Send the Photos to the Evident Hub
Dentists should then upload the three photos to the Evident Hub.
The Evident Hub is where dentists can order a wide range of cases from \. These include crowns, bridges, splints, all-on-x cases, complete dentures, wax-ups, and much more. Dentists input order details and send required files to Evident via the Evident Hub.
For this case, dentists will be requesting a photographic case presentation from the Kois Center Treatment Section.
The Dentofacial Analysis application will look through these photos and provide an exact analysis of the patient’s dental aesthetics. The application lets dentists know the patient’s ideal central incisor width for an optimal, aesthetic smile.
Great! At this point, dentists now have an in-depth analysis of the patient’s dentofacial features.
Step#3 Approve the 2D Smile Design
After the photos are submitted to the Evident Hub, our designers create the 2D smile mock-up that adheres to the golden proportion — a fundamental rule of beauty and aesthetics.
The mock-up is generated to be as realistic as possible so that patients can fully visualize how their smile would look after treatment. This mock-up is sent to dentists in PDF format, along with the dentofacial analysis report.
If everyone’s happy with the smile, the dentist may proceed with having the 3D smile design made.
Having a 3D smile design is critical to orthodontic, cosmetic, and restorative processes.
Unlike the 2D smile design, which is just a photo mock-up, the 3D smile design is a complete and detailed reproduction of the desired tooth formation in three dimensions.
The 3D smile design makes it much easier for dentists to design all-on-x cases, plan orthodontic treatments, and print veneers, among other procedures.
Step#4 Send IOS Scans
To have a 3D smile design created, dentists must send the preliminary IOS scans to Evident.
An intraoral scanner captures intraoral areas digitally, instead of taking physical negative impressions. This makes it possible for the impressions to be sent over the Internet.
We’ll design a digital diagnostic model based on 1) the approved 2D smile and 2) the IOS scans and translate it into a 3D model.
Step#5 Acquire the 3D Smile Design
Dentists receive the new smile’s digital diagnostic model in as little as 30 minutes.
They can use this digital 3D smile to work with their partners. This will help streamline the treatment planning process for the patient, whether it’s veneers, all-on-x, or orthodontic procedures.
Evident also provides the option to have a Kois deprogrammer designed. This little apparatus can fix a patient’s bite in order for the desired smile to really come out.
Step#6 Print the 3D Diagnostic Wax-Up
Once dentists have the desired 3D files (e.g., models and deprogrammers), they can then be printed.
Printing could be done either in-house or outsourced
If dentists opt to outsource the printing of the digital models, they can let Evident know. We can design and print the models for you—an end-to-end fabrication.
If dentists opt to print in-house, they’ll need a 3D printer.
A 3D printer allows a dental clinic to produce models, restorations, and components in-house. It’s a decent investment that can save time, money, and labor for fabrication.
It’s also a handy tool that lets partners, such as Evident, send a digital file instead of shipping out a physical one, which can take up time and add cost.
Conclusion
A dentofacial analysis is only one of many services that digital dentistry speeds up. Other services that digital dentistry can aid in include crown and bridge work, fixed dentures, and even endodontic treatments.
Get started now with digital dentistry. Get in touch with Evident now and learn how your dental clinic can decrease chair time, lower operational costs, and increase revenue.


