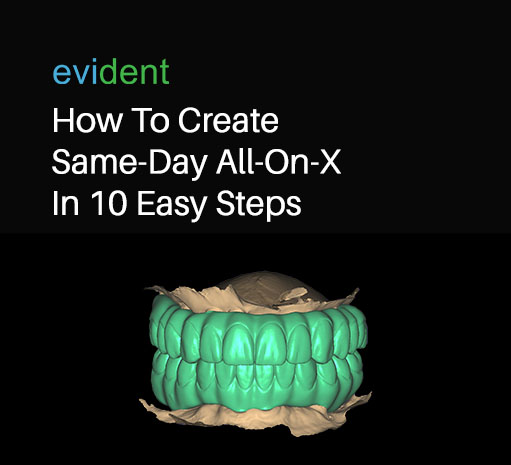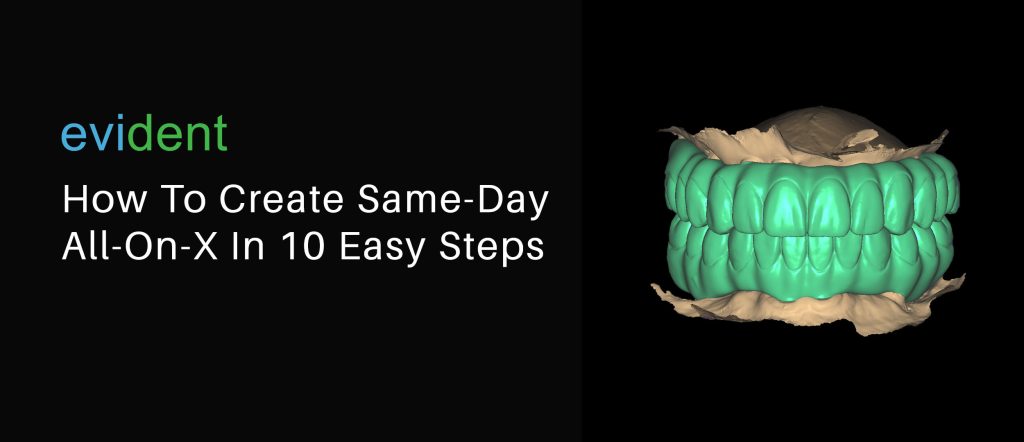

Traditionally, All-on-x takes weeks to complete. It also requires a highly skilled labor force since it’s difficult to make. The labor shortage in the dental lab industry isn’t helping either.
Other challenges with traditional All-on-x include casting the framework, getting it to fit perfectly on the converted patient, and dealing with re-designs, among others.
Digital All-on-x overcomes all these hurdles. It allows for a quicker fabrication process; the workflow creates a more accurate output and, hence, a better-fitting end product; and it’s also easier for newer technicians to learn.
A digital All-on-x workflow allows dentists to run quicker, more efficient chairside operations. Here’s how to get started:
What You Need
There are a couple of upfront investments needed for digital All-on-x.
Scanner
A scanner generates a digital impression of the patient’s mouth.
They are much more accurate than traditional wax impressions. Intraoral scanners only deviate a fraction of a hair’s width from the actual subject. This gives dental technicians a near-exact reference — as if they’re designing the All-on-x directly in the patient’s mouth.
In addition, capturing a 3D image with a scanner takes minutes, as opposed to taking an impression and creating a physical wax-up, which can take hours.
A Way to Design the Restoration
Digitally creating the All-on-x restoration allows designers to see the final result before it’s even made.
There are two primary ways to design a restoration.
- Dentists may design the All-on-x in-house. This can streamline the All-on-x workflow underneath one facility. However, the demands for designing in-house are quite hefty. It requires a subscription to CAD/CAM software, such as 3Shape and exocad, capable hardware, and the time and dedication to learn 3D design.
- Another way to acquire the All-on-x design is by outsourcing the design process. This method frees up clinic staff for other tasks, giving it heightened productivity.
Here at Evident, we integrate directly with lab and clinic workflows. We design All-on-x within an hour, returning an accurate design that will fit the patient perfectly.
All that’s left to do is print (or mill) the All-on-x.
3D Printer
3D printers have been around for some time. But their integration into restorative dentistry is relatively new. 3D printers turn the digital restoration model into a real, physical item.
3D printers also allow for much faster fabrication. For reference, printing time for a full arch takes about two hours, as opposed to handmade methods, which can take half a business day.
Curing Machine
The curing machine processes the newly-printed All-on-x, making it sturdier and removing any cytotoxicity from it. A curing machine must be compatible with the resin and printer used, or else the All-on-x won’t come out right. So, always consult with vendors and suppliers before getting a curing machine.
A Way to Wash the Cured Restoration
There are various ways to wash the cured restoration.
- Brush and cleaning solution
- Isopropyl Alcohol (IPA) bath
- Dental washer
Washing removes any dirt, debris, and excess resin from the printed All-on-x. This makes it clean and sanitary before placing it in the patient’s mouth.
Consumables
Consumables include printer resin, stains and glazes, cleaning solutions, and sometimes, scan bodies. These need to be resupplied regularly.
Once dentists have the above-mentioned items, they are now fully equipped to provide same-day All-on-x service. Now, here’s the workflow on how to get that done:
Step-By-Step Workflow
Step#1 Take Pre-Op Photos
Take photos of the patient’s bite and smile before the conversion. This will provide an anatomical reference that will allow designers to create the smile for the All-on-x.
These photos can be taken with a standard smartphone camera or a facial scanner.
Step#2 Put Bone Screws
There are three areas where dentists should place bone screws:
- Center of the upper palate
- The two retromolar pads
Having these bone screws included in the scan will give designers a solid reference for the bite.
Step#3 Take the Pre-Op Scan with the Bone Screws
This is the first scan dentists will take.
Before any teeth are removed, dentists should scan the patient’s mouth. This will give designers a reference for what the patient’s pre-op teeth looked like. Using this data, dentists can then recreate the patient’s exact tooth alignment. They can also modify tooth positioning to redesign a smile or fix a bite.
The bone screws will stay in place for the next scan.
Step#4 Convert The Patient
Once the pre-op scan has been captured, dentists can start with the surgery.
The necessary teeth are surgically removed, and the dental implants are placed into the jawbone.
After the implants have been securely placed, the patient is stitched up.
Step#5 Place Scan Bodies on the Implants
Scan bodies are designed to replicate the shape and dimensions of the final prosthetic components that will be attached to dental implants. By placing scan bodies on the implants, the intraoral scanner captures their precise positions and orientations in three-dimensional space.
Step#6 Scan the Scan Bodies and Bone Screws
Once the scan bodies are in place, the second scan is taken.
This time, the dentist will be scanning the post-operative patient. This scan includes the scan bodies and the bone screws that have been placed before the operation.
Designers use bone screws to identify critical reference points. With the bone screws, they can properly align the pre-op scan with the post-op scan.
Step#7 Send the Scans and Rx to a Design Facility
Once dentists have the pre-op and post-op patient scans, they can send those scans to a design facility to have the All-on-x digitally designed.
However, when partnering with a design facility, dentists must select a partner that does quick, accurate work. This is crucial since dentists can’t just send the patient home with bare implants sticking out of their gums.
Evident can design a well-fitting All-on-x in an hour. Dentists may use this time to remove the bone screws and stitch the patient up.
Here at Evident, we have hundreds of expert designers in our workforce. We’ve also mastered our craft, allowing us to provide an immediate All-on-x design that delivers in function and aesthetics.
Simply send us the Rx and the scans, and we’ll do the rest.
Alternatively, a dentist may design the All-on-x themselves if they are adept at CAD/CAM. Once the All-on-x design has been made, dentists may print it out.
Step#8 Print the Design
With an in-house printer, dentists can bring the All-on-x design “to life.”
Printing an All-on-x can take a couple of hours for each arch. But ultimately, print speed depends on the printer. A higher-end printer would typically print faster and with more detail than an entry-level one.
Step#9 Post-Processing
After the All-on-x has been printed, it goes through additional processes before it’s ready to be placed into the mouth.
- Stain and Glaze. This stage makes the All-on-x look natural in the patient’s mouth. The prosthetic teeth are matched with the patient’s existing teeth, and the gum-like base is matched with the existing tissue.
- Curing. The characterized All-on-x is then cured to harden it and remove any cytotoxicity.
- Washing. The cured restoration is then washed, making it sanitary to place into the patient’s mouth.
Depending on any manufacturer-specific instructions, the post-processing stages may be interchanged. Always consult with the manufacturer on the proper post-processing method.
Step#10 Seating the All-on-X
The prosthesis is carefully placed onto the implants. The dentist ensures proper alignment and seating by applying gentle pressure and checking occlusion and fit.
Limitations
3D printer resin has not yet developed to the point that it can create permanent All-on-x. However, dental resin on the market today has amazing flexural strength and e-modulus that can be used for long-term temporary restorations.
For reference, PMMA is rated with a flexural strength of 50 to 60 MPa, whereas Saremco Crowntec Resin, a dental 3D resin, is rated with a flexural strength of 130 MPa.
Permanent All-on-x will require sturdier material and components (e.g., a titanium bar and zirconia teeth). These will take a longer time to create, but thanks to digital methods, they can be created much quicker.
The strength of printed temporary All-on-x is in how quickly it can be created. Same-day All-on-x is a great way of providing patients with an immediate denture to use on the day of surgery. It’s also long-lasting, placing it somewhere between a temp and a permanent restoration.


