Some dentists like to put scalpel to gum tissue without any guides. Dentists who are experienced in performing gingivectomies can rely on their clinical skills, knowledge of anatomy, and manual dexterity to perform the procedure accurately. They may remove or reshape the gum tissue based on their professional judgment and the patient’s specific needs.
Dentists may choose to use guides in more challenging cases where achieving the desired outcome requires a high level of accuracy.
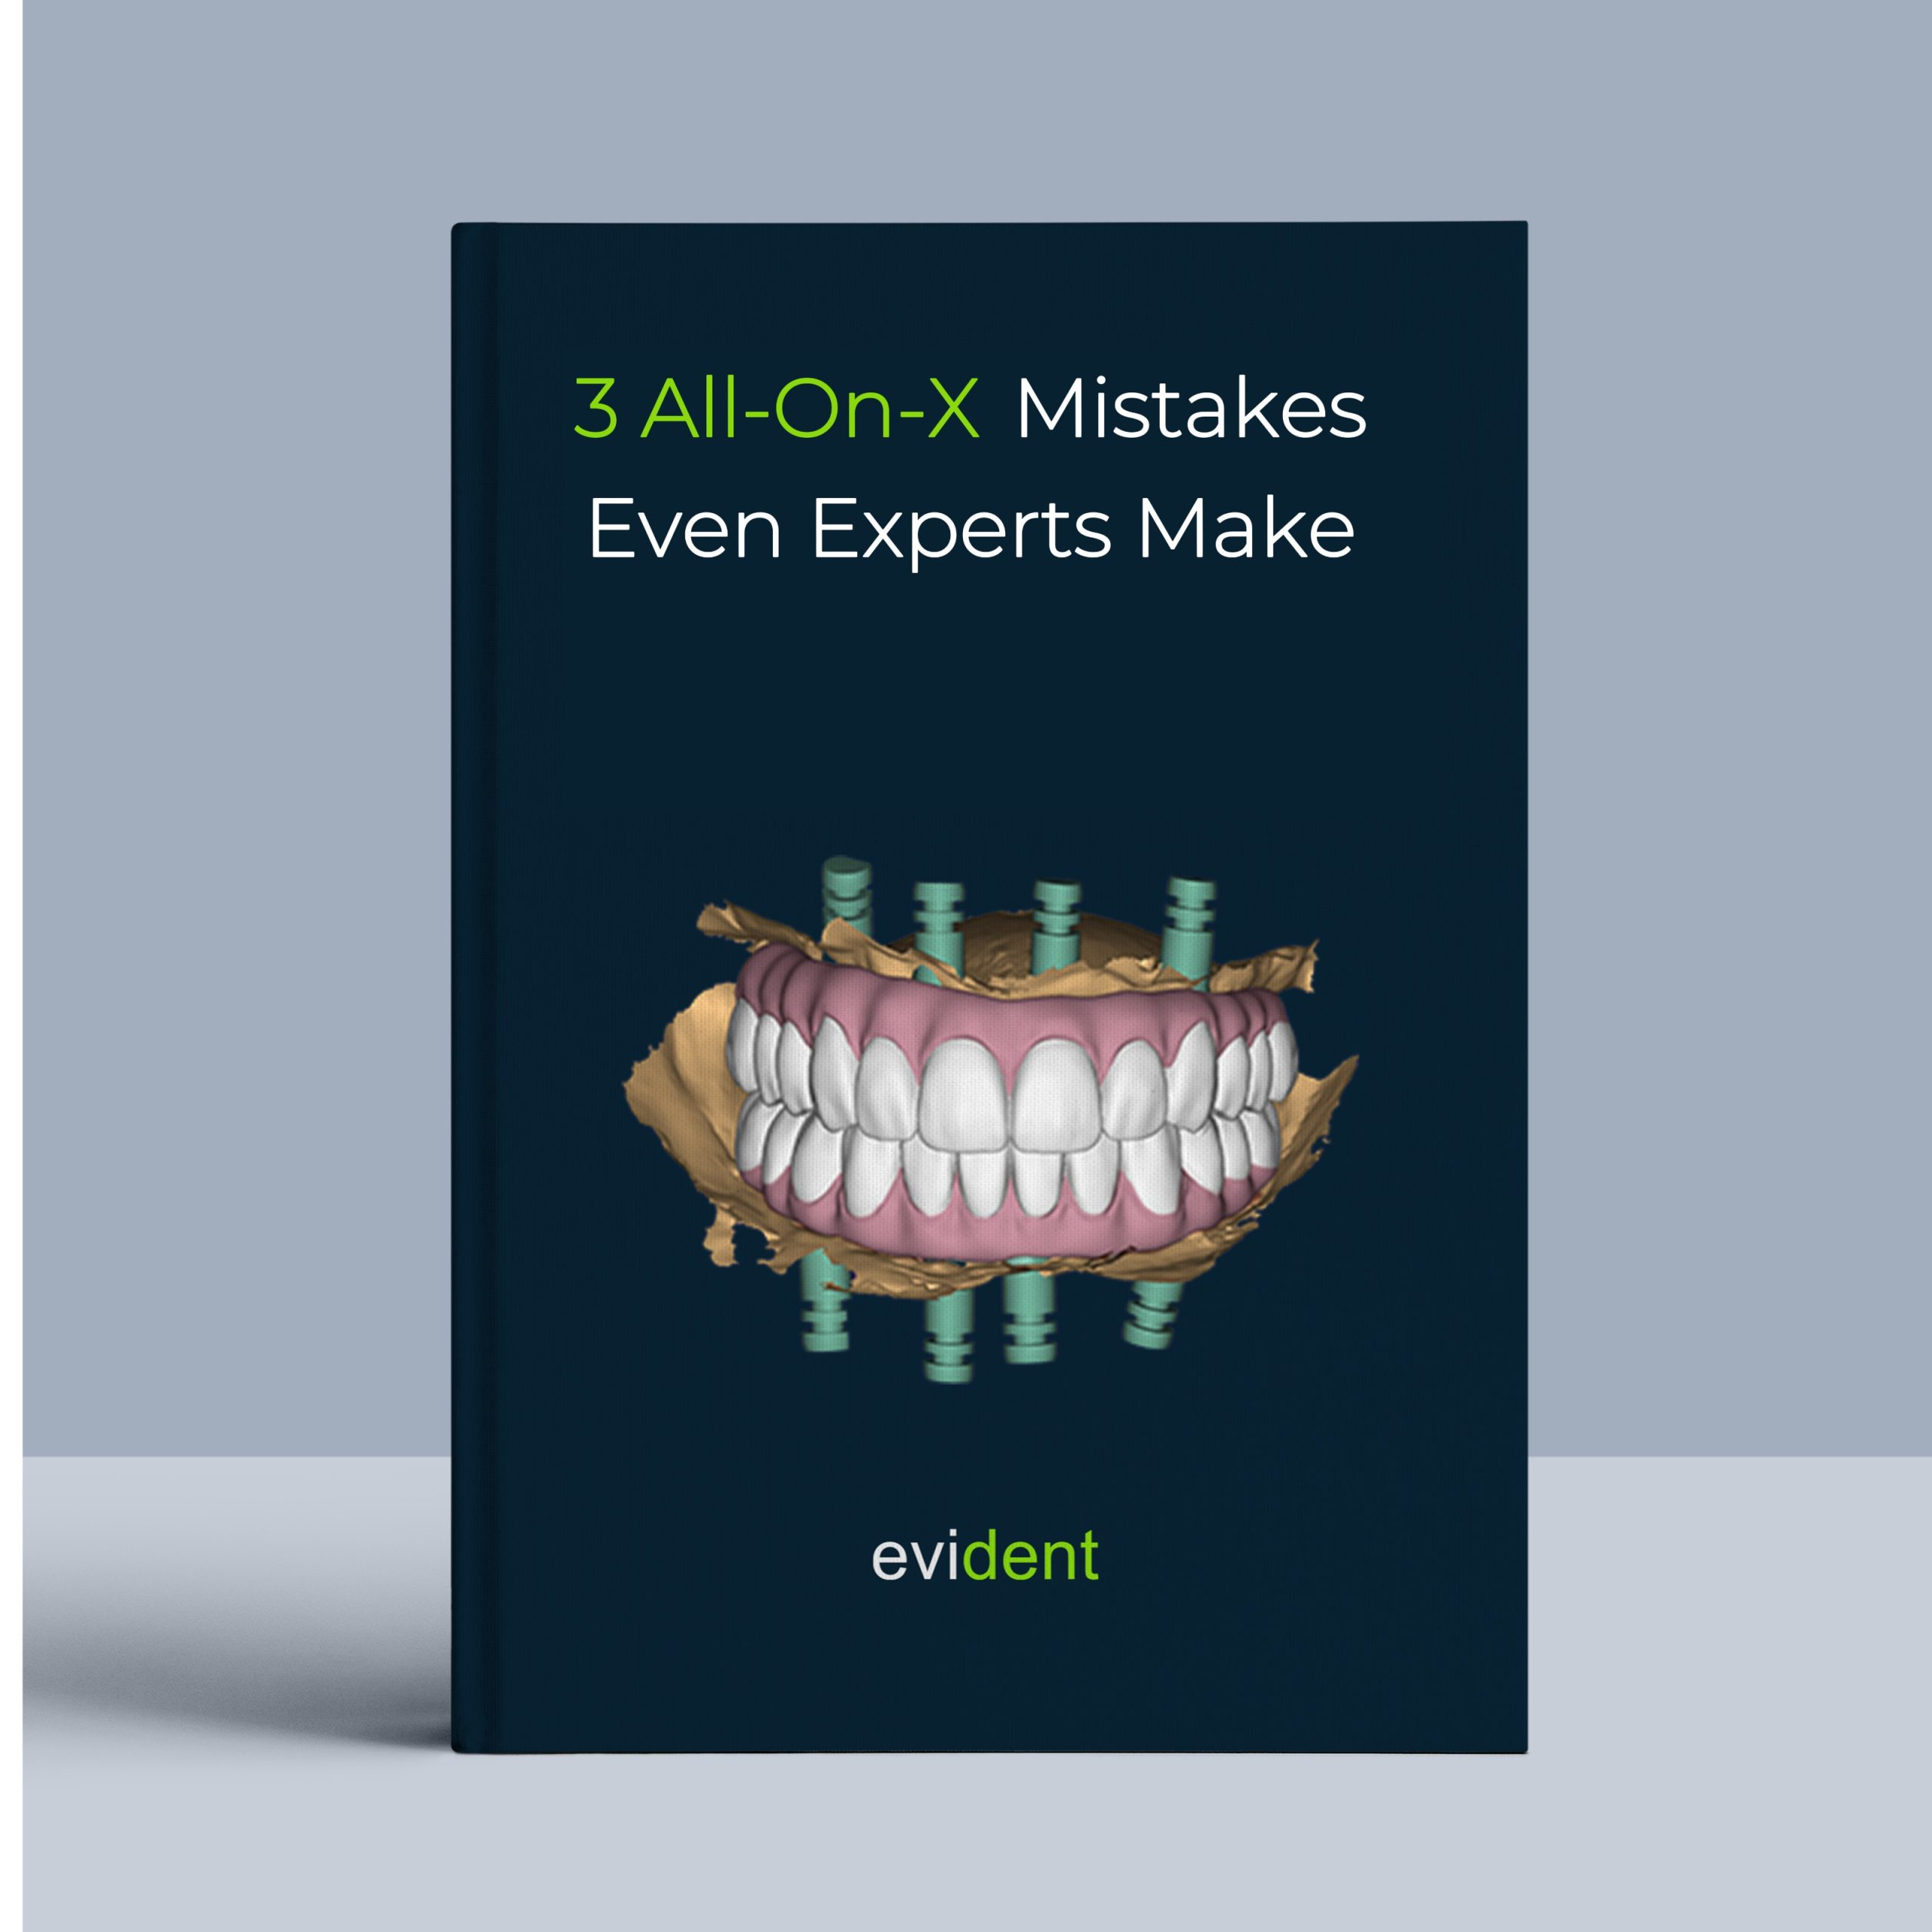
Nonetheless, there’s no denying that over-reduction can cause some complications, apart from facial aesthetic concerns. So, whenever possible, dentists should use gingival reduction guides.
Creating them before the procedure allows dentists to visualize the bite and smile before the patient even comes in for the gingivectomy.
Why should Dentists Print Gingival Reduction Guides?
Like any other dental case or component, gingival reduction guides can be hand-made or printed. The benefit of printing is that once dentists learn the digital workflow that comes with it, they’ll achieve a much faster fabrication process.
It’s also much easier to teach new techs how to operate a 3D printer than to make them go through the traditional process of taking impressions, casting, molding, and investing. As a result, the printing know-how will maximize labor expenses and make staff jobs more engaging.
Printing dental cases and components is an efficient practice that will only develop further with time.
How to Print Gingival Reduction Guides?
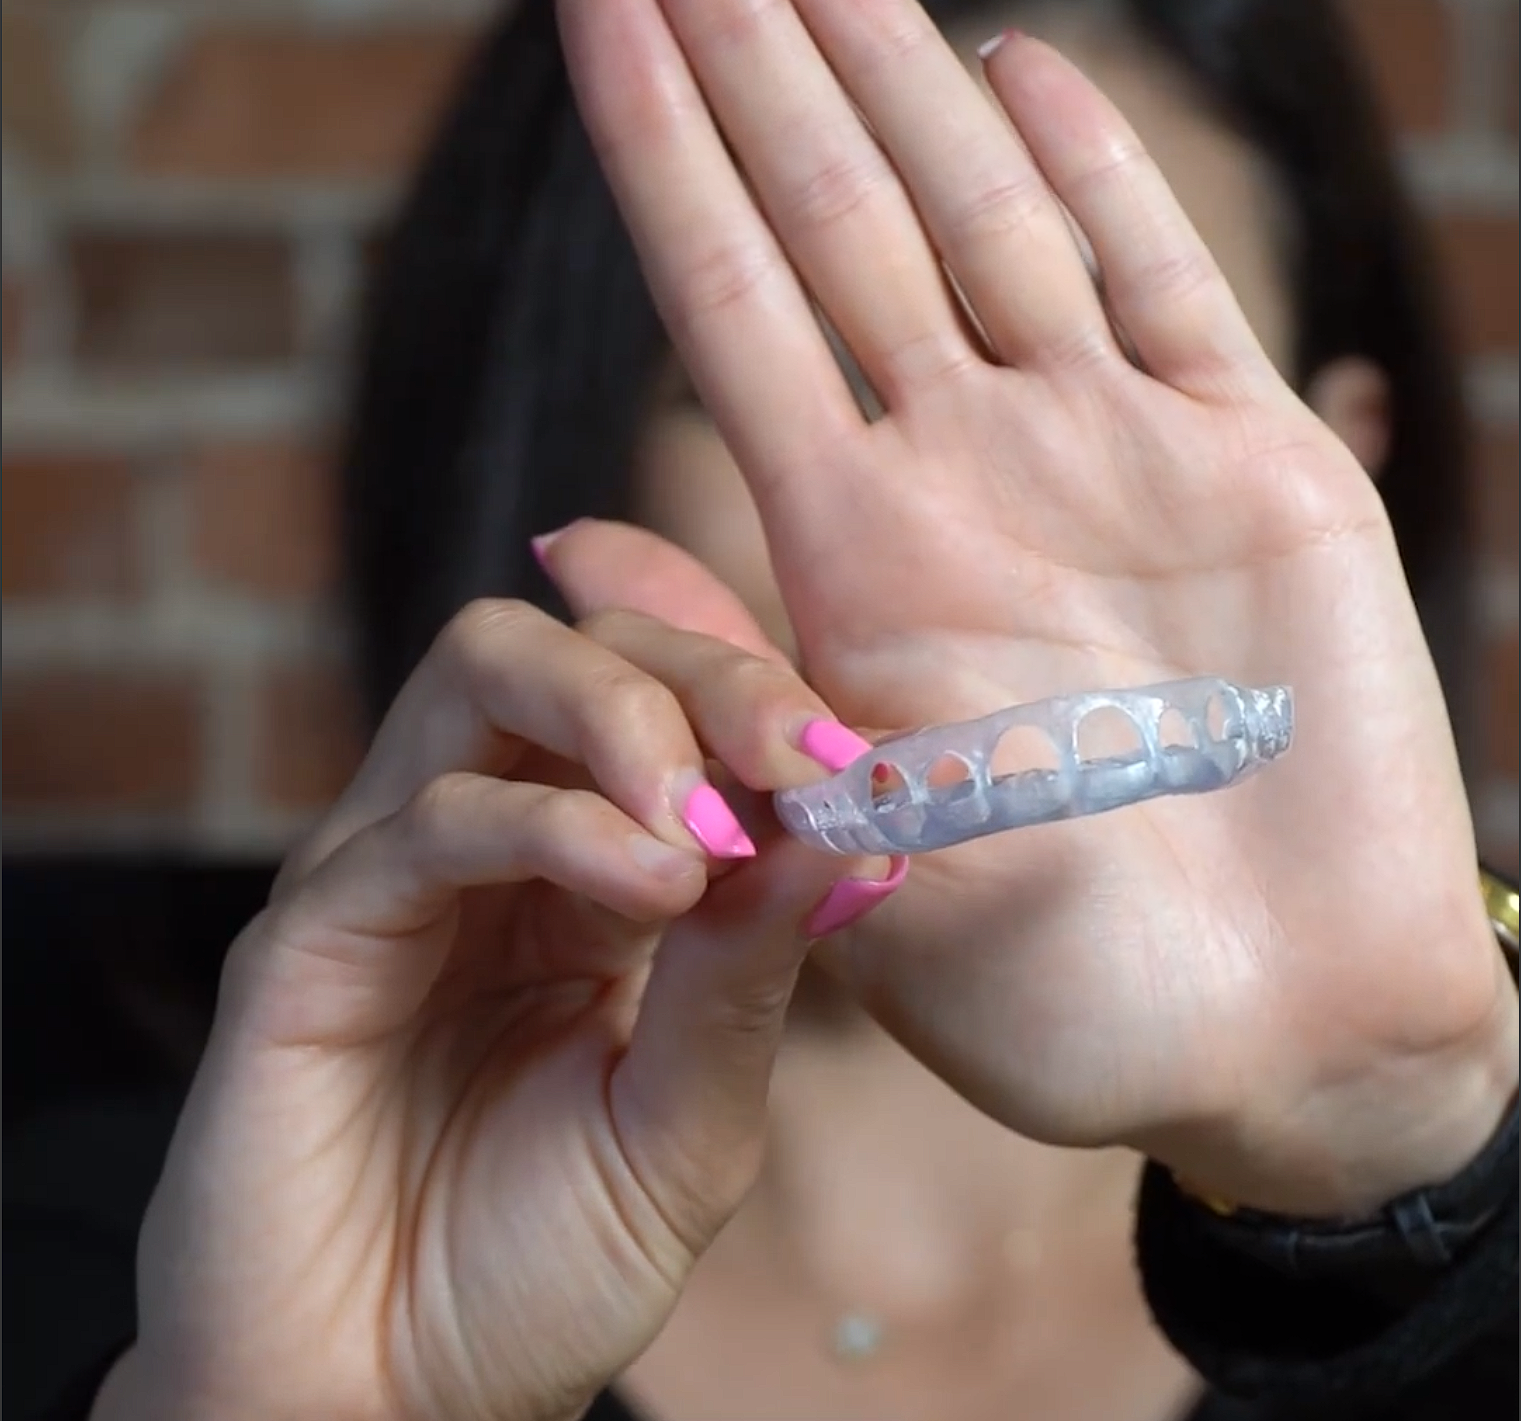
Step#1 Scan
Before anything is made, dentists need to take a digital scan of the patient’s mouth. This digital model will serve as a reference for designing the gingival reduction guide.
There are two primary ways dentists can acquire the digital model of the patient’s mouth:
- Using an intraoral (IOS) scanner chairside. This device is waved around in the patient’s mouth like a wand, capturing the teeth and gingival structure from all angles. This process generates a digital 3D image that’s stored on a computer.
- Using a 3D scanner. Dentists that have an existing physical model — whether wax-up, impression, or stone — of the patient’s teeth may use a 3D scanner to store that physical model digitally.
Once a scan is captured, dentists may start designing the gingival reduction guides based on the scanned digital reference.
However, some dentists may still prefer to have a physical model present if they don’t already have one. In those cases, dentists may directly 3D print the intraoral scan data.
Step#2 Design
After the digital reference is captured, dentists may begin the design process.
During the design process, dentists can assess on-screen how much gingival reduction they want. They can immediately visualize how a bite and smile would look without the need for a physical stone model.
In the entire digital fabrication workflow of creating gingival reduction guides (or any digital components, for that matter), the design process is the hardest to learn for those new to the technology. But navigating around that hurdle will result in a much faster fabrication process compared to traditional, hand-made methods. It will also be less labor intensive.
3D design is an entirely different skill set, and they wouldn’t always teach that in dental school. Hence, the massive learning curve when it comes to design.
Here’s what dentists would need to digitally design gingival reduction guides:
- CAD/CAM software.
- Capable hardware that can handle 3D design demands
- Time and dedication to learn 3D design
Alternatively, dentists may subcontract to a digital design company to design gingival reduction guides for them.
Evident partners with thousands of labs and dentists worldwide, providing them with proper, ready-to-print STL files in 24 hours or less. We’ve employed over a hundred staff that are efficient and proficient in exocad, ensuring the quality and detail of the designs.
Simply send us the scans and Rx, and all you need to do is print. Optimize for an efficient dental workflow now with Evident. Give us a call to learn more.
Step#3 Print
Printing is a much easier stage of the fabrication process that takes an hour or two to learn.
The printing stage transforms the digital model file, usually in the form of a Standard Tessellation Language (STL) file, into a physical object in the real world.
In order to print gingival reduction guides, dentists will need:
- A 3D printer
- Dental resin
- The necessary nesting software that works with the printer.
Nesting software helps optimize the layout of print models in the printing area, maximizing material utilization.
So, if dentists acquire a printer from Formlabs, they’ll need the accompanying nesting software developed by Formlabs, which is the Preform nesting software.
Once the model has been nested, it’s ready for printing.
One of the printers Evident uses is the Formlabs Form 3B, a popular desktop printer choice for dentists and labs alike.
The process for printing will differ based on the manufacturer and model. But typically, printer manufacturers have dedicated success and support teams, along with valuable learning resources, that allow anyone new to the technology to pick up on printing easily.
Step#4 Wash
The printed model needs to be washed next. This process removes dirt, debris, and excess resin from the gingival reduction guide.
A common way to wash is to use a cleaning solution and a brush. But this process may be too cumbersome if there are a lot of cases in queue.
A more advanced and efficient way of cleaning printed models is to use a washer. Dental washers are IPA baths with cleaning features such as ultrasonic cleaners. Washers help to reduce manual input when cleaning.
A dental cleaner you may use is Cleani from Ackuretta.
Step#5 Cure
Curing is a crucial step of the fabrication process that dentists can’t skimp on.
Curing tightens the bond between the printed guide’s particles, making it more compact and dense. This gives the guide its required strength.
More importantly, curing the printer guide makes it biocompatible with the patient’s oral environment . An improperly-cured case, whether it’s a denture or a guide used in surgery, could be toxic to the patients and their health.
To cure a printed case, dentists will need a curing unit appropriate for the printer that they use. It helps to consult with your printer provider about the specific curing model you need to cure your printed part.
Evident finds that the Ackuretta Curie works for both the Ackuretta Sol printer and the Formlabs Form 3B printer.
Conclusion
With this digital dental workflow, dental clinics will lower patient chair time, and minimize material costs, and labor expenses. Overall, dental 3D printing is a wise time and money investment for any dental clinic that’s looking to scale its business.