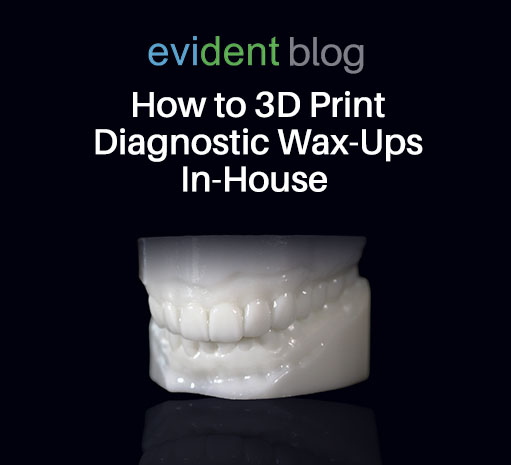
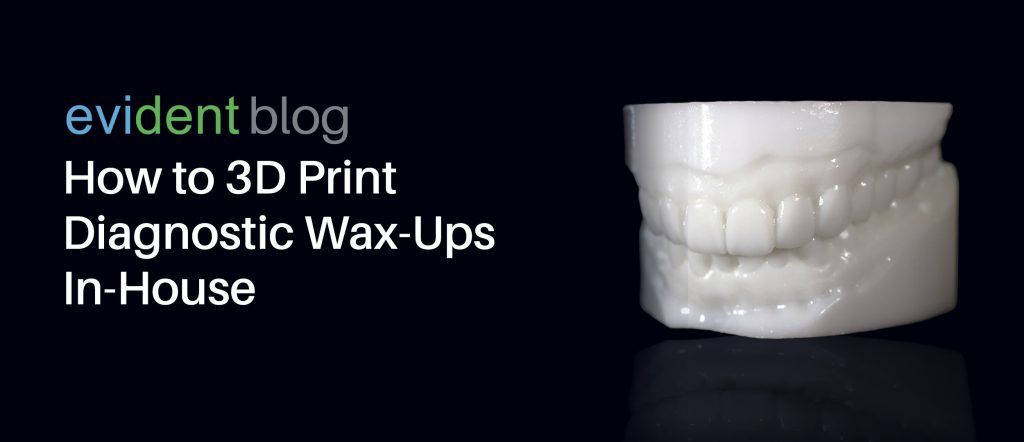
3D printing diagnostic wax-ups (DX) can be more efficient for your dental practice than making them by hand. For one, dentists free up a set of hands that can be used for more important matters, such as assisting chair-side. Another benefit of 3D printing diagnostic wax-ups is that the physical model comes out with more accuracy and detail due to the decreased likelihood of human error.
But 3D printing isn’t some exclusive, top-of-the-line technology that only NASA can afford. Advancements in dental restoration technology have made machine-aided dental restorations more accessible.
When you can 3D print diagnostic wax-ups in-house, you reduce the reliability of third parties and optimize your business workflow, especially with critical presentation tools like wax-ups.
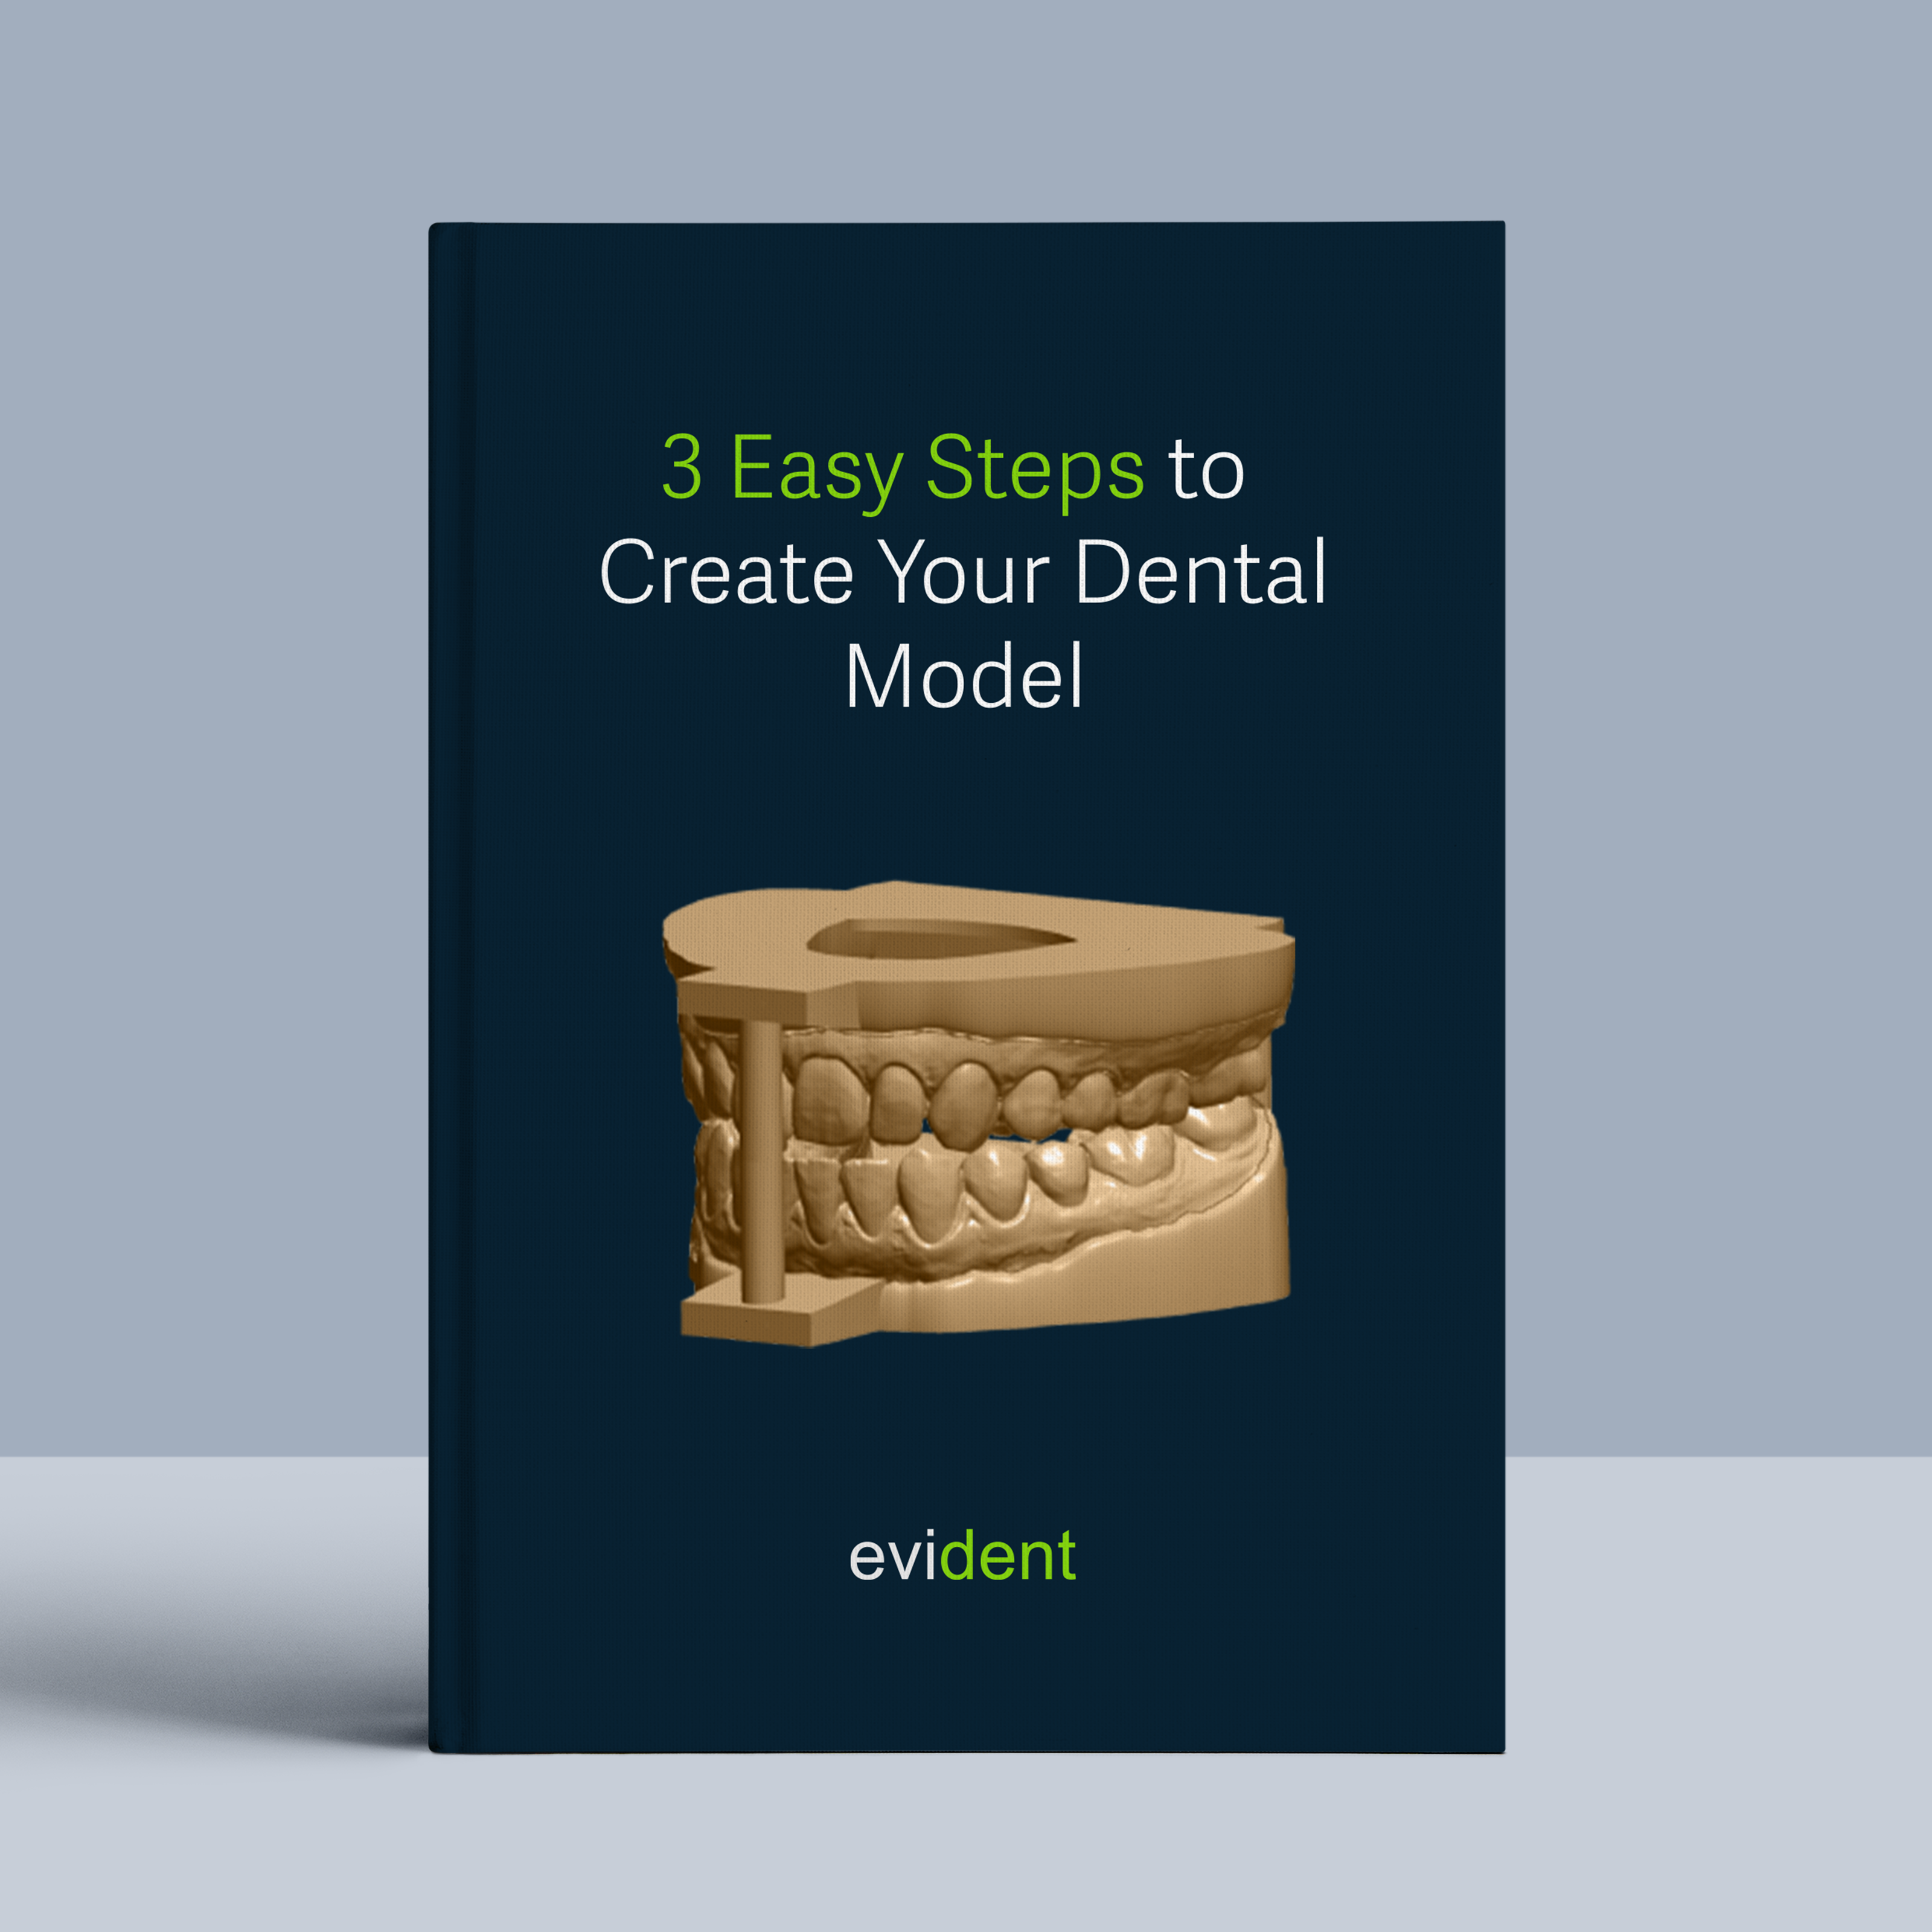
That said, here’s how you can 3D print diagnostic wax-ups in-house.
Step#1: Scan
A 3D printer needs a digital design file before it prints the diagnostic wax-up. Generally, there are two ways to achieve this:
- Use an intraoral scanner. An IOS scanner replaces the traditional method of getting a negative impression of the patient’s mouth. The dentist waves this scanner around the patient’s mouth and the computer it’s attached to generates a digital scan from the scanner’s imaging technology. Scanning a full arch takes less than two minutes.
- Get a 3D scanner. A 3D scanner is generally more affordable than an IOS scanner but would still require the dentist to acquire a physical negative impression of the patient’s mouth. A 3D scanner scans the negative impression, creating a digital file. A 3D scanner can pick up a negative impression in as little as a few seconds, depending on its specs.
Once you have the necessary model files, you may proceed with designing them.
Step#2: Design
The editing process allows dentists to make changes to the patient’s mouth scan, allowing both the patient and the dentist to visualize how the bite and smile would look after a restoration has been applied.
You may edit the digital model file yourself or outsource it to a partner to edit it for you. There are some pros and cons to each of these methods:
- Editing It Yourself. You can use dental design software like 3Shape and exocad to make edits to the patient’s scan. When dentists edit a digital model themselves, they can immediately show their patients how their bite and smile would look post-restoration. The downside of in-house editing is that there’s an extra learning curve needed to operate the software, plus the hardware needed to run the editing software can cost up to $1,500.
- Outsourcing a Design Partner. Offloading the editing process to a digital design partner saves dentists from the learning curve and hardware/software costs associated with in-house editing. The downside of outsourcing a design partner is that the rest of the wax-up fabrication process relies heavily on how soon the partner can deliver the edited digital design. So, it’s crucial that dentists choose their design partners wisely.
Here at Evident, we edit and return a detailed, final design in as fast as 30 minutes. Simply send us the following:
- Rx
- Intraoral Scans
We’ll do the rest of the designing. You’ll receive from us a ready-to-print file that accurately displays how your patient’s teeth will look post-restoration.
Once you have your edited, final design, all that’s left is to 3D print it and show it to your patient.
Step#3: Print
Dental 3D printers have evolved to become more compact and cost-effective, comparable in size to a kitchen trash can and priced less than the newest gaming console. However, the scale of usage matters: printing single-unit crowns is one scenario, but frequent full-mouth wax-ups present a different consideration.
The most important spec you should look for if you’ll be printing full-arch wax-ups is build volume. Build volume refers to the biggest object that a 3D printer can print.
A full arch wax-up can range from 80mm to 120mm in length, 40mm to 60mm in width, and 20mm to 30mm in height. So, the ideal build volume of your chosen 3D printer should be at least 140mm x 70mm x 40mm (priority on length). Printers meeting this specification include Formlabs Form printers, EnvisionTEC Vida printers, and Ackuretta Sol printers.
Printers with a large enough print volume to fabricate full-arch wax-ups will cost at least $1000.
Other specs to consider include printer resolution, printer size and weight, and, if you’re calculating expenses, power consumption.
Once you have a dental 3D printer, you can start printing diagnostic wax-ups in-house. There’s some learning required to properly operate a dental 3D printer, but dentists can fully grasp it within a day.
Washing
Based on the printing method, manually brushing the new print with a cleaning solution may be sufficient. But there are other thorough methods to clean a fresh diagnostic print, such as:
- Ultrasonic cleaner: This equipment uses ultrasonic waves and cleaning solutions to remove any excess resin from the printed model. The model is first placed in a tank filled with a cleaning solution. Then, ultrasonic waves create high-frequency vibrations that dislodge the uncured resin.
- Isopropyl alcohol (IPA) bath: The printed model can be submerged in a bath of IPA for a certain amount of time to dissolve any uncured resin. IPA is a commonly used solvent for washing 3D-printed parts.
Common cleaning methods apply to the prevalent digital light processing (DLP) printing technique. However, other methods like selective layer melting or milling may require distinct finishing processes, including sandblasting or sintering.
3D Printing Wax-ups In House
By following this guide, you can present patients with their diagnostic wax-ups on their initial appointment day. Beyond speed, 3D-printed diagnostic wax-ups offer higher accuracy and detail, effectively lessening human error.
Getting a dental 3D printer and scanner isn’t just exclusive to diagnostic wax-up workflows, though. Dentists may use this equipment to more efficiently and precisely create crowns, bridges, veneers, and other dental restorations as well. This makes 3D printers and scanners a solid investment to future-proof any dental clinic.
While initiating a digital workflow requires an upfront investment and learning time, the long-term benefits are substantial. It not only reduces business costs and labor but also enhances the overall patient experience.
If you’re interested in exploring 3D printing for your dental clinic but don’t want to invest in equipment and training yet, Evident can help. Our digital design process is optimized to deliver quick and high-quality service to dentists. Contact us today to see how we can help you bring the benefits of 3D printing to your practice.