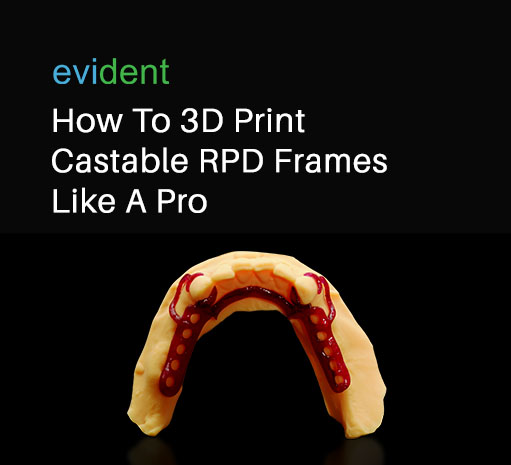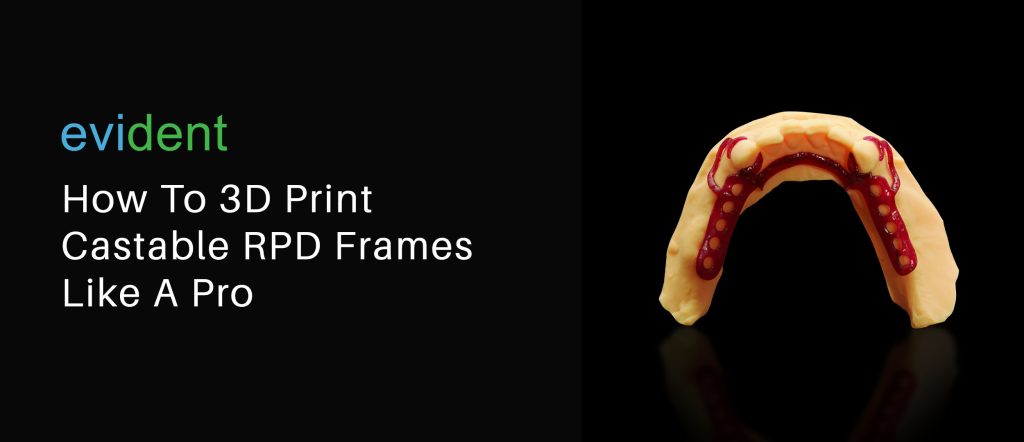

Removable partial denture (RPD) frameworks are an integral component of removable partials. They anchor the prosthetic teeth onto the patient’s remaining natural teeth and serve as the RPD’s skeletal frame.
So, there’s some importance placed on accuracy and fit when it comes to castable RPD frames. Even if they aren’t the final metal framework, it’s crucial that they fit well on the patient. Because once they’re cast into metal, any deviation from a good fit will be uncomfortable for the patient.
That’s where 3D printing comes in. Digital dentistry allows for a more accurate fabrication process, making 3D-printed cases fit better than traditional, hand-made ones.
In addition, 3D printing cases is also much quicker, easier, and uses up less material. This saves your dental business operating expenses in the long run.
Why Print a Castable RPD Frame Instead of the Final Metal One?
Recent innovations in dental technology have allowed for metals like titanium and cobalt-chromium to be 3D printed or milled. So, the option to digitally fabricate — let’s say, a titanium RPD frame — is there.
However, these precious materials cost a lot and have hefty processing costs. So, we suggest 3D printing a castable RPD frame first made of acrylic or plaster that dentists could use during try-ins.
By printing a castable RPD frame, dentists can verify the accuracy and fit of the prosthesis before casting it in the final metal alloy. This allows for adjustments or modifications to be made if necessary, ensuring a precise fit and optimal functionality of the RPD.
If any changes or adjustments are required after evaluating the printed, castable frame, they can be easily made before proceeding with the more expensive casting process (i.e., metal milling or casting).
With that said, here’s how you can print castable RPD frames:
Step#1 Scan
First, dentists need to take a scan of the patient’s prepped mouth using an Intraoral (IOS) Scanner. This creates a digital model of the patient’s teeth in minutes.
The model will serve as the master cast of the patient.
Depending on the IOS scanner used, taking a scan of the patient’s mouth will have a different approach. But typically, dentists can’t go wrong with taking a scan of the following:
- Scanning the upper arch
- Scanning the lower arch
- Scanning the bite
These scans provide dental techs with more data they can work with. As a result, they can create a more accurate framework.
Dental techs can also use the scan data to plan RPD tooth selection and positioning in later stages of the RPD fabrication process.
Step#2 Design
Once the digital master cast is taken via scan, dental techs may begin designing the castable RPD frame. But unlike traditional hand-made methods, designing the framework using digital methods doesn’t use up any material.
Instead, the designer uses CAD/CAM software to create a digital model of the final design. Sophisticated CAD/CAM software, such as 3Shape and exocad, allows the designer to properly visualize how the output would look.
There are two primary ways to design a castable RPD framework:
- Dentists may design the framework themselves.
- Dentists may outsource the design process to a digital design company.
Designing It Yourself
If dentists decide to design the castable RPD framework in-house, they’ll achieve a much quicker turnaround that’s under their control. The downside to this, however, is that clinicians would have to learn to use CAD/CAM software, which can take up a considerable amount of time and, not to mention, a lot of not-so-good cases being designed during the learning process.
The software required and the capable hardware also have some costs associated with them.
Outsourcing the Design Process
On the other hand, dentists may delegate the design process to digital design companies to minimize their workload and headache.
The benefit of this is that dentists won’t need to learn CAD/CAM software. They also won’t have to invest and maintain the required software and hardware. However, the quality of service will rely heavily on the reliability of the subcontracted company.
At Evident, we’ve mastered our digital design craft after designing thousands of different cases for dentists and labs. We’ve employed hundreds of staff proficient in exocad, allowing us to deliver a quality design at a quick turnaround.
You’ll get a ready-to-print STL file back from us within 24 hours of sending us the IOS scans and Rx. Give us a call now to inquire about our process.
Step#3 Print
Once dentists have the ready-to-print STL file, they may proceed with printing.
Outsourcing the Printing
Partnering with Evident provides dentists with an end-to-end solution that allows them to immediately receive a physical, 3D-printed, castable RPD frame. This is possible since Evident works with various labs that can 3D print a case from an STL file.
What dentists will be getting is a streamlined design and printing process. They’ll only need to wait for the frame to arrive at their clinic, just like an Amazon parcel.
Printing It Yourself
Alternatively, dentists may print the frame themselves. This will require learning how to use a dental 3D printer, along with some costs associated with the equipment.
However, dental 3D printers have become more affordable and compact. Some cost as much as the latest and are no bigger than a coffee machine. This makes an entry-level 3D printer a must-have piece of equipment for any dental clinic.
3D printer suppliers also ensure that their customers are equipped with the proper know-how to maximize the printer’s use. So, learning resources are available to printer customers, as are dedicated support and success teams.
Evident has personally tried Formlabs Form printers and the Ackuretta Sol.
Post-Printing
Before the castable RPD frame is ready for try-in, it must be washed off of any excess resin and dirt first and then cured.
Wash
Dentists and techs may wash a newly printed frame with a brush and cleaning solution. However, for more thorough washes, we recommend IPA baths using a dental washer.
Dental washers, such as the Cleani from Ackuretta, come with more features, such as an ultrasonic cleaner, that make the cleaning process quicker, more thorough, and less laborious.
After washing, the printed frame can now be placed in a curing chamber.
Cure
Curing tightens the bond between particles, making the 3D-printed object denser and more compact. The right curing conditions also make an otherwise toxic material biocompatible and safe to place in the patient’s mouth.
Depending on the resin and 3D printing method used, the curing process will be different.
Objects printed with thermoplastic materials cure as they cool in open air.
Objects printed through SLS printing cure as they are printed out.
For the more common SLA and DLP-type printers, objects are cured in a UV light chamber. At Evident, we have been able to test out the Curie from Ackuretta.
Once the printed frame has been cured, it’s ready to be placed in the patient’s mouth to be assessed for fit and verification.
3D Printing Castable RPDs
Digitally creating dental components is a time and money-saving venture. This isn’t just limited to RPD frames. With the variety of resins on the market today, practically any dental prosthesis can be printed (e.g., crowns, bridges, veneers, surgical guides, etc.)
Venture into the realm of digital dentistry today with Evident, your reliable and efficient partner in dental design. We pride ourselves on providing speedy delivery of ready-to-print designs, making your transition to digital dentistry smoother and quicker. In addition to design, we have also established partnerships with reputable manufacturing labs, ensuring a comprehensive, end-to-end solution from initial design to final fabrication.
Embracing digital dentistry doesn’t have to strain your budget. With Evident, affordable, top-quality solutions are within reach. Don’t hesitate – reach out to us today and embark on your digital dentistry journey with confidence and ease.


