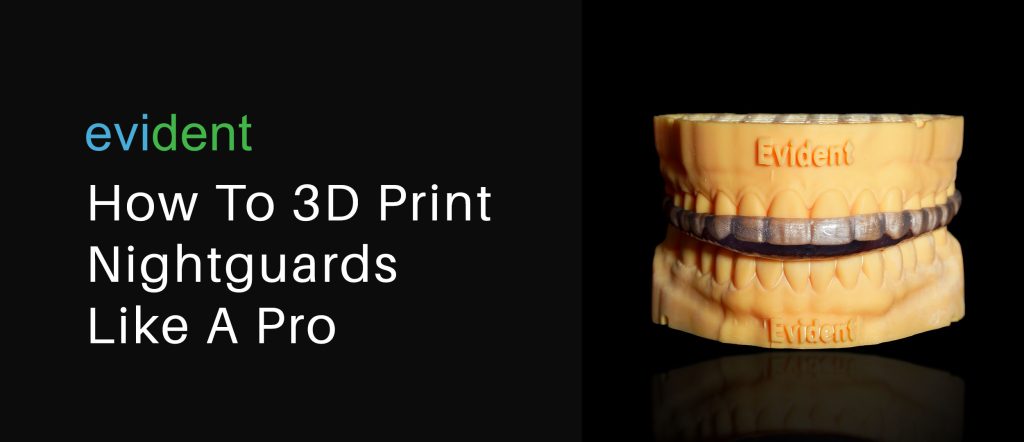
Nightguards are dental appliances that can take some time to make. Various materials (e.g., negative impression, stone cast, etc.) have to set and harden before proceeding to the next step.
In addition, the handmade process can be labor-intensive and messy. This takes up some labor hours and material resupply costs. Due to dental 3D printing, the traditional method of creating nightguards is less efficient in comparison.
That’s because 3D printing nightguards is easier, quicker, and uses less material. It also provides a better patient experience since they aren’t waiting too long, plus the final night guard will fit them more accurately than a handmade one.
But how do you 3D print a nightguard? By the end of this guide, you’ll know what you need to get started with 3D printing—not just nightguards—but other dental devices and cases as well.
Step#1 Scan
Using traditional methods, the dentist takes a negative impression of the patient’s teeth and then casts a stone diagnostic model to get an accurate physical model of the patient’s teeth.
With digital dentistry, a dentist only needs to scan the patient’s teeth using an Intraoral (IOS) scanner. This process takes as little as two minutes. Once the scan has been taken, a digital model of the patient’s teeth is stored on a computer.
There are a handful of reasons why dentists should scan instead of using wax impressions when they plan to 3D print a nightguard:
- Scanning is much more accurate than dental wax, allowing for a better-fitting final nightguard.
- Having a digital file instead of a physical model will not take up clinic space.
- Having a digital file allows dentists and dental techs to immediately design the nightguard over the scanned teeth, which will be important for the next step.
- Scanning allows dentists to send models of the patient’s teeth over the Internet instead of having a physical model shipped to a subcontracted partner. This will also be important for the next step.
Once a scan of the patient’s teeth has been captured, we move to the design phase of the nightguard process.
Step#2 Design
Making a nightguard by hand involves a lot of material transfers, cutting and grinding, and setting time. Hence, designing the nightguard traditionally results in a lot of spills, acrylic dust and shavings, and just a huge mess overall.
By using computer-aided design and manufacturing software (CAD/CAM), the nightguard designer’s workspace is as clean as that of an accountant. Digitally designing the nightguard also results in less material waste, making the digital process eco-friendlier and more cost-efficient.
Discussing how dentists can use CAD/CAM software to design nightguards and cases is going to be a lengthy topic. So, we’ll just briefly go over the most common ways how dentists digitally design their nightguards:
- They do it themselves.
- They outsource to a digital design company.
When dentists design the nightguard themselves, they’re able to provide a much quicker turnaround since they’re doing it in-house. The drawback to this is that dentists would need to learn how to use CAD/CAM software, such as 3Shape and exocad. They’ll also need to make quite an investment in the software and the hardware capable of running it.
On the other hand, when dentists outsource the design process to a digital design company, they won’t have to worry about the huge learning curve anymore. They also won’t need to spend on design software and capable hardware.
However, the design process is one of the most important stages of digitally creating the nightguard. This stage determines how the final product will come out. So, it’s important that dentists subcontract to a digital design company that’s mastered their craft.
Here at Evident, we have over a hundred expert designers designing cases for both labs and dentists. Our massive capacity also allows us a quick turnaround time without compromising accuracy and detail.
Simply send us the IOS scans and the Rx and we’ll return to you a ready-to-print STL file within 24 hours. Or, if you’re in a hurry, we can do it in as little as 30 minutes.
Once you have your ready-to-print model file, you can move on to the next step:
Step#3 Print
If dentists are satisfied with the final digital model, they can proceed to printing.
Dentists may print the nightguard design in-house or subcontract a dental lab to fabricate it.
Here at Evident, we’ve partnered with dental labs to provide our clients with an end-to-end solution. Immediately upon designing the digital ready-to-print file, we send that immediately to a partnered lab to have it printed out and shipped to your doorstep.
If, however, you wish to print the nightguard yourself, you’ll need a dental 3D printer and its compatible resin. There’s a learning curve when it comes to operating dental 3D printers, but once you master it, you’ll have a much quicker case fabrication process.
Printer
Nightguards fit over the full arch of a patient’s set of teeth. So, if dentists are in the market for a dental 3D printer to print nightguards, they need a 3D printer that can print a full arch. Printers whose build volumes are limited to single-tooth restorations won’t do much good.
A 3D printer with a build volume of at least 100 mm x 100 mm x 50 mm will tremendously help with creating nightguards.
Some popular 3D printers you can’t go wrong with includes Formlabs Form line and Ackuretta Sol printer. These printers can sit atop a dental clinic desk and fabricate various oral devices and restorations — from crowns, bridges, and veneers to nightguards and prep guides.
Resin
It’s best to ask your printer provider what resin you should use to print nightguards.
3D printer manufacturers typically make their own resins. They’ll also have their own line for each use case. (e.g., resins for display units, resins for temporary restorations, resins for night guards, etc.).
Dentists can’t go wrong with getting both their printer and resin from the same manufacturer. But, in case that dentists want to try a different brand’s resin with another printer, they should consult with either their resin supplier or printer supplier and inquire about any compatibility issues.
Washing
After the nightguard is printed, it’s washed to remove any excess dirt or residual resin. This makes sure that no excess dirt or resin hardens with the unit before it’s sintered.
There are various ways to wash a freshly 3D printed nightguard:
- Cleaning solution and brush. Using specialized cleaning solution and water, gently scrub the 3D printed nightguard to remove any dirt and residual material.
- Isopropyl Alcohol (IPA) bath. IPA is commonly used in the post-processing stage of dental 3D printing to dissolve and wash away any excess resin that remains on the printed objects.
- Dental Washer. These are a more advanced and feature-packed way to wash 3D printed objects. Dental washers typically come with vibrating solutions and/or ultrasonic features to agitate the IPA bath, making the tank a more effective cleaning chamber.
Once the 3D printed nightguard has been cleaned and removed of any excess dirt and residue, it’s ready to be cured.
Curing
The curing process tightens the bond between particles, making the 3D printed nightguard stronger and more compact. This is a necessary stage of post printing since it allows the nightguard to achieve its intended strength.
Do note that depending on the printing method used by your printer (e.g., milling, digital light processing, selective laser sintering, etc.), your curing method should be compatible with that printing method.
For example,
- Milled parts must be sintered.
- SLA and DLP-printed parts must undergo UV light curing.
- SLS and SLM-made parts cure as the parts are printed.
- FFF and FDM-made parts cure as they are cooled
At Evident, we utilize state-of-the-art technology to ensure the highest quality outcomes for your patients. A prime example is our use of the FabCure 2 Post-curing unit, which we employ to cure our 3D printed nightguards. It has demonstrated excellent compatibility with Ackuretta printers and Keysplint Hard resin, ensuring seamless production and top-notch quality.
Upon completion of the curing process, the nightguard is immediately ready for patient use. This seamless transition from production to application underscores our commitment to efficient, high-quality care.
3D Printing Your Nightguard
3D printing of nightguards is a revolution in dental care, combining precision technology with personalized treatment. The process involves creating a digital design of the nightguard using an IOS scanner, followed by printing it with a 3D printer.
The result is a tailor-made nightguard, ready for immediate patient use. This process represents a leap forward in efficiency, accuracy, and patient satisfaction in dental care.
Take your practice to the next level with Evident. Invest in superior dental solutions that prioritize patient comfort and satisfaction. Reach out to us today to discover more about how our advanced technologies can serve your practice.