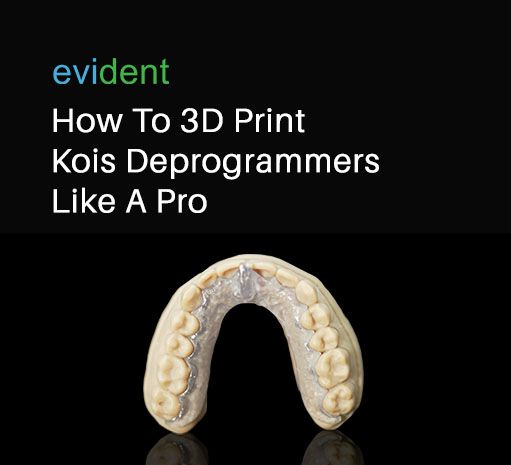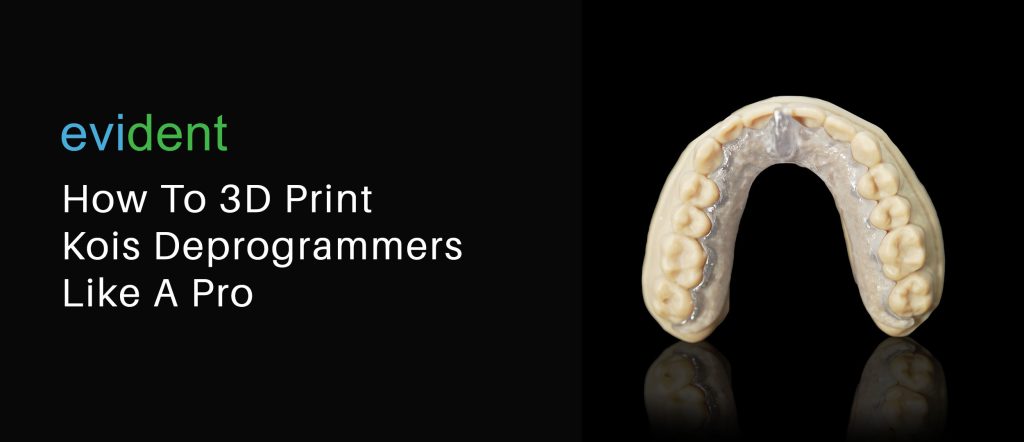

There are various ways to create a Kois deprogrammer. They could be made chairside or in a lab using a stone model and an articulator. But the most recent dental innovation creates a new way for Kois deprogrammers, and other dental cases and components, to be 3D-printed.
The technology to create dental components out of thin air has already been invented and developed. The necessary dental resins to 3D print these components are innovating just as fast. Learning how to 3D print a deprogrammer will be a fundamental, future-proofing skill that can yield some dental and business benefits.
Why Should Dentists Print Kois Deprogrammers?
The digital workflow that comes with 3D printing deprogrammers eliminates the need for a stone model to be created. It also doesn’t require the patient to be present chairside for the deprogrammer to be tested.
Instead, it uses digital references of the patient’s mouth anatomy that allow designers to create a 3D model of the deprogrammer.
When it comes to the printing process, 3D printers exclusively utilize the material required for the deprogrammer, resulting in reduced material consumption.
Moreover, printing is considerably simpler compared to manual creation and shaping using burs. Dental staff can quickly grasp the intricacies of printing, making it a more accessible option for them.
So, how to 3D Print Kois Deprogrammers?
Step#1 Scan
A scan of the patient’s mouth is essential to creating a deprogrammer. This scan serves as a digital reference, just like how stone models aid dentists in creating cases and components.
There are two ways to acquire this digital scan:
- Using an intraoral (IOS) scanner. An IOS scanner is waved around in the patient’s mouth to capture the patient’s teeth from all possible angles. These images are pieced together to create an accurate, digital 3D model of the patient’s mouth.
- Using a 3D scanner. Dentists that already have a physical model may use a 3D scanner to store that model digitally. 3D scanners work with negative impressions, wax-ups, stone models, and more.
There is an upfront investment required with either of these tools. But using them will allow for a more accurate impression, and as a result, a better-fitting deprogrammer.
Having digital scans will also allow dentists and techs to share files over the internet as opposed to shipping physical models and impressions back and forth. This minimizes shipping costs and results in an eco-friendlier business operation.
Once dentists have a scan of the patient’s mouth, they may proceed to the design process.
Step#2 Design
Designing the deprogrammer involves 3D designing it digitally through CAD/CAM software. Using this process, the dentist or dental tech can shape, trim, and manipulate the desired shape without using up any material (e.g., plastic, acrylic).
The digital design process also allows the dentist to visualize how the deprogrammer will look before it gets printed.
This makes for a less messy workflow, less material being used up and wasted, and as a result, fewer resupply costs.
However, 3D design is the hardest “new skill” that dentists can pick up in the digital workflow. It’s the largest learning curve in the workflow that can set dentists back on time and output. But once dentists get over that hurdle, they’ll be able to make deprogrammers a lot quicker and with less material.
Fortunately, dentists have the option of subcontracting the design process to digital design companies.
Here at Evident, we’ve employed over a hundred expert designers who’ve mastered their craft with CAD/CAM software, particularly exocad. They can create accurate and detailed designs that are exact to dentists’ specifications.
We possess the capability to fabricate a wide range of dental solutions through our printing services, including temporaries, All-on-X restorations, and nightguards. Additionally, our expertise extends to printing intricate dental components like RPD frameworks. Rest assured, you can anticipate receiving a fully prepared STL file within a swift turnaround time of less than 24 hours.
Once you have that ready-to-print file, the next step is turning that on-screen model into a real-life physical object.
Step#3 Print
The printing stage is the most intuitive and quickest to learn. Once dentists pick up on printing, they’ll have a much quicker and less-laborious time with the fabrication process. It will also be easier for new dental techs to pick up on printing as opposed to creating a stone model and making the deprogrammer by hand.
Dentists will need:
- A 3D printer
- Hard Dental Resin for Rigid Splints
- Compatible Nesting Software
Popular 3D printers used in dental applications include the Formlabs Form lineup and the Ackuretta Sol. These are good all-around printers used by dentists and labs alike. We also use them here at Evident.
Depending on the printer, dentists will also need to acquire the nesting software that works with the printer. The nesting software analyzes the size, shape, and geometry of each STL file to determine the most efficient placement within the printable area. It aims to minimize empty spaces between models, reduce support structure requirements, and maximize the number of parts that can be printed in a single job.
If dentists will get a Formlabs Form printer, they’ll have to acquire the Preform nesting software too. If dentists get a Shining3D dental printer, they’ll need the AccuWare software. Consult with the printer provider on what nesting software to get in order to print.
Once the device is printed, it’s not ready to pop into the patient’s mouth yet. The deprogrammer has to be washed and cured first.
Washing
Washing cleans the printed Kois deprogrammer of any unwanted material, such as dirt and excess resin. Cleaning is typically done with a brush and cleaning solution, but less laborious ways involve an isopropyl alcohol (IPA) bath or a dental cleaner.
An IPA bath is the process of submerging a printed component, i.e., a Kois deprogrammer, into a tub of rubbing alcohol. This process removes excess resin to achieve a smooth, clean surface finish.
The IPA solvent interacts with the resin, breaking it down and facilitating its removal. By immersing the printed object in the IPA bath and gently agitating or brushing it, the residual resin is loosened and can be effectively removed.
Dental cleaners, on the other hand, are IPA baths with some added functionality that makes the cleaning process easier and more thorough. Take, for example, the Cleani from Ackuretta features an ultrasonic cleaner that agitates the IPA solution, effectively reaching hard-to-reach areas such as small cavities or fine details.
Curing
Once all the dirt and excess resin are removed, the printed part can be safely cured.
The curing process tightens the bonds between the printed part’s particles, making it stronger and more compact. This allows the Kois deprogrammer to function as intended.
Curing 3D-printed dental components also makes them biocompatible. This removes any cytotoxicity from the deprogrammer, making it safe to be placed in the patient’s mouth.
It’s important to note that specific curing units will only work with particular printers and resins. Dentists should always consult with their printer supplier which curing units work with their chosen printer.
3D Printing Kois Deprogrammers
Some printer manufacturers sell a complete package that includes all the necessary equipment needed to digitally fabricate a Kois deprogrammer. The pieces of equipment within these packages are engineered and tested to work well together. So, it’s always a good idea to use the curing unit that comes with the printer.
Evident has found that the FabCure curing unit works with the Accufab printer, both of which are from Shining3D. Whether you’re seeking further information or searching for a dependable design partner, Evident is readily available to assist you.
Offering a wide spectrum of comprehensive digital dentistry solutions, exceptional customer support and a network of the best labs and manufacturers, we are fully equipped to elevate your practice to the heights of success you envision. At Evident, we have your back.


