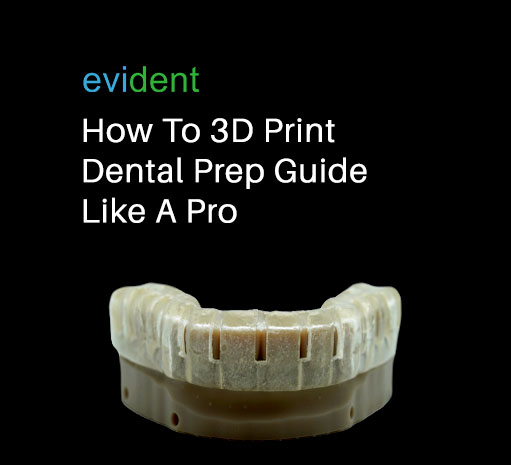
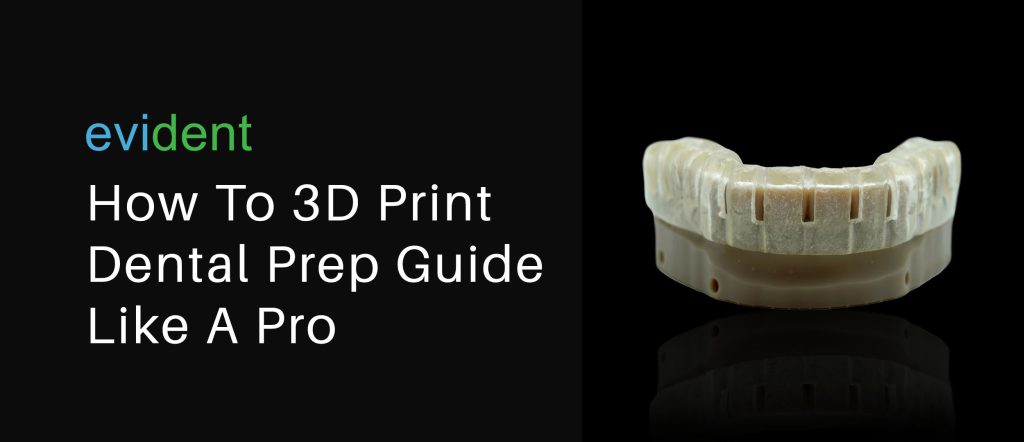
Prep guides are a critical component of dental restorations. They allow dentists to accurately cut, grind, and burr out tooth structure to accommodate a restoration (e.g., crown, bridges, veneers).
Tooth preparation is imperative since, if not done right, the prepared tooth may not accommodate the intended case.
Additionally, if the dentist burrs out too much of the tooth structure, the patient may experience additional complications, such as increased pain sensitivity and a weakened tooth structure.
That said, it’s important that a prep guide is made right. It has to fit the patient properly to give the dentist a proper reference for where to burr and how much to burr. This will ensure that the tooth-prepping process goes smoothly and error-free.
Why Should Dentists Print a Prep Guide?
Accuracy
Scanning and 3D printing allow for 3D diagnostic models to be printed as closely as possible to the patient’s actual teeth. Unlike traditional wax-up and casting methods that may deviate up to half a millimeter from the patient’s actual mouth, digital methods barely deviate a hair’s width from the actual subject.
This means that scanning and printing ensure the most accurate model fabrication, which is ideal for creating reliable prep guides.
Cost-Efficiency
The equipment needed to get started with dental printing is an investment. Though they have an upfront cost, they reduce operating expenses in the long term.
That’s because, with 3D printers and scanners, only the material that makes up the volume of the final model is used. This additive manufacturing process eliminates material waste that dentists would otherwise get from traditional manufacturing methods.
This compounds huge savings in material costs. It’s also more eco-friendly.
Speed
In addition to saving on material, 3D printers and scanners help dentists save time. What could take a few business days to make by hand could be done in a few hours with a scanner and 3D printer.
This frees dentists’ time up more, allowing them to fit more things into their day. The sped up fabrication process also maximizes the labor costs of staff.
How to Print a Prep Guide?
Traditionally creating prep guides involves taking a negative wax impression, creating a physical stone model, and building the guide around the model by hand. Some dentists or labs may cast the model if they hope for sturdier material for the prep guide, which involves additional steps.
However, with the digital method, fabricating a prep guide is simplified into three easy steps — scan, design, and then print.
Step#1: Scan
The traditional method of getting a negative impression and creating a stone diagnostic model is compressed into a quick, 2-minute step — scanning.
Scanning digitally captures the patient’s arches, storing their model on the computer as opposed to taking up physical space on a shelf. But before any scanning is done, dentists need either of these two tools:
- Intraoral (IOS) Scanners. These wand-shaped scanners are waved in the patient’s mouth to capture their arches and their bite. Different IOS scanners will have different specs, so some may be quicker, more accurate, and have better features than other scanners.
- 3D Scanners. These scanners are used outside of the patient’s mouth. 3D scanners scan physical impressions and models, converting them into digital files that dentists can store on their computers.
Once the digital model is captured, a model file is generated. This model file is fundamental to the next step:
Step#2: Design
The design process digitally creates the final prep guide using CAD/CAM software such as 3Shape and exocad. There is a ton of flexibility in the design process, but at this stage, zero material is used since the design is done digitally.
Designers can also visualize how the final prep guide will look before any material is used. There are two ways to design a prep guide:
Designing it Yourself
Dentists may design a prep guide around the patient’s digital model themselves. The benefit of this is that dentists can already decide how much tooth structure to remove, and they can simply design a prep guide to accommodate that desired prep. The downside is that dentists may need to learn how to use CAD/CAM software and invest in capable hardware.
Outsourcing to a Digital Design Company
Alternatively, dentists can subcontract the design process to a third party. Not only will this free dentists’ workload, but dentists also won’t have to learn the intricacies of CAD/CAM.
The downside of this is that the dentists’ quality of service will depend heavily on how well the subcontractor designs the prep case.
Evident employs over a hundred expert CAD/CAM operators to design cases for you. We have experience digitally designing crowns, bridges, veneers, diagnostic wax-ups, surgical guides, prep guides, and a lot more.
We have a quick turnaround, too. You can get a ready-to-print STL file back in as little as 30 minutes. Simply send us the following:
- Rx
- Intraoral Scans
After that, you can proceed to print.
Step#3: Print
Once dentists have the ready-to-print STL file, they can immediately print it. But they need a printer and the appropriate resin first.
Printer
There is a wide array of different 3D printers. There are desktop 3D printers that print a full arch within a day; there are also industrial 3D printers that weigh half a ton and can print four to six full arches in a single print.
It’s important to consider build volume when choosing a printer. Build volume refers to the largest object that a 3D printer can print.
A dentist’s chosen printer shouldn’t have a build volume so small that it’s unable to adequately print the prep guide, but also not have a build volume so large that it becomes overkill for the clinic’s capacity and just becomes a huge waste of money.
An ideal build volume should be at least 10cm x 10cm x 10cm. This build volume can print different types of cases and restorations, apart from prep guides.
Some popular printer choices include Formlabs Form 3+ with a build volume of 14.5 cm × 14.5 cm × 18.5 cm, and Ackuretta Sol printers, which have a build volume of 13 cm x 8 cm x 14 cm.
Resins
Prep guides don’t have to be as lasting and permanent as zirconia crowns. These can be printed with more affordable resins, such as:
- Dental Model Resins: These resins are formulated specifically for producing dental models, including prep guides. Dental model resins are also used to print diagnostic models and study models.
- Clear Resins: Clear resins are transparent or translucent resins that can be used to 3D print prep guides. These resins provide excellent visibility during the tooth preparation process and allow for easy identification of important anatomical landmarks. They’re also used to print retainers and surgical guides.
It’s crucial that the resin dentists choose is compatible with the printer they’ve selected. Typically, a sales agent will inform the interested dentist which types of resins their printer of choice may be used with.
Dentists can’t go wrong with resins that the printer manufacturer formulates, as these are made with the intention of using them with the specific printer. For example, Formlabs’ resins are compatible with Formlabs’ Form Printers.
3D Printing Prep Guides
A prep guide is crucial to the tooth preparation process. Getting the prep guide done right means getting the tooth restoration done right. Having a prep guide 3D-printed will allow dentists to make them accurately and quickly.
Hence, the digital method of fabricating prep guides doesn’t just improve patient experience; it also increases dental business capacity and reduces operating expenses.
Starting with digital dentistry requires a streamlined toolset, including an IOS scanner and a 3D printer, as well as a trusted partner who specializes in digital design. At Evident, we are that partner. We provide a comprehensive suite of digital dentistry solutions under one roof.
Our unique value proposition lies in our digital design expertise and proficient workforce. We are ready to promptly and precisely create digital, printable designs tailored to your needs, including prep guides. All you need to do is provide us with your IOS scans and prescriptions and let us handle the rest of the design process. Make the most of your investment in digital dentistry by choosing Evident – your all-in-one solution to embracing the future of dental care.