Digital dentistry has revolutionized the way dental professionals offer solutions to patients, thanks to innovative advancements. Digital workflows streamline traditional dentistry processes, enabling dental professionals to respond more effectively to patient needs.
Today, dentists can offer solutions as simple as single unit veneers and crowns as well as more complex full arch restorations that would require more time and training.
The transition into digital dentistry requires dental practices to invest significant time, effort, and training for the shift. But, it is a worthwhile endeavor that allows for optimized turnaround times, higher patient satisfaction rates, and faster production of dental products.
Owing to this benefit, Evident Digital dedicates its efforts to catalyze the digital transformation of dental practices, fostering efficient use of both dental equipment and software.
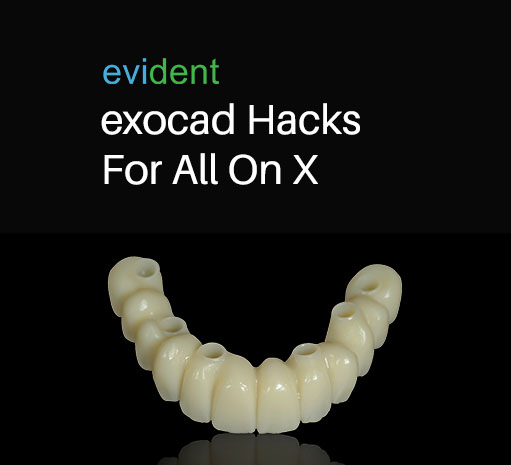
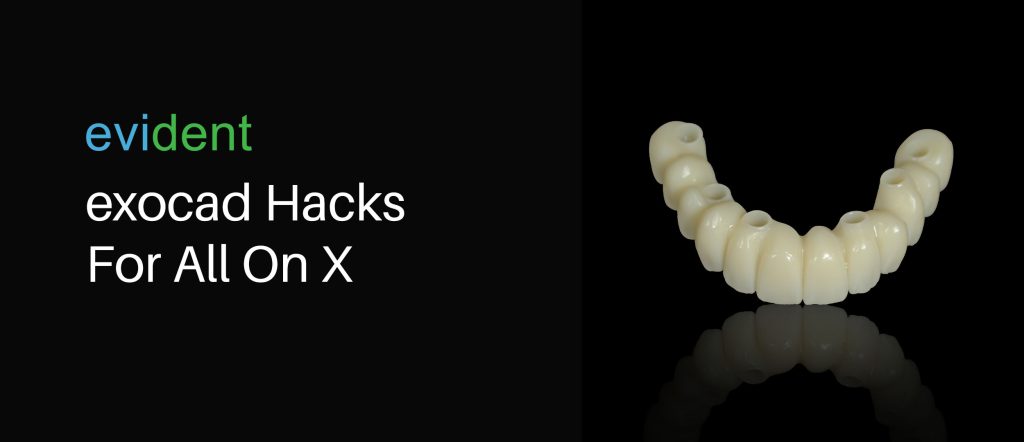
In this episode of the Evident Lab to Lab Education Series, we discuss the benefits of Thimble Bar Restorations and provide audiences with a step-by-step exocad walkthrough of designing All on X/All on Four cases.
Benefits of Thimble Bar Restorations
There are many kinds of all-on-four restorations, such as full arch zirconia and certain types of cutbacks of porcelain that dentists can add a bar to in production. In this particular walkthrough, we delve into thimble bar restorations, offering unique advantages to dentists that are unmatched by other all-on-X restorations.
Thimble bar restorations give the support of a bar to the whole unit, but they also allow for the ability to place and customize individual teeth. This is incredibly helpful because it allows for future repairs in case a single tooth is damaged without needing to replace the entire dental arch.
Thimble bar all-on-X cases empower labs to block out potential screw access holes that could expose single individual crowns. The high recommendation of thimble bar restorations for all-on-X cases stems from these benefits. Furthermore, the digital design process of the unit becomes significantly streamlined with the use of dental design software.
All On X/All On Four Tutorial
Let’s proceed to the focal point of the Lab To Lab Education episode: a demonstration of how to design all on four cases on exocad. Below are recommended steps that greatly simplify the process:
- Case Setup
To create an All-On-X restoration with the Thimble Bar feature, the initial step is setting up the case. This involves performing copings and reductions, allowing flexibility to incorporate Thimble Bar with individual crown preps. It also enables the option for minor or full cutbacks to accommodate micro-layering or full layering on the teeth, as required. Case setup requires the sub-steps below:
- Setting up Pontics
Enable the thimble crown workflow, click on “reduce pontic,” and add a “pre-op model” to establish context for the prep area, setting up the pontics effectively. There is also an “optional” mode for designing virtual gingiva, which allows designers to leave the teeth floating. And the gingiva will take care of the added or missing space between the intaglio or the pontic and the tissue.
- Tooth Preps
For any tooth that has an implant behind it, select it as coping. Toggle the option that says “screw-retained” and make sure the scan body option is turned on. In this step, also enable the thimble crown workflow and the optional “design virtual gingiva” mode. Exocad allows for the easy transfer of these parameters for each tooth across the arch by clicking on the next tooth. After setting up the case, you’re ready to initiate the design of the new case with a simple click on “design”.
- Align Scan Bodies
An important first step in designing the restoration is aligning the scan bodies to each individual prep. Exocad has easy to use options where you can get the necessary scan bodies from their centralized library and align each one. Should your pre-op not align with your model for any reason, you hold the power to manually correct it or utilize the automatic feature for adjustments. You also have the ability to have a smile aligned on the arch.
- Define The Emergence Profile
The software typically will have an initial setup ready at this stage, but if you want to fine-tune the alignment you could click the dots on the model or draw the areas where you want them and correct the alignment. The auto-detect feature on exocad is usually accurate so this may not be necessary, but whenever you need to do this step the software will have helpful wizards that make the process smoother and more intuitive.
- Adjusting Tooth Positions
Exocad outperforms most previously available software on the market with its superior ability to handle full arch cases. By anchoring the back teeth to the pre-op and then using the “chain mode” to align a single tooth, the rest of the arch will follow accordingly.
If you want to retain teeth that are already in the right place, you could also lock them in before moving on to other teeth on the arch or use the “single” mode to move an individual tooth while adjacent teeth move accordingly. The “advanced tools” tab can also allow you to adjust the flatness of the teeth’s anterior or posterior surface.
- Adjusting Emergence Profile
The next step is to adjust the emergence profile. You can lift it, move it, or choose one of the two options for a more concave or convex look. This step may not be crucial since you will be designing a thimble structure on top of it. But this feature allows for adjustments for the radius of the screws and angulated screw channels.
- Controlling the Intaglio Surface
To control the intaglio surface, go back to the freeform option. Here, you can add or subtract material by holding down the control button. You can also flatten by holding down shift and maneuvering the control wheel to adjust the size.
- Designing the Gingiva
Next would be to map out the outline of the base you want to use. In this step, it’s important to design the gum tissue to accommodate the screw access holes.
After mapping out the base, exocad’s dynamic tissue feature uses pre-existing data to actively generate the tissue, enhancing design flexibility. The software empowers you to make adjustments to specific sections if the initial tissue formation doesn’t meet your expectations.
From here, exocad allows you to proceed to the free-forming gingiva step. In this step, you can tweak the tissue and thimble setup by adding or subtracting wherever necessary. Finally, check the intaglio surface to make sure nothing is bleeding through. If needed, adjust the festooning and make changes accordingly.
- Defining the Thimble Crown Margin and Border Parameters
The following stage entails defining the thimble superstructure and design the thimble crown margin. In this step, you can design each tooth to match the surrounding tissue and crowns seamlessly. It’s advised to pay special attention to the crown border parameters, specifically adjusting the horizontal thickness from the default setting of 0 to approximately 0.1mm to ensure production feasibility. In this step, adjusting the parameters to anticipate milling will also make manufacturing the restoration more efficient.
- Designing Crowns and Cutbacks
Now, there’s a chance for you to craft the crowns and cutbacks that give teeth a more natural appearance. Exocad boasts a cutback design library that eases the design process for facial or incisal ridges. This tool reduces the necessity for significant alterations to the tooth setup. It also grants meticulous technicians the freedom to fine-tune the restoration during installation as they see fit.
The software actively aligns the tissue, teeth preps, and crowns, ensuring proper connection. This leads to individual production that guarantees perfect alignment.
- Finishing Up
After achieving satisfaction with the thimble bar restoration, you’re ready to save and export the case.
Using Exocad for All-on-X
Creating All-On-X restorations with exocad simplifies the workflow, unlike traditional approaches to full arch restorations. This invaluable tool empowers dental practices in the digital dentistry realm, offering a competitive edge against rivals. Streamline your workflow and enhance your services with All-On-X restorations using exocad.
Smaller labs and clinics shouldn’t underestimate the tremendous opportunities they have to offer full arch restorations. Partnering with experienced dental design teams can make this achievable. Evident Digital, with its highly efficient and seasoned digital design center, has a track record of aiding numerous clinics in delivering digital restorations – from single unit cases to comprehensive all-on-four scenarios.
Evident has been committed for years to shaping the future of dentistry. This dedication means we support clinics of all sizes with everything digital dentistry encompasses. This includes lab management software, dental equipment, and secure storage for patient data. Discover today how Evident Digital can turbocharge your practice’s journey towards digital transformation.