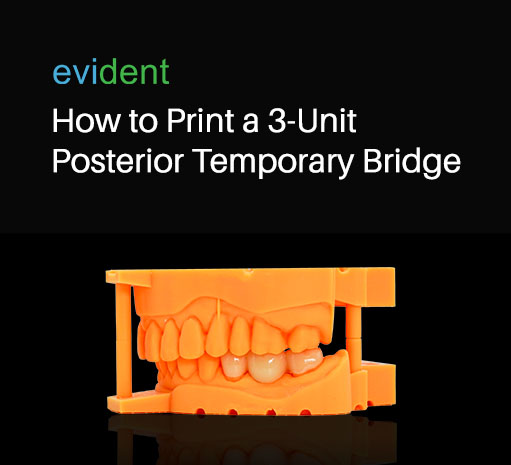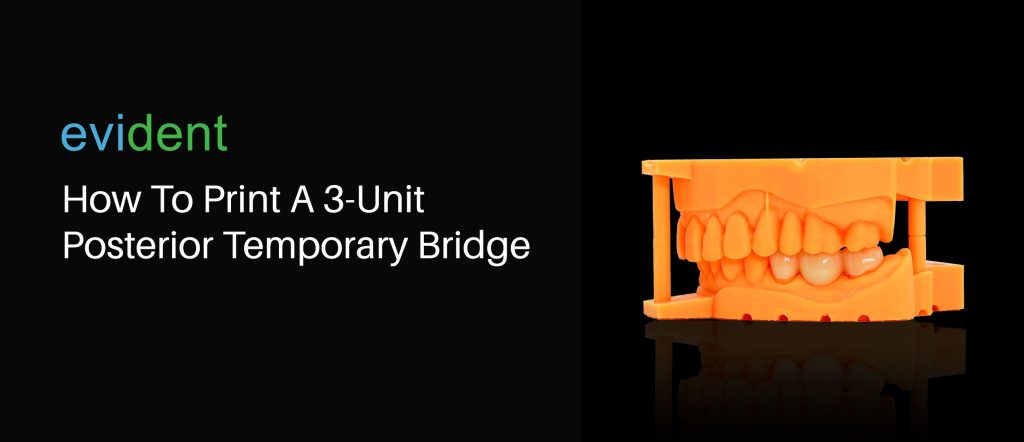

3-unit bridges are some of the most used dental restorations for a missing single tooth. They are an effective way of replacing a missing tooth, so it’s important that the final restoration fits well and doesn’t cause complications to surrounding teeth. But instead of doing them the traditional way, consider 3D printing them
3D printing dental restorations have a higher degree of precision and accuracy than cases made by hand. Printing dental restorations is also much quicker than doing it by hand, allowing dentists to provide more immediate service to their patients.
In addition, 3D printing only uses the material needed to produce the case, resulting in less waste. This means lower resupply costs for dentists, which can benefit their business in the long run.
With that said, here are the steps to 3D printing 3-unit posterior temporary bridges from start to finish:
Step#1 Scan
Before anything else, dentists need to capture a digital impression of the patient’s remaining teeth.
This will make designing the missing tooth much easier since dental techs will have an idea of what the surrounding teeth look like, and hence, would be able to properly design the anchoring crowns and the pontic that replaces the missing tooth. It’s important that the anchoring crowns fit perfectly over the natural teeth, and the pontic squeezes snugly into the gap it’s filling.
Here’s how to scan a patient’s mouth:
- Get an Intraoral (IOS) Scanner.
- Your IOS scanner of choice will have different instructions on how to use it. But generally, IOS scanners are waved over the arches, allowing the imaging technology to capture it from all angles.
- By doing this, a 3D image is generated on to the IOS scanner’s accompanying software. This image can be saved as a scan.
- For a 3-unit Posterior Temporary Bridge, the scans that should be captured are the upper arch, the lower arch, and the bite. This makes it possible to design a pontic that will complete the bite.
The reason this should be digitally captured is that IOS scanners are significantly more precise than taking traditional impressions. This allows for a better-fitting end restoration.
In addition, impressions captured with IOS scanners are digitally stored on a computer, not taking up physical space in a dentist’s office. So, if the impression needs to be sent to a lab or partner, dentists can do so through the Internet, as opposed to having it couriered to the facility. This exponentially expedites turnaround time.
Step#2 Design
Designing the case digitally prepares the final restoration for printing. Specialized CAD/CAM software allows the user to see how the bridge would look before it’s manufactured. It also allows them to make the necessary edits digitally, reducing material wastage.
Dentists may either design the 3-unit posterior temporary bridge themselves or have a design facility do it for them. There are upsides and downsides to each of these approaches:
Designing it yourself
The benefit of dentists designing the case themselves is that they can deliver a much quicker service than if they were to have it outsourced. The turnaround of the design process won’t rely on how quickly an outsourced partner can deliver. Instead, the only limiter would be the dentist’s skill in designing the case.
The downside to dentists designing the bridge themselves is that they need to purchase the CAD/CAM software, along with the necessary hardware to run it. In addition, they need to learn how to use the software and also understand the different coefficients of expansion of different materials in different curing methods to account for any size changes from the digital model.
Outsourcing a digital design facility
If dentists don’t want to deal with the tremendous CAD/CAM learning curve, they can outsource the design process to a design facility. This takes a lot of work and headache off the dentist, but the turnaround will rely on how quickly the facility can deliver the final design.
3-unit posterior temporary bridges aren’t new to us here at Evident. We design a lot of dental cases, from simple restorations like temporary crowns and removable partial dentures all the way up to complex ones like all-on-x.
We work quickly too. If you’re in a hurry, we can send you a final design in as little as 30 minutes. Simply send us the following:
- IOS scans
- Rx
Once we’re done with the design, you can immediately print it.
Step#3 Print
Advancements in dental restoration technology have made dental printing more accessible. Dentists can now acquire in-house dental 3D printers that are half the price of the latest phones. They can also be as small as a microwave, so they don’t clutter up the clinic space.
Choosing a Printer
However, if you’ll be printing 3-unit bridges, consider build volume. Build volume refers to the biggest model a 3D printer can produce.
In general, most desktop 3D printers should have a large enough build volume to print 3-unit dental bridges, since they are typically small enough to fit within the printing area of most consumer-grade printers. So, build volume isn’t something you should be too worried about, but do keep a look out for that spec.
But you may also want to consider power consumption, the size and weight of the printer, print resolution, and layer thickness. Print resolution and layer thickness contribute to how detailed the printed bridge will be. Most dental 3D printers should have good resolution for temporary bridges.
Choosing a Resin
PMMA is an obvious choice for temporary restorations. It’s ideal to have something affordable, considering that the patient would be getting a more permanent restoration soon. Dentists may save the more costly zirconia for more permanent solutions.
Resins have developed to be sturdier than PMMA. The Saremco Crowntec Resin has a flexural strength that can withstand 135 megapascals, allowing it to withstand nearly 200 times the force of a willful human bite before it breaks.
Other popular temp resins dentists may use for temporary restorations include EnvisionTEC E-Model Light C resin and Formlabs Temporary CB Resin.
It’s important that dentists ask their printer suppliers which resins are compatible with the printer. The last thing dentists need is a large supply of temp resin they can’t use.
Once you have a compatible printer and resin, you can start printing crowns and bridges. Do note, there is a learning curve to dental 3D printing. But it’s a fundamental skill to pick up for dentists if they want to thrive in today’s era of digital dentistry. Your printer supplier will almost always guide you through it.
Cleaning & Curing
The bridge is not yet ready to be placed into the patient’s mouth once it is printed. It has to be cleaned and cured first.
Some resins are self-curing, so they only need to be cleaned. Otherwise, the printed model must be cured.
Most 3D-printed models can be cleaned with a brush and cleaning solution. Other methods of cleaning include an ultrasonic cleaner, an Isopropyl alcohol (IPA) bath, and an air compressor, among others. This removes dirt and excess debris from the 3D-printed bridge before curing it, else the unwanted particles be compacted into the temporary restoration.
After cleaning the bridge, it’s then cured.
Curing tightens and compresses the bond between the 3D-printed bridge’s particles. This shrinks it and makes it denser and more compact, making it perfect for chewing and grinding.
Here’s what you need to cure a 3-unit posterior bridge:
- If the case was printed with an SLA or DLP printer, it should be cured under UV light. This is typically done using a UV light box or curing chamber that emits UV light at the appropriate wavelength and intensity to cure the resin. The printed object is placed inside the UV chamber, allowing the resin to fully cure and harden.
- Powder-based 3D printed cases are typically cured using a heat treatment process rather than UV light. After the printing process is complete, the object is baked at a specific temperature for a set amount of time. A specialized oven or furnace is usually used for this process.
Once the cleaning and curing are done, the temporary bridge is ready to be placed in the patient’s mouth.
3D Printing a 3-unit Bridge
If you’re looking to improve your dental clinic’s operational efficiency, patient experience, and business capacity, consider incorporating 3D-printed bridges into your digital workflow. Although there may be an upfront cost and learning curve, the benefits in the long run are significant, including reduced operational costs, faster workflow, quicker turnaround time, and better patient outcomes. Start harnessing the power of this innovative technology today!


