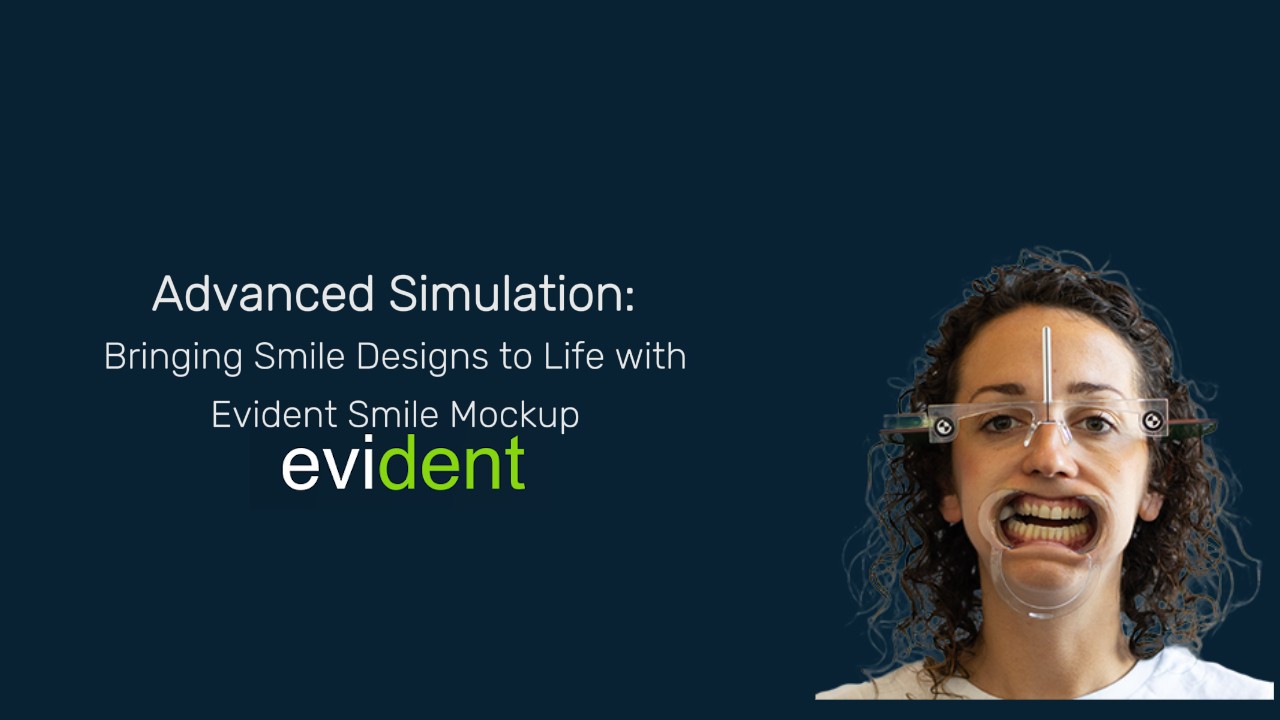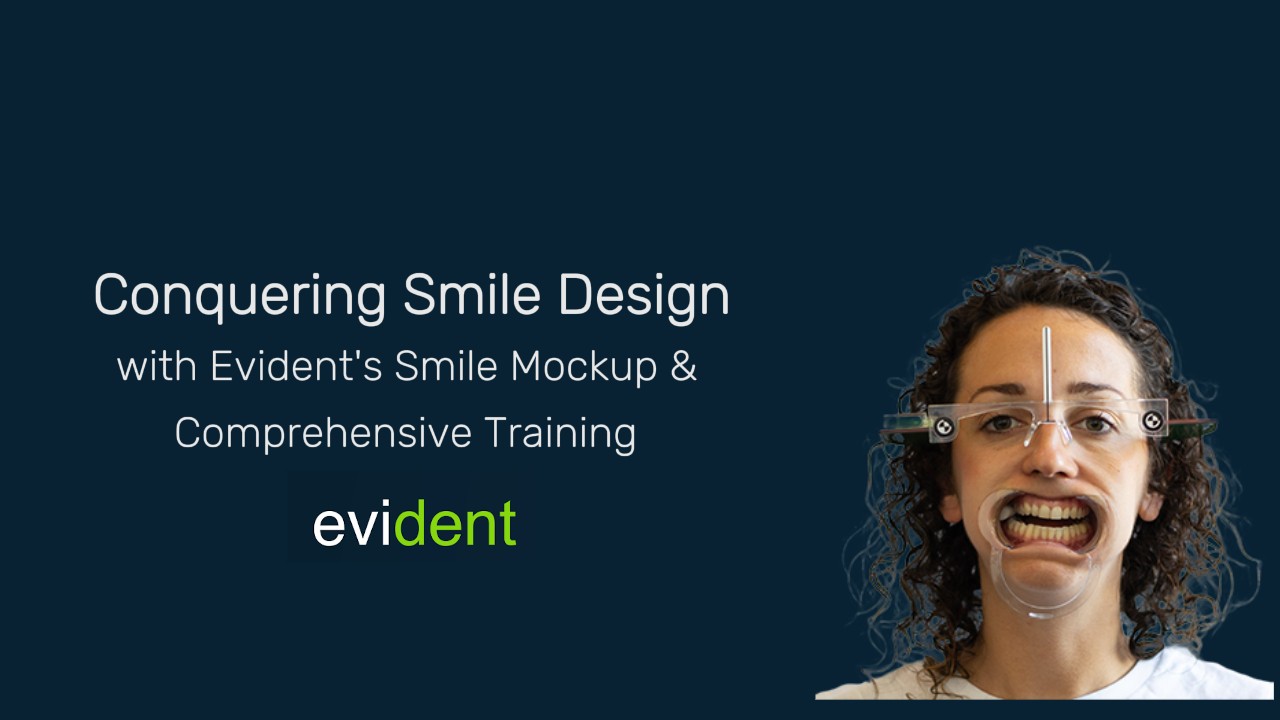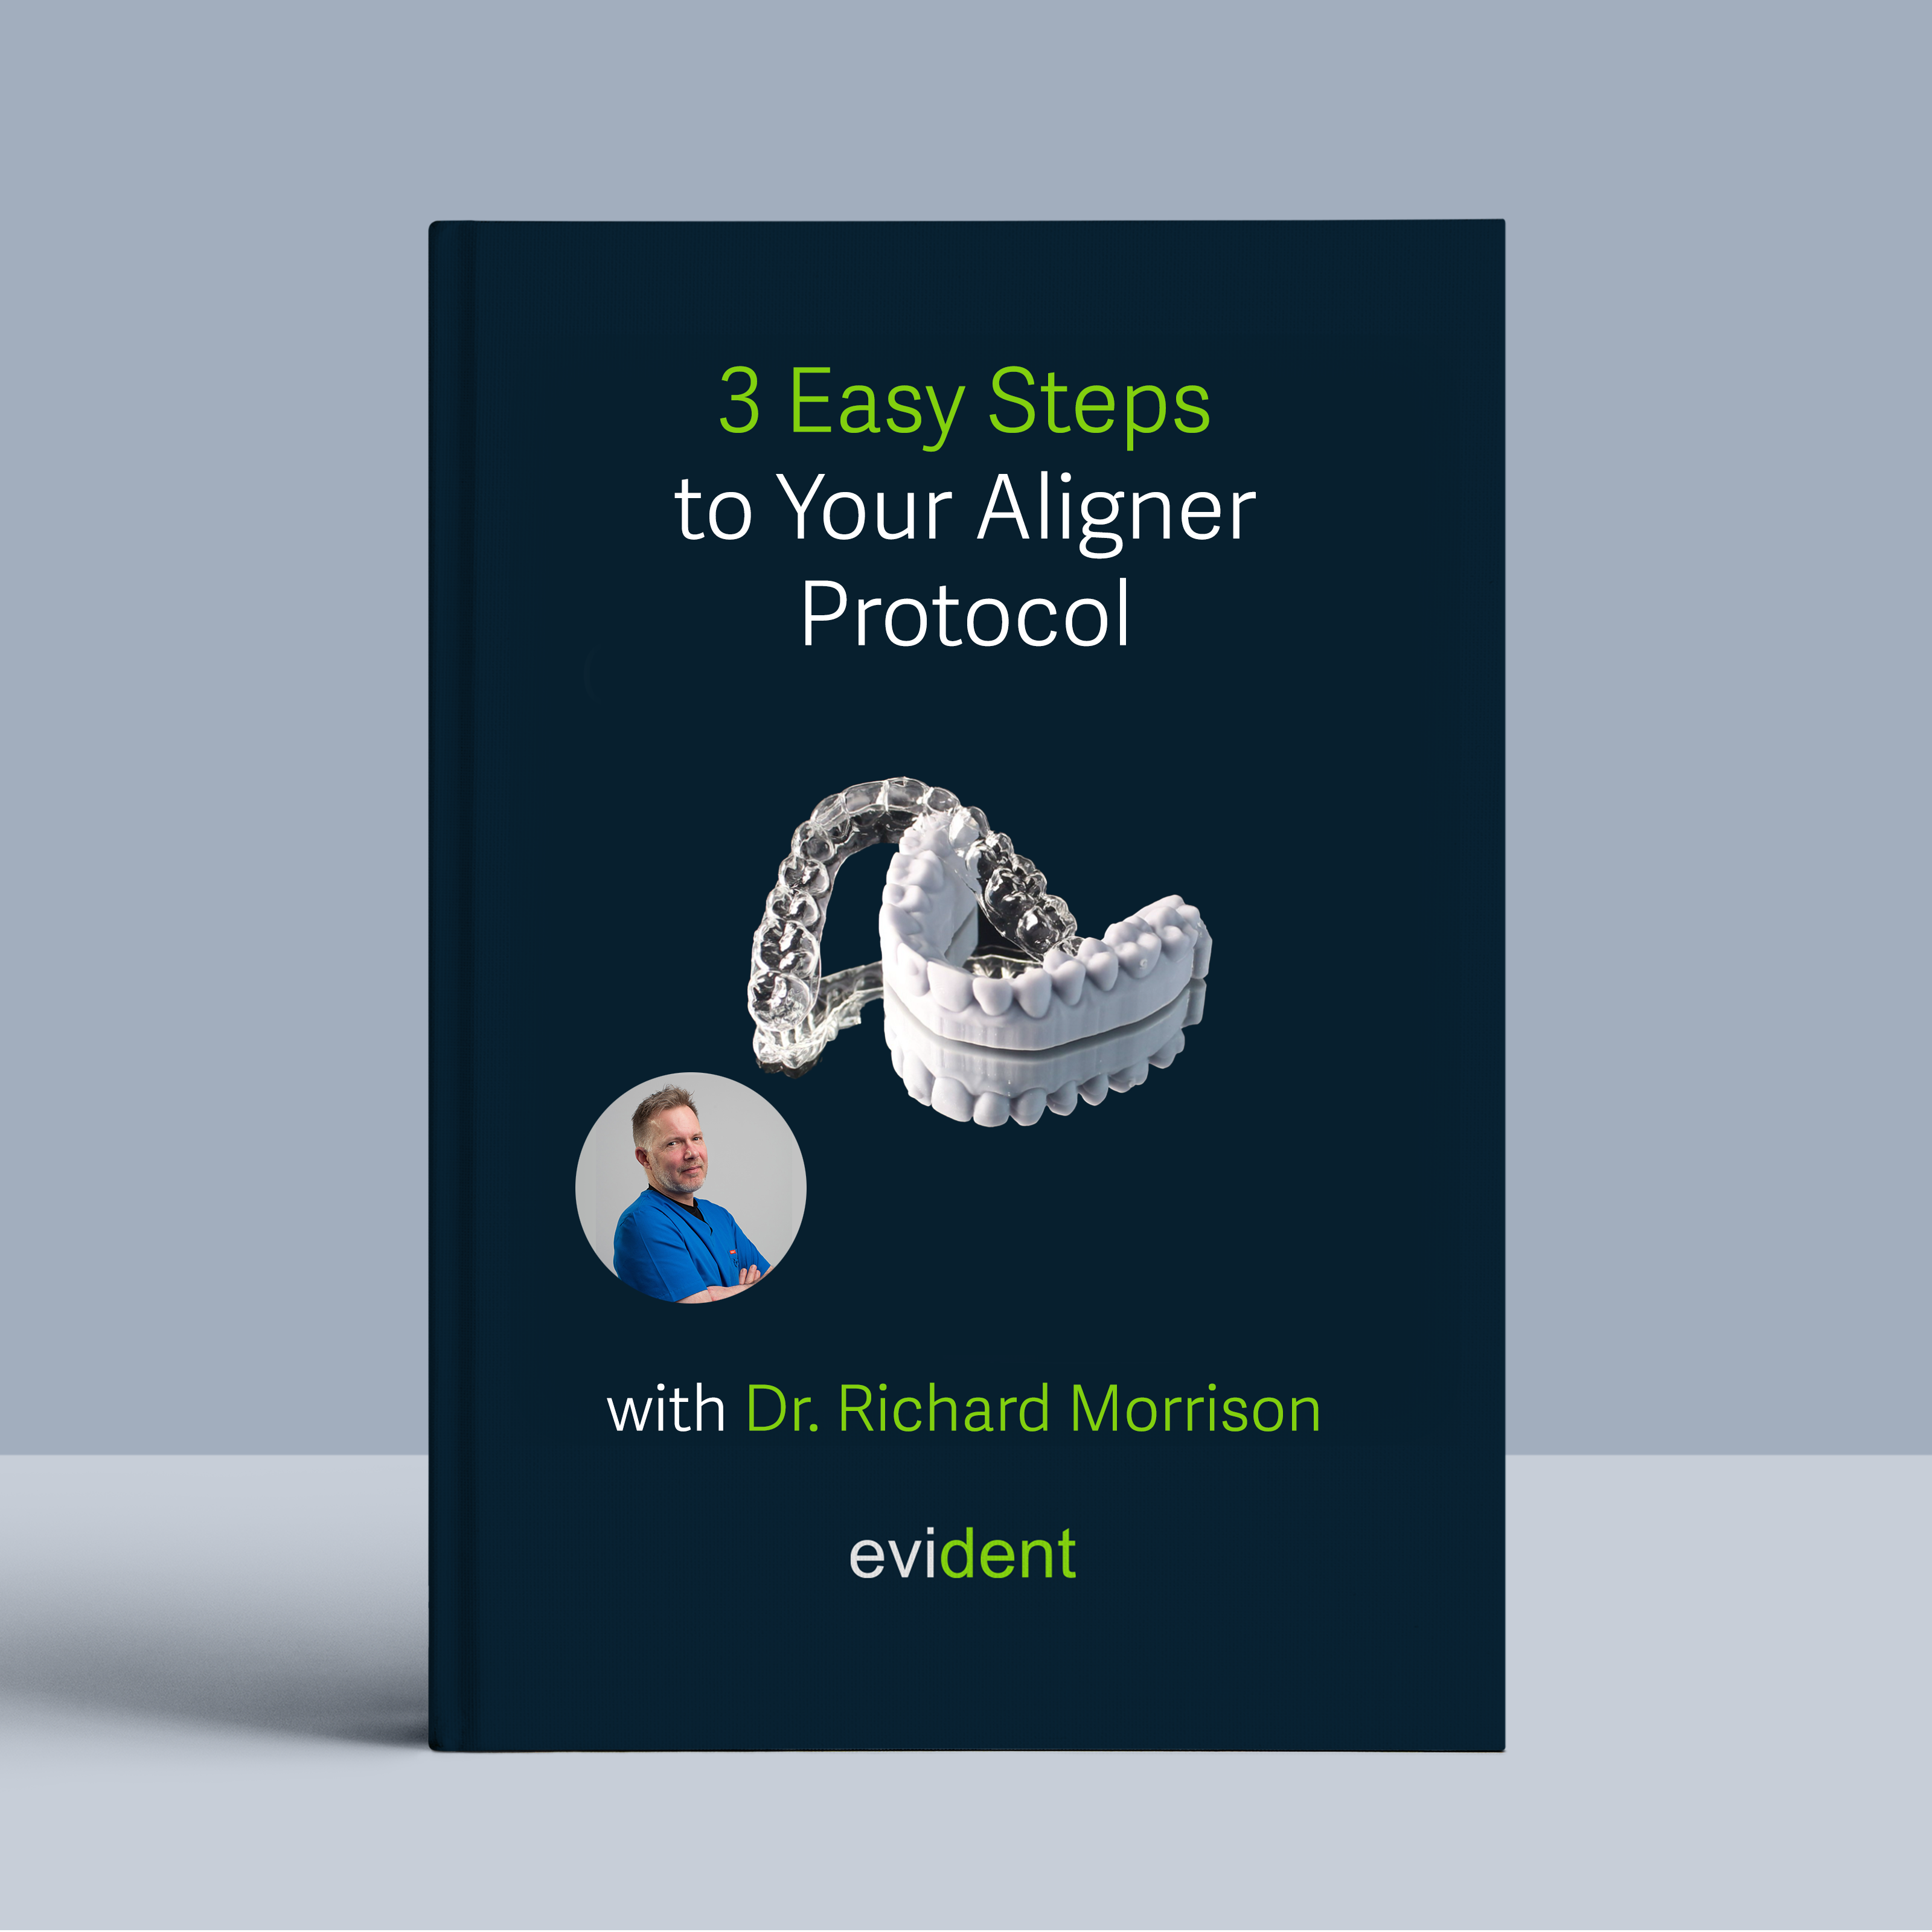
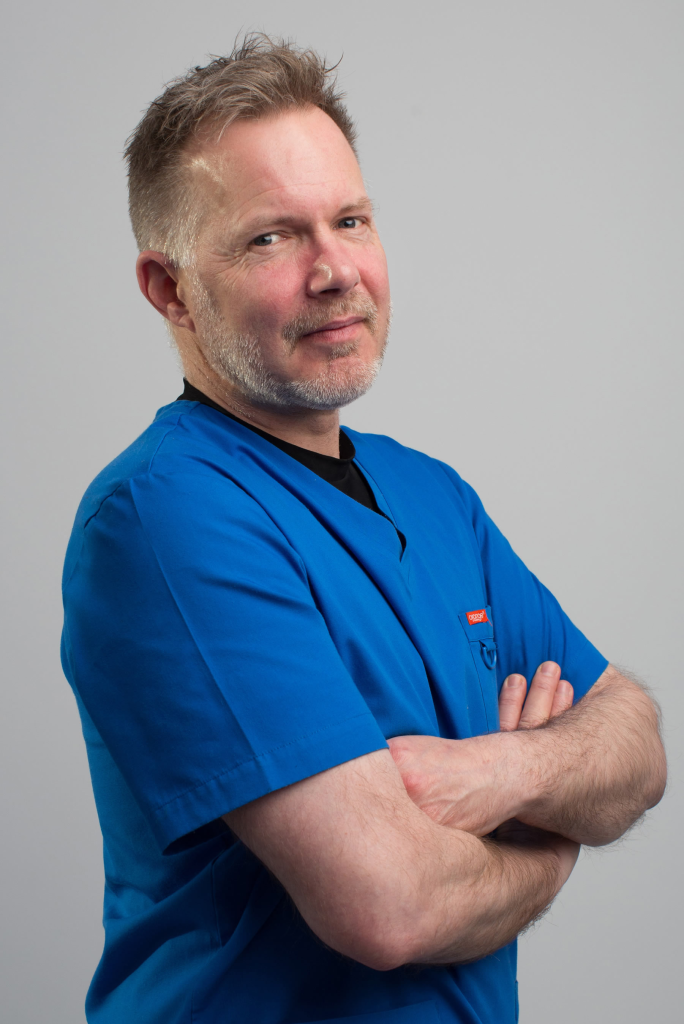
In Collaboration with Dr. Richard Morrison, BDS (Hons), MFDS RCPS (Glas)
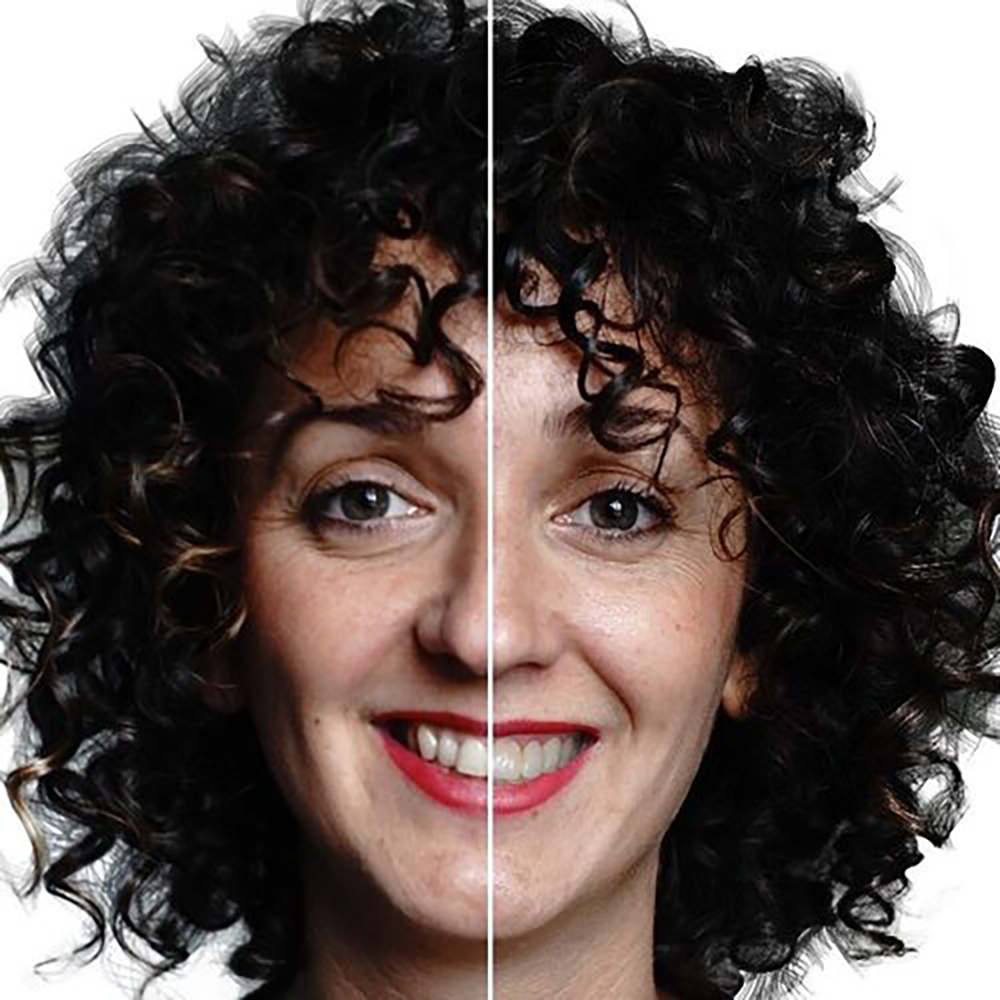
Clear aligners are a modern orthodontic treatment using a series of custom-made, transparent trays to gradually shift your teeth into their desired positions. They are a popular alternative to traditional braces due to their aesthetic appeal, comfort, and removability.
However, many practices hesitate due to the perceived learning curve of digital workflows.
The good news is, Dr. Richard Morrison’s streamlined approach and the right tools, you can confidently fabricate aligners yourself or use this page to easily train your staff. It contains all the information they need.
Let’s break it down into three simple steps:
Step 1. Gather Information During the Patient Visit (Record Appointment)
1.1 Capture Intraoral Scans from your patient
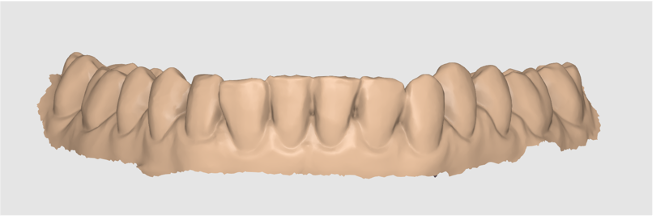
Utilize intraoral scans to create a digital model of your patient’s mouth. Three scans are required to ensure comprehensive and accurate data for treatment planning.
- Full Upper Arch: A complete scan of the upper teeth and gums.
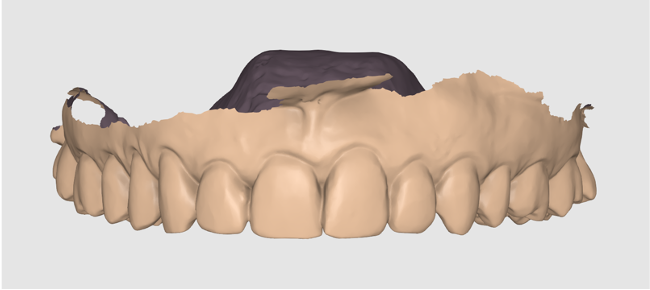
- Full Lower Arch: A complete scan of the lower teeth and gums.
- Bite: Make sure to scan the full arch for the most accurate bite registration.

Note: Double-check if the bite is misaligned.
1.2 Compile Your Patient’s Treatment Plan Information
After completing your patient record appointment, you will need to gather and organize essential details for the treatment plan. Follow these steps to ensure you have all the necessary information.
1. Collect Patient Demographics:
- Patient’s name
- Contact information
- Date of birth
2. Document the Chief Complaint:
Understanding the patient’s primary concern (e.g., aesthetic concerns, bite issues) can help tailor the aligner treatment plan to address their specific needs.
3. Summarize Diagnostic Findings:
- Results from the clinical exam
- Intraoral photos
- Radiographs (if needed)
- Study models (if taken)
4. Record Treatment Goals:
Document the patient’s expectations for the aligner treatment. This may include:
- Desired tooth movements (e.g., close spaces, rotate teeth)
- Improved esthetics (e.g., straighter teeth, better smile)
- Bite correction (if applicable)
Once you have compiled all this information, you are ready to submit the case to Evident.
Step 2. Submitting Your Case To Evident Hub
2.1 Log in to Evident & Order
Ordering Process
- To submit your case to Evident, please log in to your account at Evident Hub.
- If you do not have an account yet, click on “Get Started” and select “Create Account.”
Ordering Process
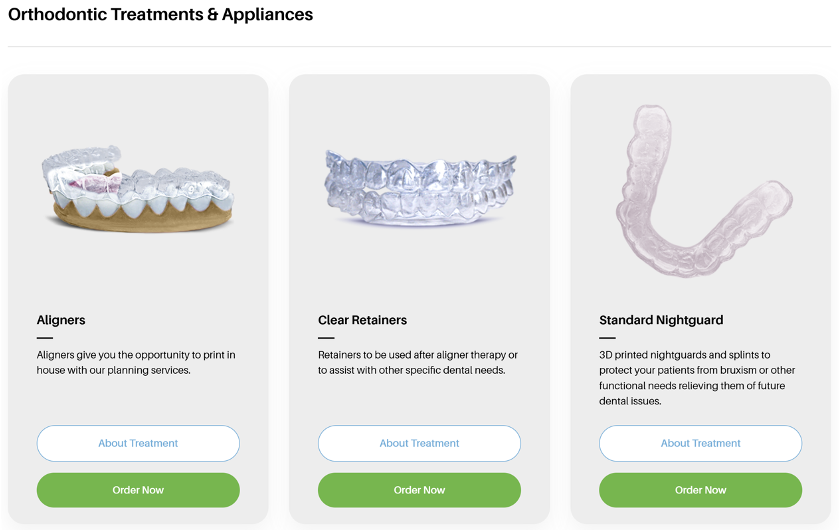
- Once logged in, browse the list of products on the Hub and locate and find “Aligners.”
- Click on “Order Now” to proceed with your order.
2.2 Upload Case Information
This guided ordering form ensures that the vision of both the patient and the doctor is precisely communicated to our design team. Follow these steps to complete the form:
Add Patient Information:

Fill in your practice name, email address (optional), last name, first name, and birthday (optional).
You can choose to rush this case to your designs back as soon as possible
Fabrication and Shipping Preferences

We offer clear aligner fabrication services if you prefer to outsource. If you have an in-house 3D printing setup for clear aligners and use the GRAPHY workflow, you can choose to fabricate them yourself.
When submitting your clear aligner cases to our design team, please follow this protocol to ensure accurate and efficient treatment planning:
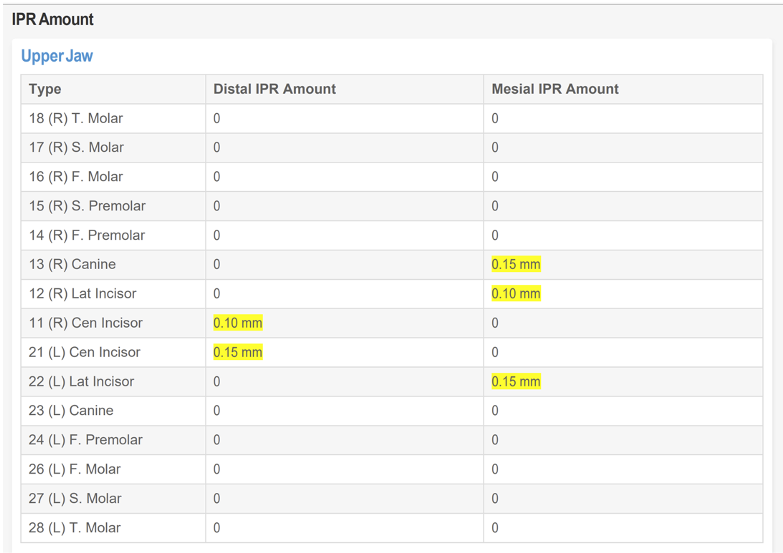
- Interproximal Reduction (IPR)

Indicate whether or not interproximal reduction (IPR) is planned for this case by selecting “Yes” or “No.” IPR is a procedure where small amounts of enamel are removed from between teeth to create space for movement. This information is crucial for our designers to understand the available space for tooth movement and adjust the treatment plan accordingly.
- What is the patient’s main complaint?

In this text box, briefly describe the patient’s primary orthodontic concern. This could be crowding, spacing, overbite, underbite, crossbite, or any other specific issue they wish to address with the clear aligner treatment.
- Anterior Alignment Preference

Use the dropdown menu to select the patient’s preferred alignment for their front teeth. This could range from more natural to flat or rounded. If the desired outcome is unique or requires further explanation, select “Customized” and provide specific details in the text field provided.
- Is the Patient a Bruxer/Grinder with Visible Tooth Wear?

Indicate whether or not the patient is a bruxer (teeth grinder) or clencher with visible signs of tooth wear by selecting “Yes” or “No.” This information helps our designers consider potential adjustments in the treatment plan to accommodate the patient’s bruxism and ensure the longevity of the aligners.
- How Would You Like to Deal With Spaces?

This dropdown menu allows you to specify how you want to address any existing spaces between the patient’s teeth. Options may include closing spaces, maintaining spaces, or distributing them evenly. Please select the most appropriate option based on the patient’s treatment goals and your clinical judgment.
- Does Patient Have Anterior Crossbite Or Open/Deep Bite?

Indicate whether the patient presents with any of the following malocclusions: anterior crossbite, open bite, or deep bite. If none of these apply, select “Not Applicable.” This information is essential for the design team to develop an appropriate treatment plan that addresses these specific bite issues.
- Please indicate any restorations

In this text box, list any existing restorations in the patient’s mouth, such as crowns, bridges, veneers, or fillings. Specify the type of restoration and its location (e.g., tooth number). This helps our designers accurately account for these restorations when planning tooth movements.
- The STL files I want to have are

Select the type of STL files you require for your workflow. Choose:
- “Model Files” if you only need the digital models of the patient’s teeth
- “Aligner Files” if you need the files for fabricating the aligners
- “Both Model and Aligner Files” if you need both.
- Are you fabricating in-house?

If you are printing your dental models in-house, you can customize your fabrication preferences to streamline the process. Follow these steps to ensure your design is ready for printing:
- Indicate In-House Fabrication: Select ‘Yes’ or ‘No’ to indicate if you are fabricating the dental model in-house.
- Choose Your Printer: If you selected ‘Yes’ for in-house fabrication, choose your printer from the dropdown menu.
- Specify Resin Type: Enter the type of resin you will 3D print the dental model design
- Select Pre-Nested Files: To make the fabrication process even easier, opt for pre-nested files.
This ensures that your design is ready to print with proper supports, so all you need to do is drag, drop, and print.
There is an additional fee of $10 per build plate for pre-nested files.
- RX Notes:

The RX Notes section is your opportunity to communicate specific instructions and preferences for the aligner design to our team. Please be as detailed and clear as possible. Here are some key points to include:
- Desired Tooth Movements: Clearly specify the desired tooth movements for each arch. This could include closing spaces, aligning specific teeth, correcting rotations, or addressing any other orthodontic concerns.
- Anchorage Considerations: If any specific teeth need to be used as anchors for movement, please indicate them.
- Overcorrections: If you anticipate the need for overcorrections for certain movements (e.g., rotations), mention this in the notes.
- Attachments: Specify the location and type of attachments you would like to be included on the aligners.
- Other Preferences: If you have any other preferences regarding the aligner design (e.g., specific material requests, staging preferences, or aesthetic considerations), please mention them here.
Upload Required Files: IOS Scan (STL/PLY files):
Drag and drop the STL files of the patient’s upper arch, lower arch, and bite registration into the designated box.
Clinical Photography:
- Drag and drop high-resolution intraoral photographs of the patient’s dentition into the designated box.
- Include photos from various angles (e.g., frontal, buccal, occlusal) to provide a comprehensive view of the patient’s oral condition.
- Well-lit and focused photos will aid in accurate bite registration and treatment planning.
Review and Submit: Ensure all information is accurately filled out and all required files are uploaded. Click ‘Proceed’ to submit the form.
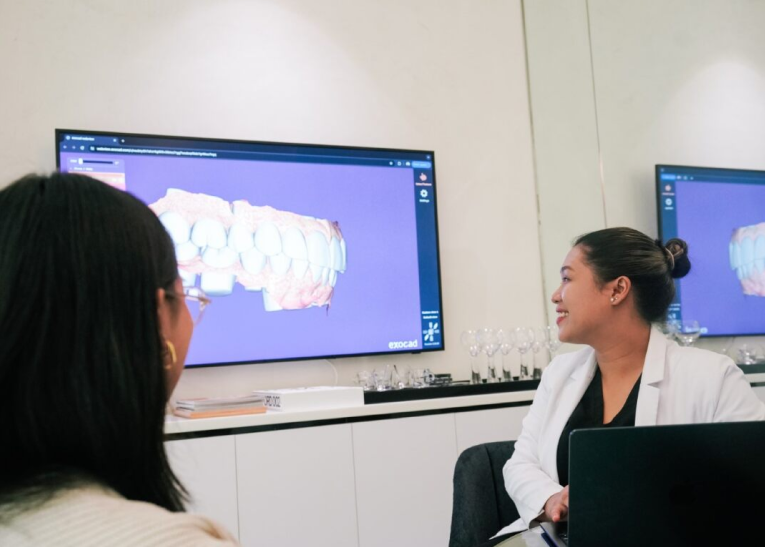
2.3 Track Progress and Communicating with Your Designer
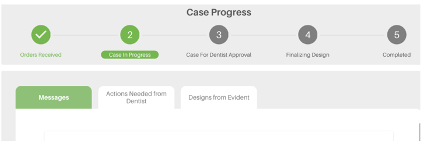
To ensure a seamless experience and stay informed about the progress of your designs, you can track and communicate with your designer through the Case Management section. Here’s how:
- Review Case Progress: Access the Case Management section to review the progress of your case at any time. Stay updated on the current status and any actions taken by the design team.
- Messages Your Designer: If you have questions or need to share details, easily send messages to your designer in the Case Management section.
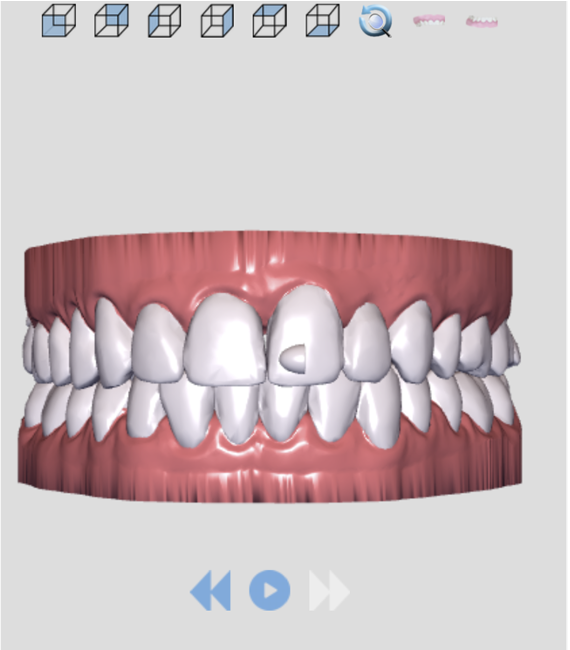
- Review and Approve Your Case: Review your selected aligner reports and the aligner model 3D viewer. This feature allows you to see the designs in detail and make any necessary adjustments or approvals before finalizing the case. Once the design meets your requirements, you can approve and download the file.
By using these features, you can efficiently manage your cases, ensure clear communication with your designer, and approve designs with confidence.
2.4 Your Case is Complete!
Once complete, you will receive the following files
- Planning reports
- 3D viewer of aligner models
- 3D printable file (nested)
Step 3. Fabricate Your design!
3.1 Download nested files from Evident
After your case is complete, you can download the print-ready design files by selecting your case in case management tab.
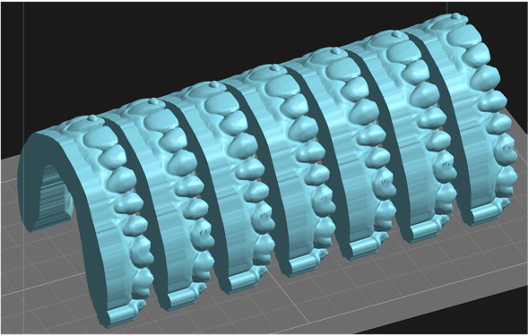
3.2 Model Fabrication
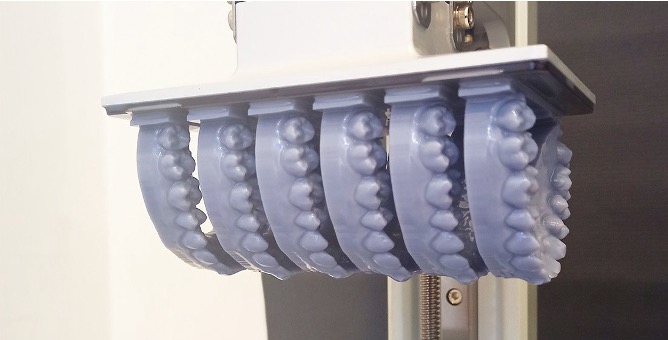
Fabricate your design using your in-house 3D printing workflow.
Follow three steps:
- 3D Print your design.
- Clean the 3D printed design.
- Cure it to finalize its durability.
For detailed process and workflow instructions specific to your 3D printer model and resin, please contact your 3D printer manufacturer’s support team.
3.3 Aligner Fabrication:

Proceed with your preferred fabrication method, whether it’s suck down vacuum forming or 3D printing, utilizing your established in-house equipment and protocols.
Congratulations!
The Clear Aligner Is Now Ready!
If you have any questions about the process, feel free to email us at akang@evidentdigital.com or call us at +1 (877) 909 7770.
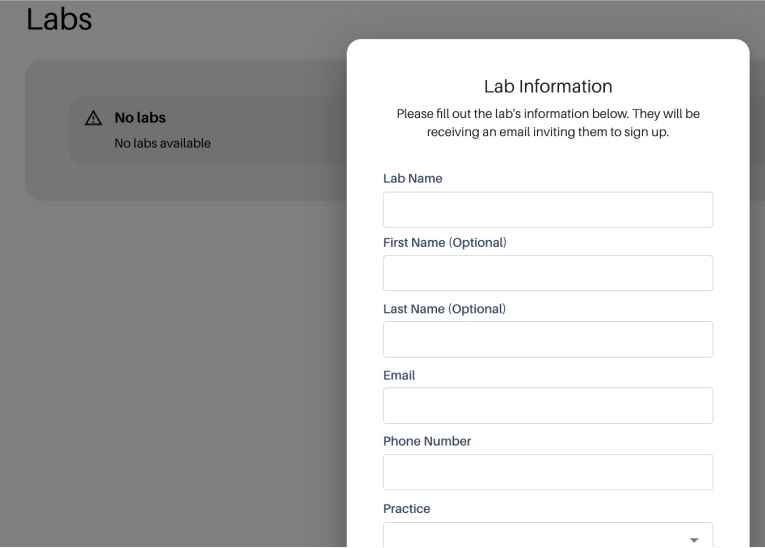
To further streamline your workflow, we can help by coordinating fabrication. Here’s how we can assist:
- Invite your existing lab: You can invite your preferred lab by choosing the option in the top right corner of the Evident Hub screen. We will help coordinate the fabrication process with them.
- Ask Evident for a preferred lab partner: Alternatively, your account manager can suggest an Evident preferred lab partner for a seamless experience.
You are now ready to fabricate clear aligners like a pro , transforming your patients’ smiles with the same confidence as Dr. Morrison!