You can now get your Evident Nightguard designs fabricated by using one of our preferred fabrication partner. This allows you to have more control on your cases and provides an end-to-end connected solution for efficiency.
Here are three simple steps:
Step 1. Gather Information During The Patient Visit (Record Appointment)
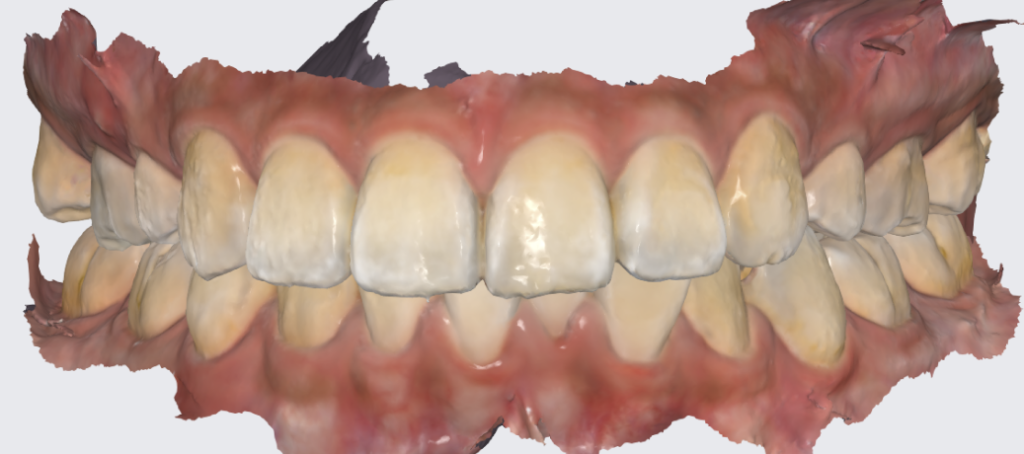
1.1 Capture Intra-oral Scans From Your Patient (Record Appointment)
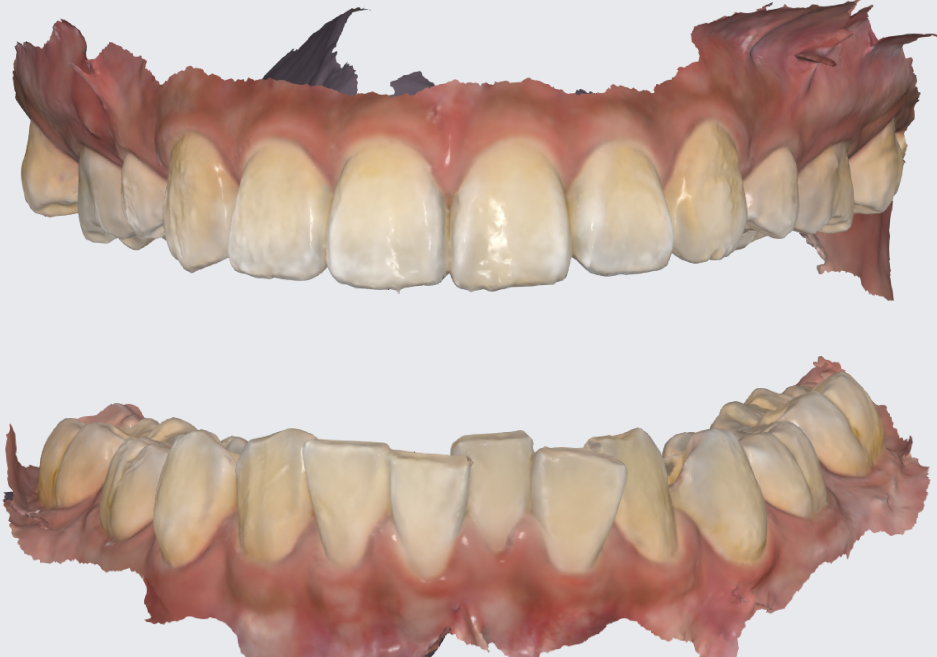
Utilize intraoral scans to create a digital mold of your patient’s mouth. Three scans are required to ensure comprehensive and accurate data for treatment planning.
- Full Upper Arch: A complete scan of the upper teeth and gums.
- Full Lower Arch: A complete scan of the lower teeth and gums.
- Bite: Make sure to scan the full arch for the most accurate bite registration.
Note: Double check if the bite is misaligned.
1.2 Compile Your Patient’s Treatment Plan Information
After completing your patient record appointment, you will need to gather and organize essential details for the nightguard. Follow these steps to ensure you have all the necessary information.
- Collect Patient Demographics:
Patient’s name
Contact information
Date of birth - Document the Chief Complaint:
The main reason the patient is seeking treatment (e.g. concerns about bruxism, TMJ I issues, soreness, headaches, clicking or popping sounds in the jaw, or disrupted sleep) - Summarize Diagnostic Findings:
Results from the clinical exam
Intraoral photos
Radiographs
Any other pertinent diagnostic tests - Record Treatment Goals:
Patient’s desired outcomes
Discuss key aspects, including protecting tooth, reducing muscle tension and associated pain, alleviating temporomandibular joint (TMJ) dysfunction symptoms, and improving sleep quality.
Once you have compiled all this information, you are ready to submit the case to Evident for the nightguard.
Step 2. Submitting Your Case To Evident Hub
2.1 Log In At Evident Hub & Select Standard Nightguard
Log in to Evident
- To submit your case to Evident, please log in to your account at Evident Hub.
- If you do not have an account yet, click on “Get Started” and select “Create Account”
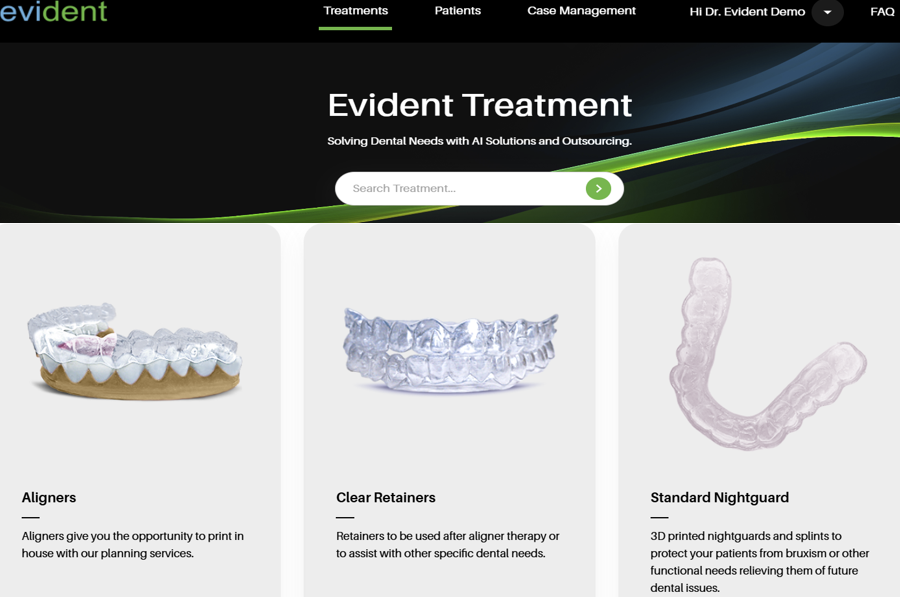
Ordering Process
- Once logged in, browse the list of products on the Hub and locate “Standard Nightguard”
- Click on “Order Now” to proceed with your order.
2.2 Upload Case Informations
This guided ordering form ensures that the vision of both the patient and the doctor for a case planning is precisely communicated to our design team. Follow these steps to complete the form:
- Add Patient Information: Fill in your practice name, email address (optional), last name, first name, and birthday (optional). You can choose to rush this case to get your designs back as soon as possible

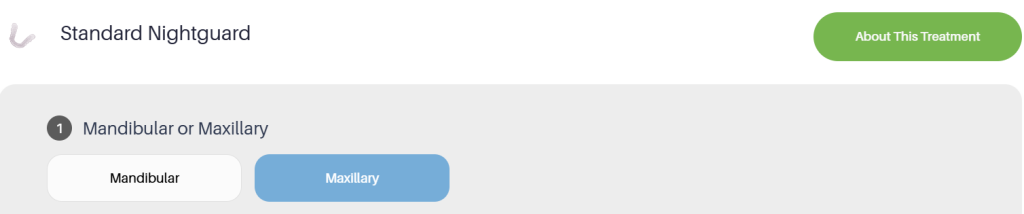
- Mandibular or Maxillary: Indicate whether the nightguard is intended for the mandibular (lower) or maxillary (upper) arch to proceed with case planning.
- Are you fabricating in-house?: If you choose “No”, you will be directed to the Evident Fabrication landing page.
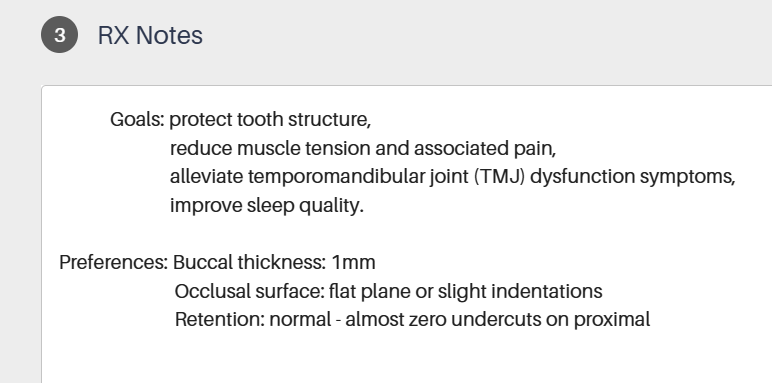
- RX notes: To ensure your nightguard achieves the desired results, provide detailed and straightforward instructions for your designer by filling up RX Notes section. Include the following key components:
Goal: Clearly state the primary goal, for example, “Protect tooth structure”, “Reduce muscle tension and associated pain”, “Alleviate temporomandibular joint (TMJ) dysfunction symptoms”, and “Improve sleep quality”.
Occlusal/Functional Preferences: Please specify the required functional adjustments for the night guard, including buccal thickness, occlusal surface preferences (flat plane, slight indentations, etc.), and desired retention
- Upload Required Files:
IOS Scan (STL/PLY files): Drag and drop the upper, lower, and bite scans.

- Review and Submit: Ensure all information is accurately filled out and all required files are uploaded. Click ‘Proceed’ to submit the form.
Step 3. Select Your Fabrication Partner
3.1. Select Your Fabrication Partner
- Choose one our preferred fabrication partner. In this case, select “Derby Dental Lab” from our list of preferred partners.

- Review their product offerings and pricing.

- Enter your shipping information.

- Review and Submit: Ensure all information is accurately filled out. Click ‘Proceed’ to submit the form.
3.2 Track Progress and Communicating with Your Designer

To ensure a seamless experience and stay informed about the progress of your nightguard, you can track and communicate with your designer through the Case Management section. Here’s how:
- Review Case Progress: Access the Case Management section to review the progress of your case at any time. Stay updated on the current status and any actions taken by the design team.
- Messages Your Designer: If you have questions or need to share details, easily send messages to your designer in the Case Management section.
- Review and Approve Your Case: Review your selected CAD files using the preview files (HTML viewer). Once you approve, your case will be sent to Derby Dental Lab for fabrication.
Your Case is Sent For Fabrication!
Your design files will be automatically sent to our fabrication partner, Derby Dental Lab. You can expect a call from them if any further clarification is needed.
Try this workflow out today
If you have any questions about the process, feel free to email us at akang@evidentdigital.com or call us at +1 (877) 909-7770