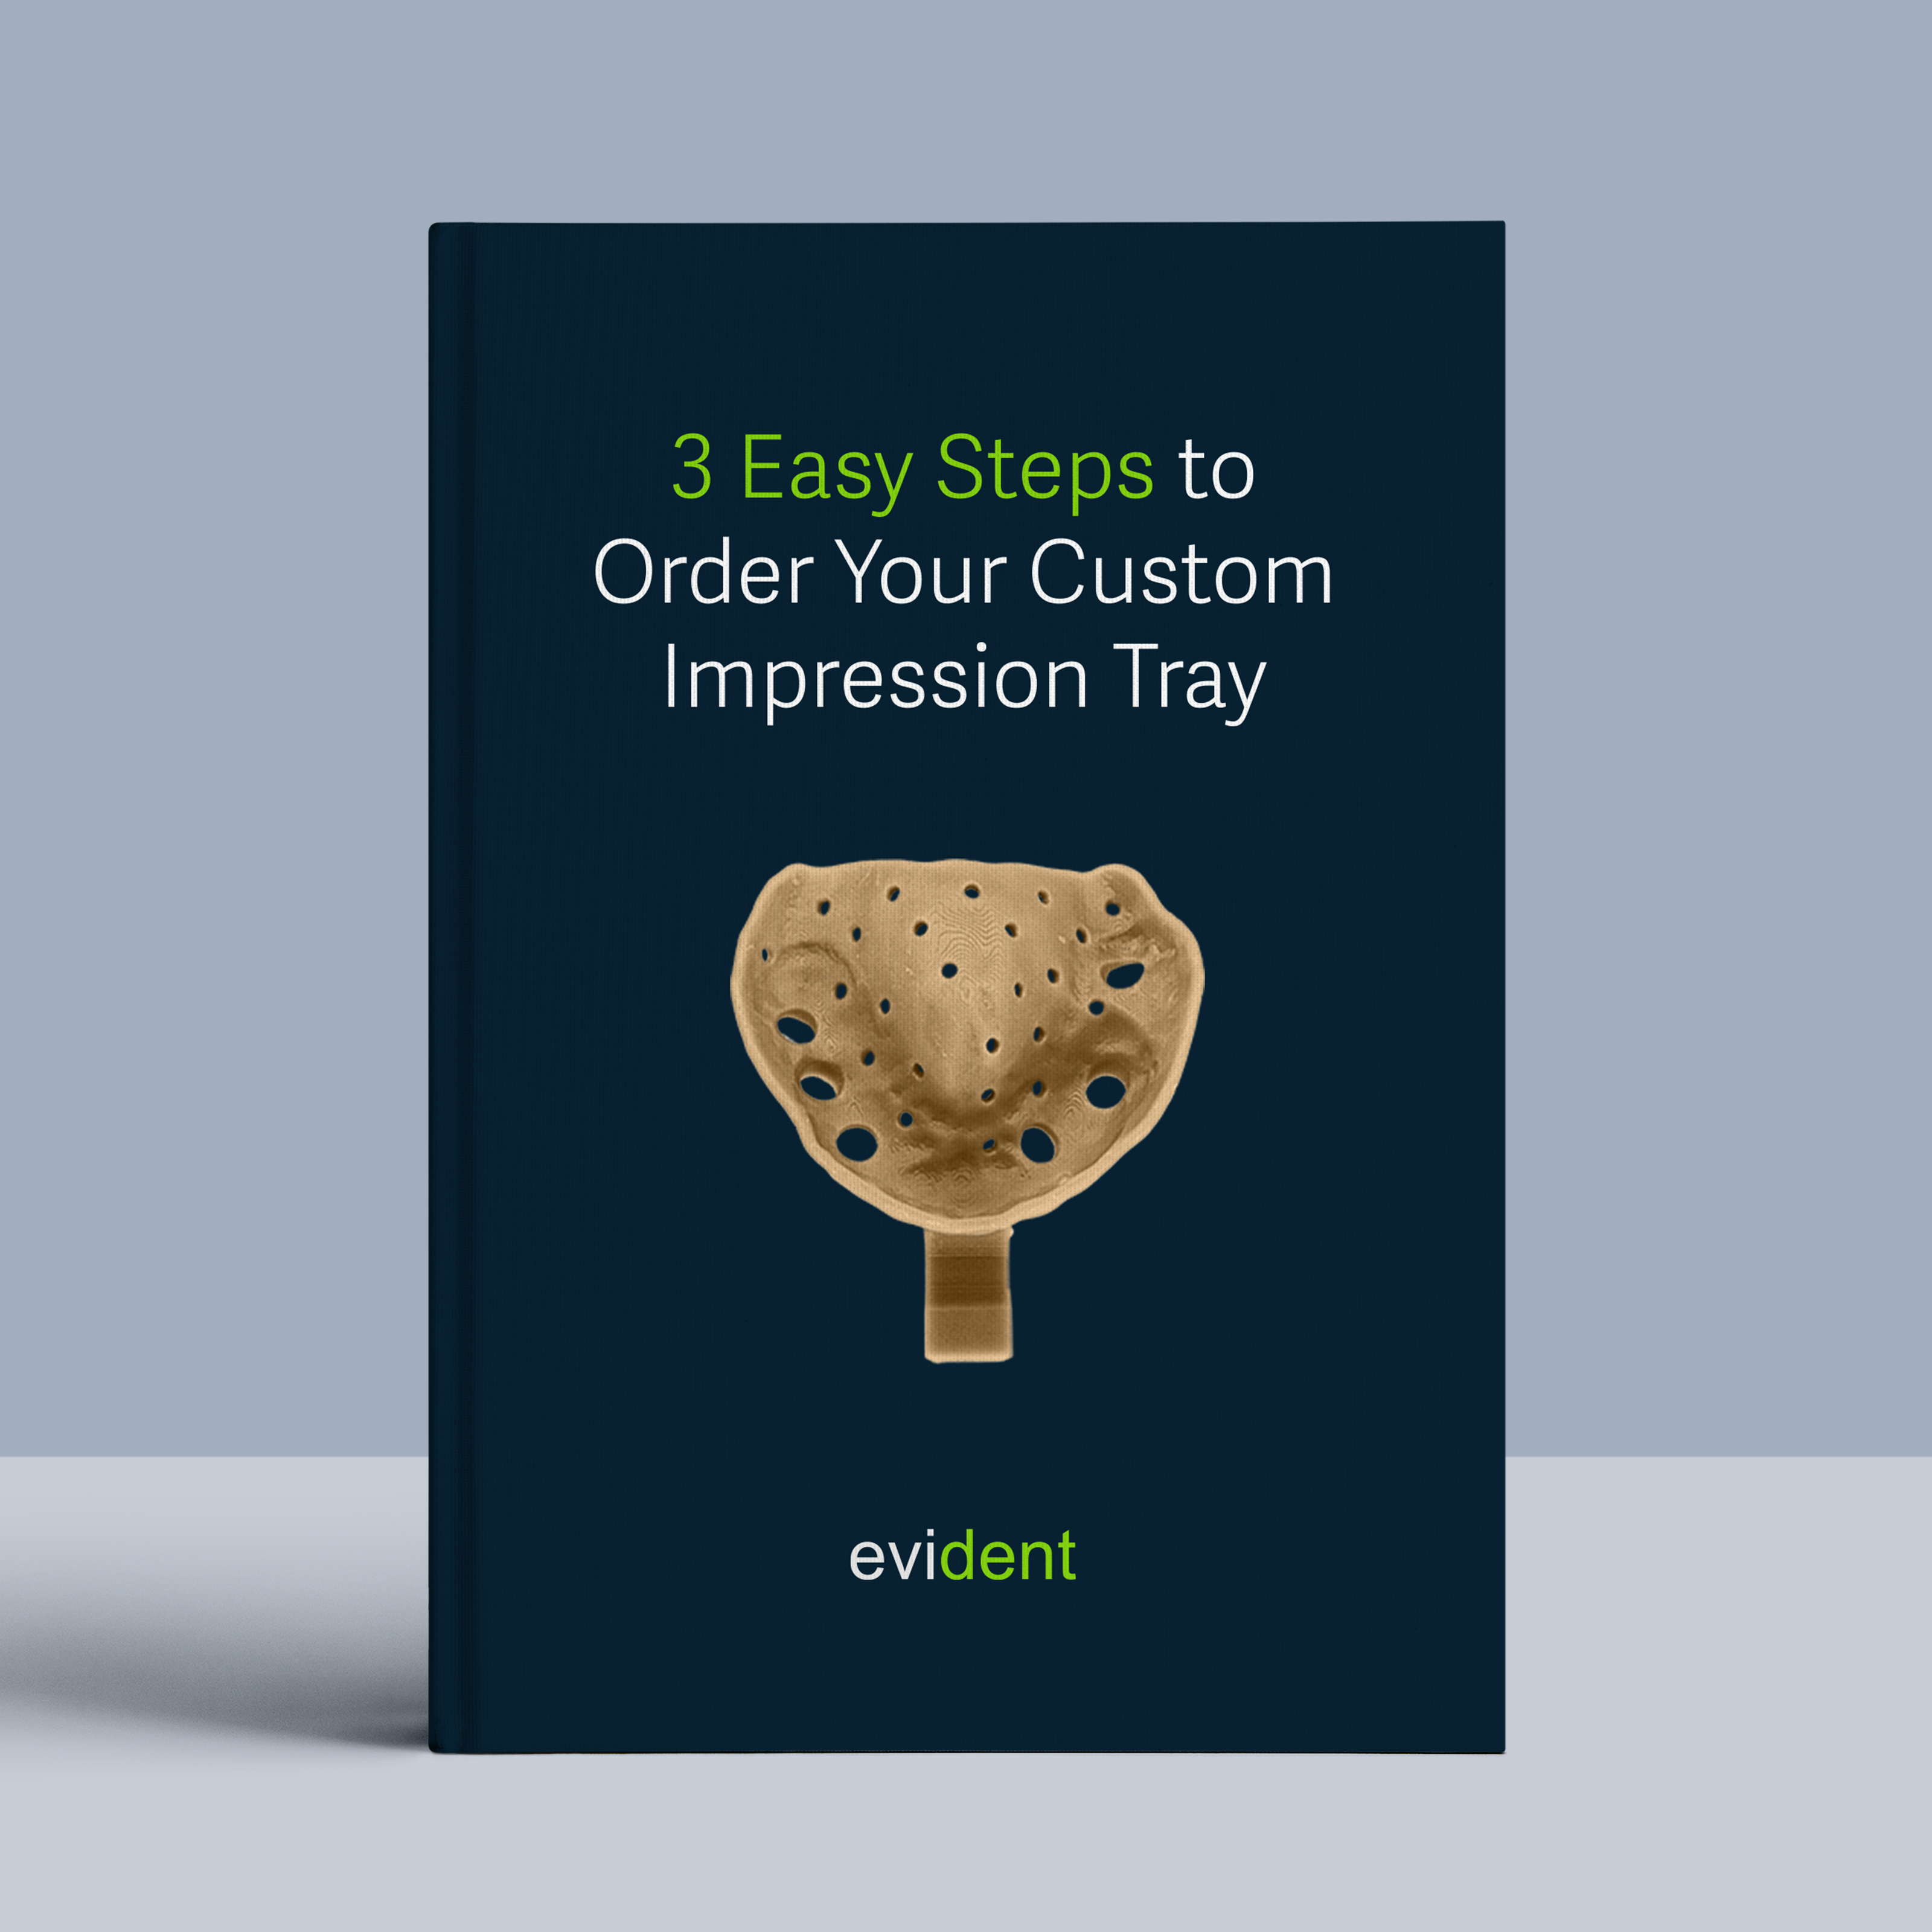
Custom Trays are precisely molded shells, ensuring a comfortable fit for patients and facilitating detailed impressions for well-fitting dentures and retainers through controlled material application. However, many practices hesitate due to the perceived learning curve of digital workflows.
The good news is, with the right tools and a streamlined approach, you can confidently 3D print these custom trays yourself or use this page to easily train your staff. It contains all the information they need. Let’s break it down into three simple steps:
Step 1. Gather Information During the Patient Visit (Record Appointment)
1.1 Capture Intra-oral Scans From Your Patient


Utilize intraoral scans to create a digital mold of your patient’s mouth. Three scans are required to ensure comprehensive and accurate data for treatment planning.
- Full Upper Arch: A complete scan of the upper teeth and gums.
- Full Lower Arch: A complete scan of the lower teeth and gums.
Note: Double-check to ensure you scan the deep border and sulcus area, as it is crucial for future denture fitting/suction quality
1.2 Compile Your Patient’s Treatment Plan Information
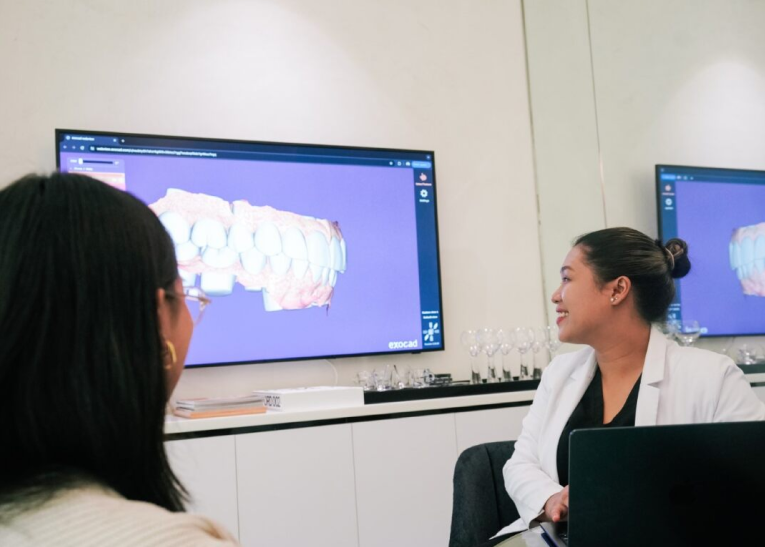
After completing your patient record appointment, you will need to gather and organize essential details. Follow these steps to ensure you have all the necessary information.
- Collect Patient Demographics:
Patient’s name
Contact information
Date of birth - Document the Chief Complaint:
Understanding the patient’s primary concern will help tailor the custom try for future dentures to address their specific needs. - Summarize Diagnostic Findings:
Results from the clinical exam
Intraoral photos
Radiographs
Any other pertinent diagnostic tests - Record Treatment Goals:
Patient’s desired outcomes
Discuss key aspects: If the custom tray is part of a larger treatment plan, such as transitioning from dentures to a fixed All-on-X implant case, understanding the overall goals will ensure the tray design aligns with the intended outcome.
Once you have compiled all this information, you are ready to submit the case to Evident.
Step 2. Submitting Your Case To Evident Hub
2.1 Log In To Evident & Order

- To submit your case to Evident, please log in to your account at Evident Hub.
- If you do not have an account yet, click on “Get Started” and select “Create Account”
Ordering Process
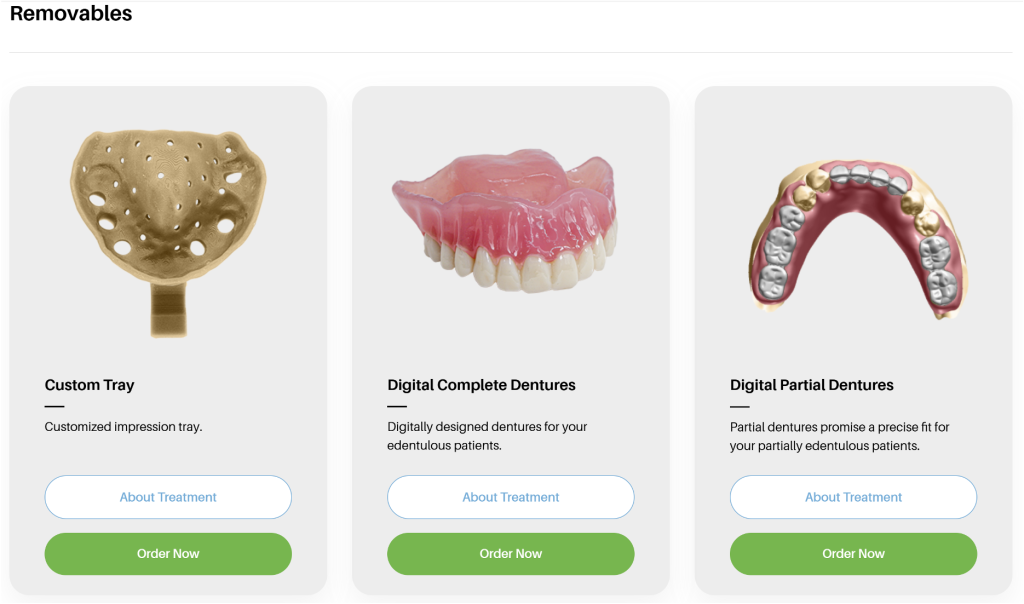
- Once logged in, browse the list of products on the Hub and locate “Removables” and find “Custom Tray”
- Click on “Order Now” to proceed with your order.
2.2 Upload Case Information
This guided ordering form ensures that the vision of both the patient and the doctor for this case is precisely communicated to our design team. Follow these steps to complete the form:
- Add Patient Information: Fill in your practice name, email address (optional), last name, first name, and birthday (optional).
You can choose to rush this case to your designs back as soon as possible

- Select Custom Tray option:
Select one of the following custom tray Options:
1. Upper
2. Lower
3. Both

2.3 Select Your Fabrication Preference

If you are printing your custom tray in-house, you can customize your fabrication preferences to streamline the process. Follow these steps to ensure your design is ready for printing:
- Indicate In-House Fabrication: Select ‘Yes’ or ‘No’ to indicate if you are fabricating the custom tray in-house.
- Choose Your Printer: If you selected ‘Yes’ for in-house fabrication, choose your printer from the dropdown menu.
- Specify Resin Type: Enter the type of resin you will 3D print the custom tray
- Select Pre-Nested Files: To make the fabrication process even easier, opt for pre-nested files. This ensures that your design is ready to print with proper supports, so all you need to do is drag, drop, and print. There is an additional fee of $10 per build plate for pre-nested files.
By setting these preferences, you can ensure a smooth and efficient printing process, with designs that are ready to go and require minimal preparation.
2.4 Add Clear Instructions

To ensure your design achieves the desired results, provide detailed and straightforward instructions for your designer by filling up RX Notes section. Include the following key components:
- Goal: Clearly state the primary goals
- Review and Submit: Ensure all information is accurately filled out and all required files are uploaded.
2.5 Upload Required Files

- IOS Scan (STL/PLY files): Drag and drop the upper and lower scans.
- Click ‘Proceed’ to submit the form.
2.6 Track Progress and Communicating with Your Designer

To ensure a seamless experience and stay informed about the progress of your designs, you can track and communicate with your designer through the Case Management section. Here’s how:
- Review Case Progress: Access the Case Management section to review the progress of your case at any time. Stay updated on the current status and any actions taken by the design team.
- Messages Your Designer: If you have questions or need to share details, easily send messages to your designer in the Case Management section.
- Review and Approve Your Case: Review your selected CAD files using the preview files (HTML viewer). This feature allows you to see the designs in detail and make any necessary adjustments or approvals before finalizing the case. Once the design meets your requirements, you can approve and download the file.
By using these features, you can efficiently manage your cases, ensure clear communication with your designer, and approve designs with confidence.
2.6 Your Case is Complete
Once complete, you will receive the following files
- HTML preview viewer for designs

- 3D STL file of designs

Step 3. Fabricate Your design
3.1 Download Nested Files from Evident
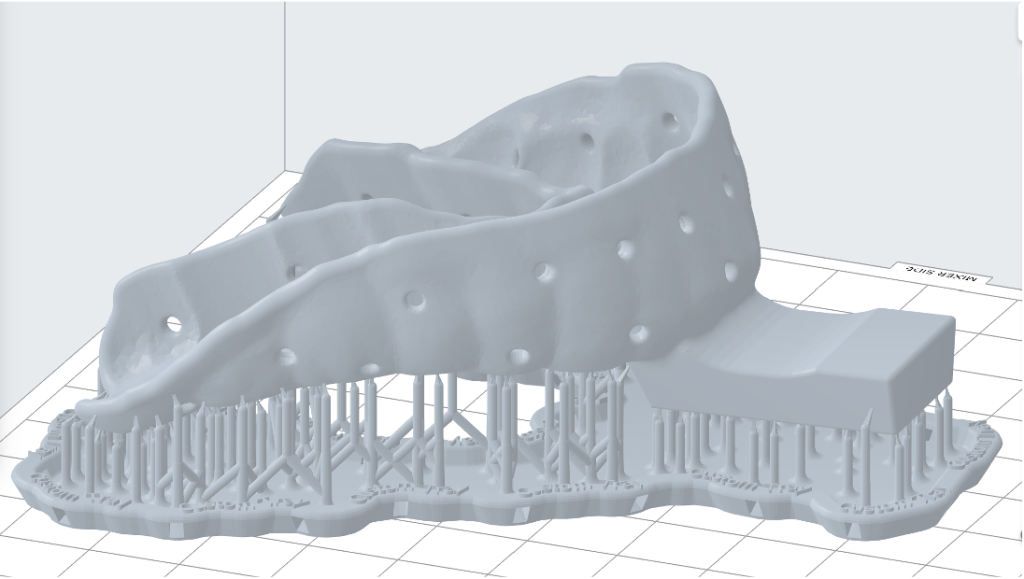
After your case is complete, you can download the design files by selecting your case in case management tab.
3.2 It’s Time To 3D Print

Fabricate your design using your in-house 3D printing workflow. Follow three steps:
- Nest your design
- 3D Print your design.
- Wash the 3D printed design.
- Cure it to finalize its durability.
For detailed process and workflow instructions specific to your 3D printer model and resin, please contact your 3D printer manufacturer’s support team.
Congratulations!
Your Custom Tray Is Now Ready.
If you have any questions about the process, feel free to email us at akang@evidentdigital.com or call us at +1 (877) 909 7770.
Outsource Fabrication
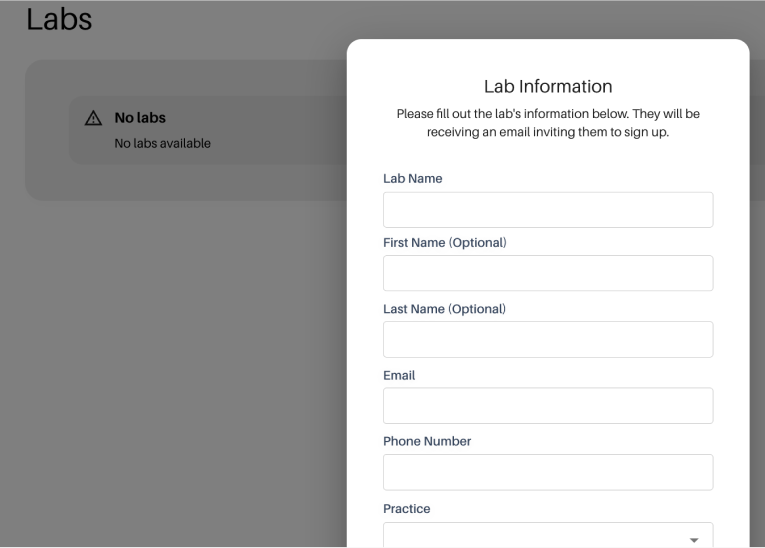
To further streamline your workflow, we can help by coordinating fabrication. Here’s how we can assist:
- Invite your existing lab: You can invite your preferred lab by choosing the option in the top right corner of the Evident Hub screen. We will help coordinate the fabrication process with them.
- Ask Evident for a preferred lab partner: Alternatively, your account manager can suggest an Evident preferred lab partner for a seamless experience.

